
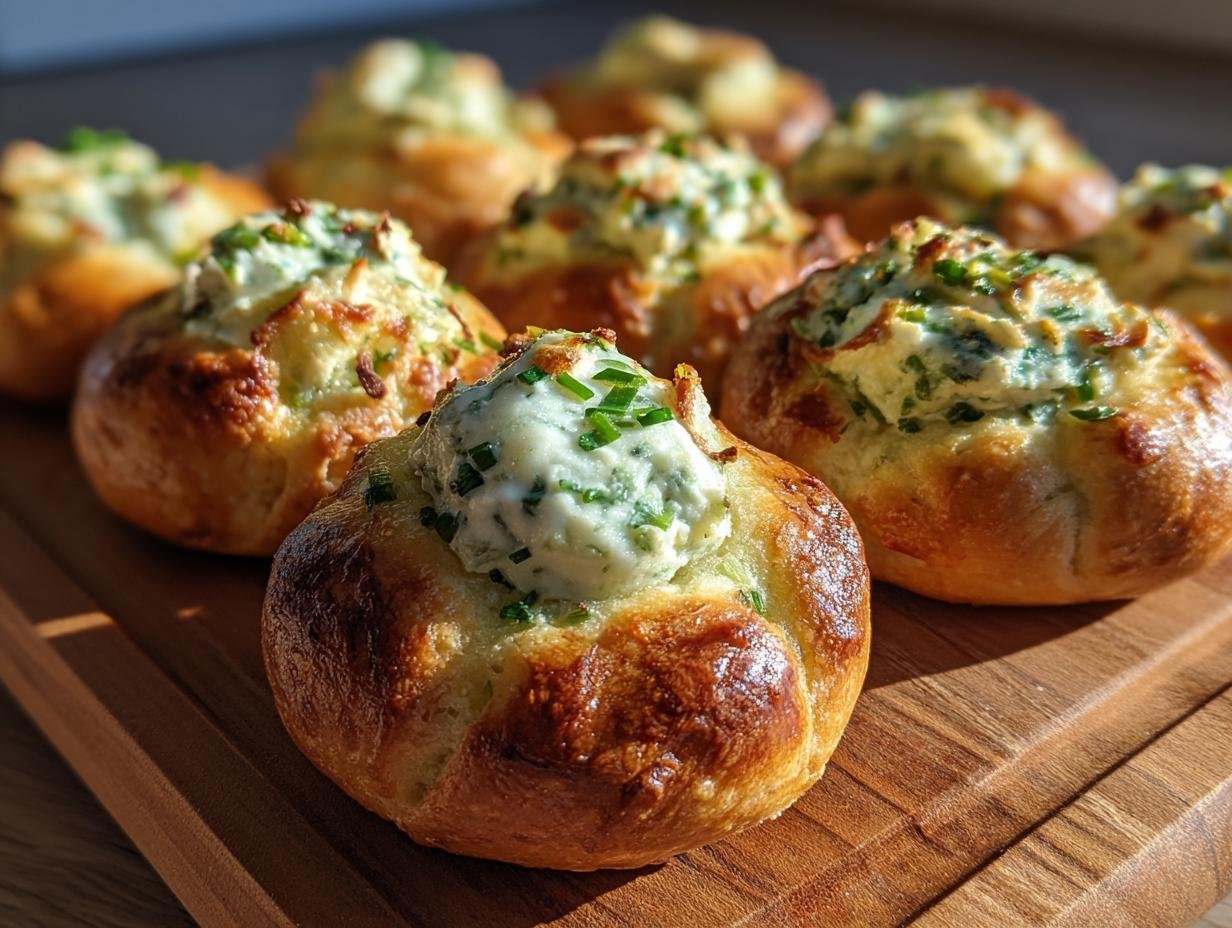
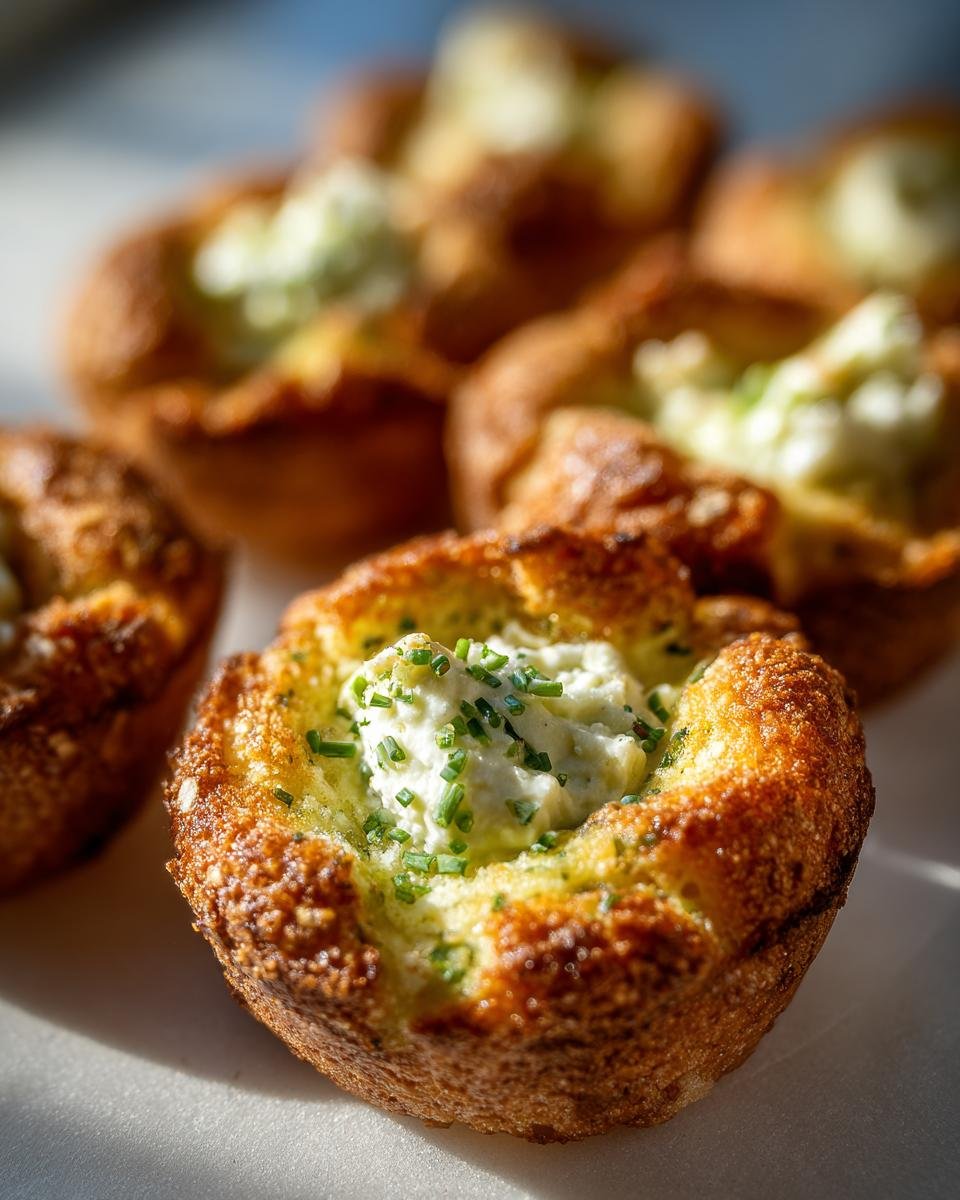
Okay, so you’re looking for that perfect bite that everyone devours at parties? Trust me, I’ve been there, frantically searching for a crowd-pleaser at the last minute. That’s exactly how I discovered these amazing Cheesy Thumbprint Appetizers! They look fancy, right? Like you spent hours slaving away. But the secret is, they take hardly any time at all. I remember making a batch for my sister’s baby shower, and before I knew it, the whole platter was gone! It’s that simple magic that makes these such a go-to for me when I need to impress without the stress.
Why You’ll Love These Cheesy Thumbprint Appetizers
Honestly, what’s not to love? These little bites are a game-changer for any get-together.
- Super Easy to Make: Seriously, from start to finish, these come together so quickly. Perfect for when you’re in a pinch!
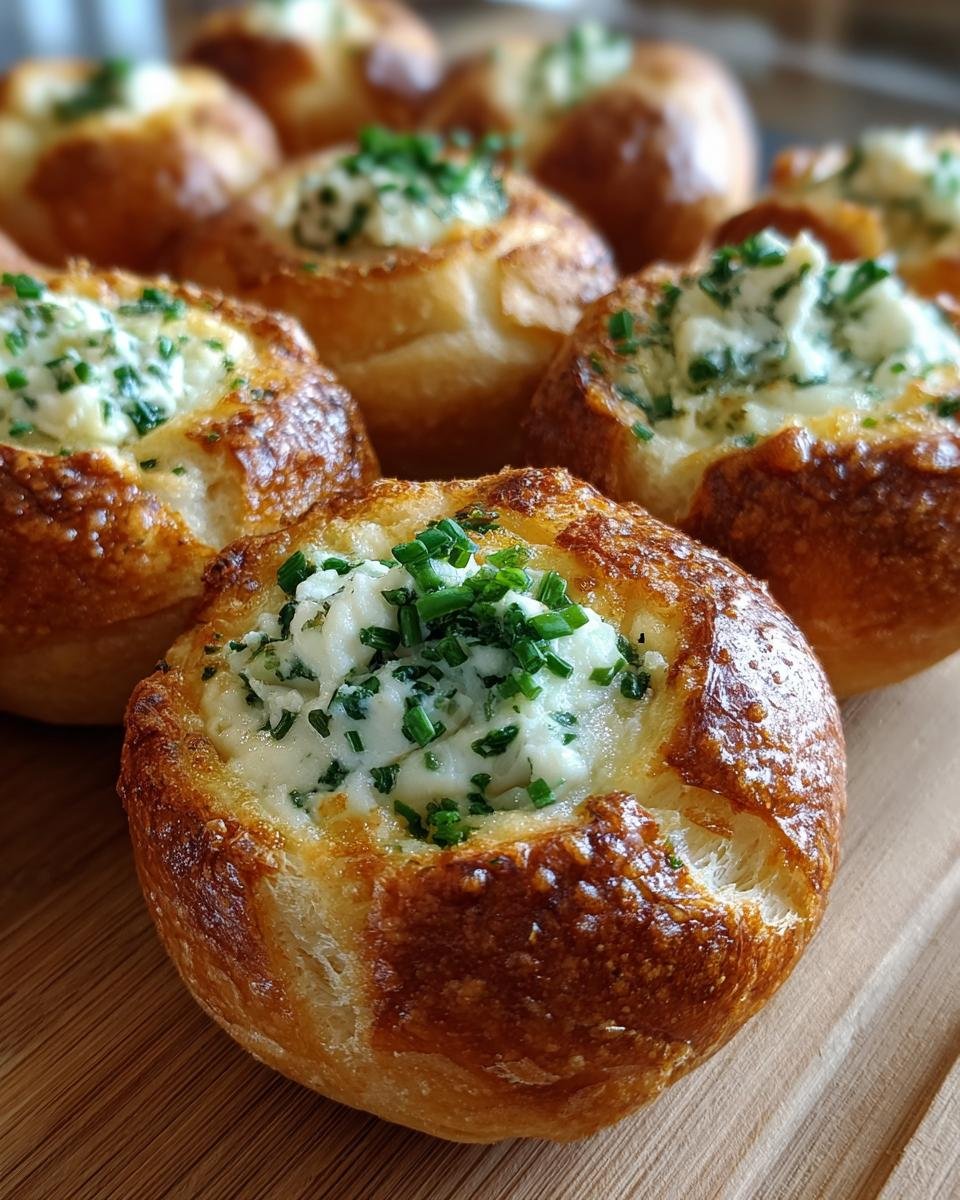
- Seriously Delicious: The combo of cheesy dough and creamy filling? Pure bliss. They’re incredibly flavorful.
- So Versatile: Whether it’s a big holiday party, a casual game night, or just a little afternoon snack, they fit right in.
- Always a Hit: Your guests will rave about them! They disappear from the plate faster than you can say “more, please!”
Gather Your Ingredients for Cheesy Thumbprint Appetizers
Alright, let’s get down to business! The beauty of these Cheesy Thumbprint Appetizers is that they use pretty standard stuff you probably already have in your kitchen or can grab easily. Having everything ready makes the whole process so smooth sailing.
For the Dough:
- 1 cup all-purpose flour: The base of our little cheesy bites.
- 1/2 cup shredded cheddar cheese: Use a good sharp cheddar for the best flavor!
- 1/4 cup butter, softened: Make sure it’s nice and soft, but not melted, so it incorporates easily.
- 1 tablespoon cold water: Just enough to bring it all together.
For the Filling:
- 4 ounces cream cheese, softened: Again, make sure this is softened so it’s easy to mix creamy and smooth.
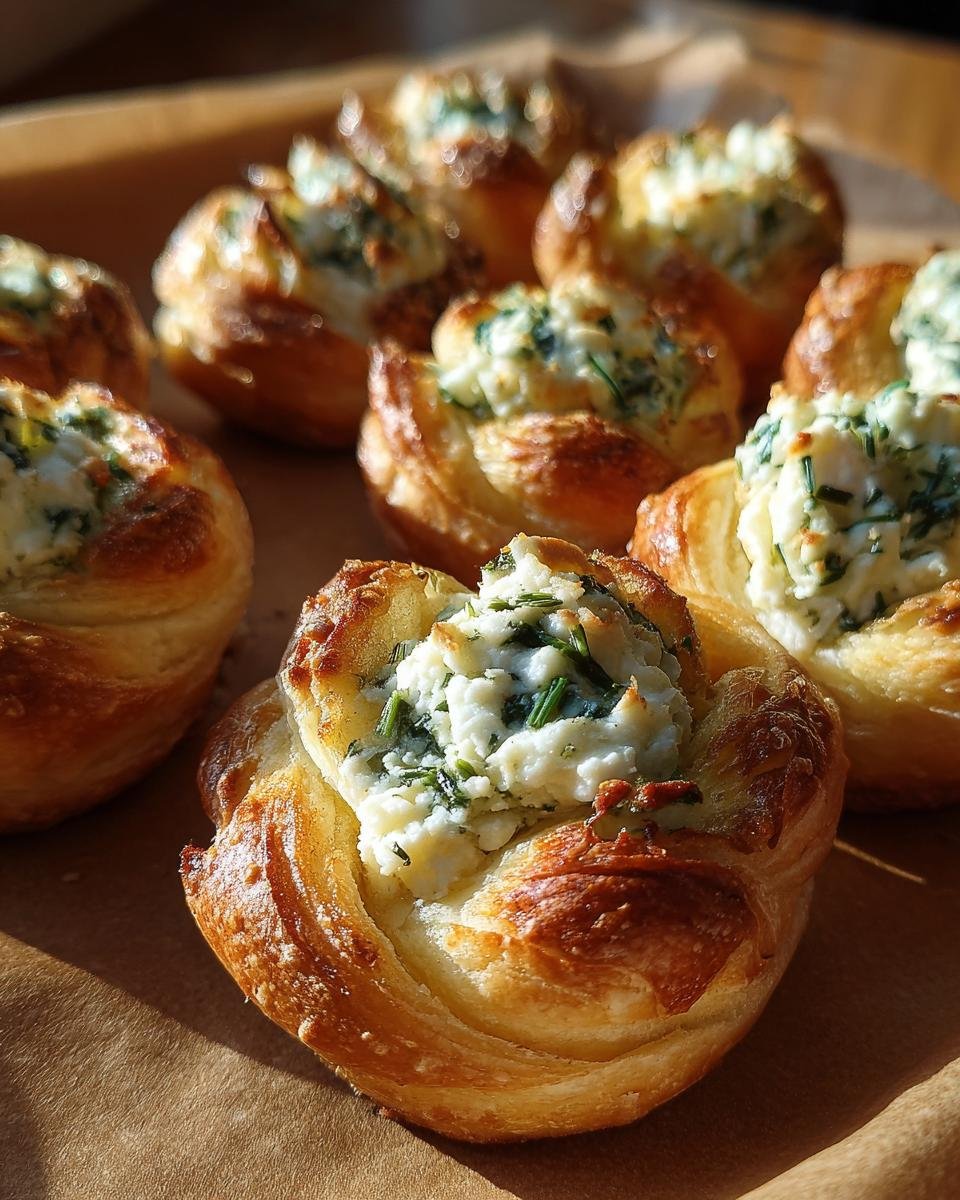
- 2 tablespoons chopped fresh chives: These add such a lovely fresh oniony bite.
- 1/4 teaspoon garlic powder: For that little bit of savory goodness.
- 1/8 teaspoon salt: Just to balance everything out.
See? Nothing too crazy! Grab these and you’re practically halfway there.
Essential Equipment for Making Cheesy Thumbprint Appetizers
You really don’t need much for these little wonders! The beauty of these Cheesy Thumbprint Appetizers is how simple they are to whip up. All you’ll need is a trusty baking sheet – the bigger the better if you’re making a double batch! Also, grab a couple of bowls, one for the dough and a smaller one for that yummy cream cheese filling. That’s seriously it!
For more kitchen tips and tricks, you can always check out my kitchen journey!
Step-by-Step Guide to Perfect Cheesy Thumbprint Appetizers
Alright, let’s get these little beauties made! It’s really not complicated at all, and honestly, the steps are so straightforward, you’ll be done before you know it. I always like to have a little background music going when I bake, it just makes everything more fun!
Preparing the Dough for Your Cheesy Thumbprint Appetizers
First things first, preheat your oven to 375°F (190°C). And definitely line a baking sheet with parchment paper – trust me on this, it makes cleanup a breeze and stops any sticking! Now, in a medium bowl, you’re going to toss in that flour, the shredded cheddar, and your softened butter. Just mix it all up with your fingers or a fork until it looks all crumbly and delicious. Don’t go overboard mixing, a little crumbly is good!
Creating the Creamy Filling
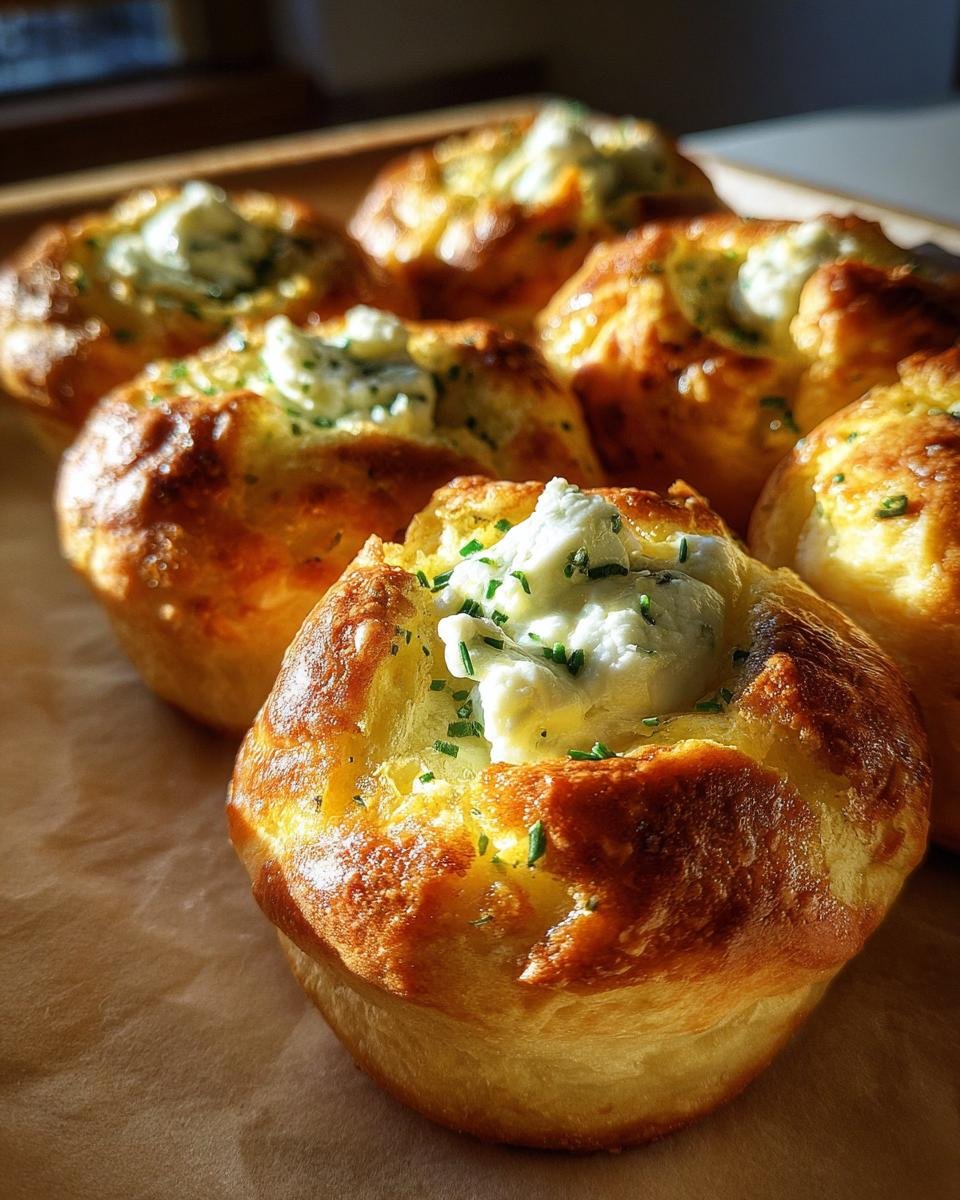
While your dough is chilling (not really, but you get it!) or just waiting, let’s whip up that irresistible filling. Grab a small bowl and combine the softened cream cheese, those lovely chopped fresh chives, a pinch of garlic powder, and a dash of salt. Stir it all around until it’s super smooth and creamy. It should smell amazing already!
Assembling and Baking Your Cheesy Thumbprint Appetizers
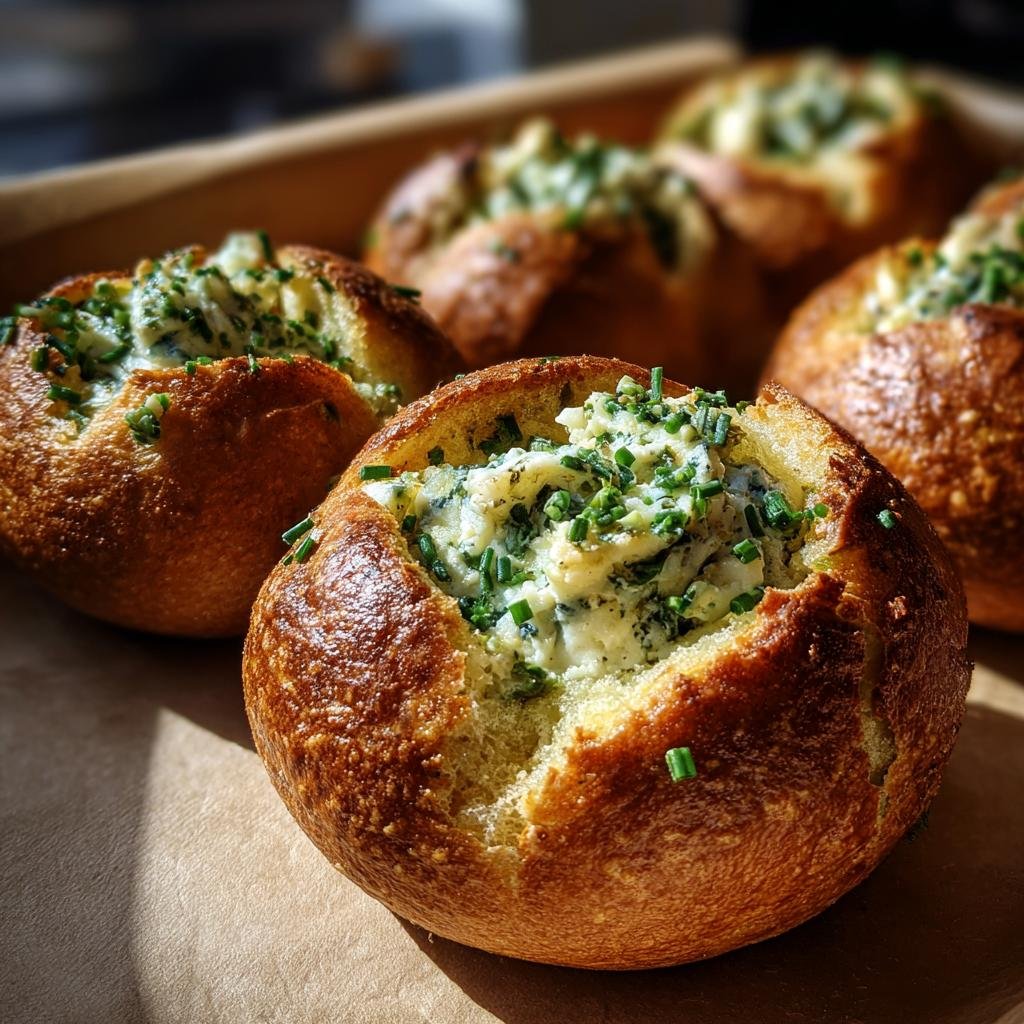
Okay, time to bring it all together! Take about a tablespoon of the dough and roll it into a little ball – aim for around 1 inch in size. You should get about 24 of these little guys. Pop them onto your prepared baking sheet. Then, using your thumb (wash it first, obviously!) or the end of a wooden spoon, make a little dip right in the center of each ball. This is where the magic happens! Spoon about half a teaspoon of that creamy filling into each little thumbprint. Pop the whole baking sheet into your preheated oven and bake for about 10 to 12 minutes. You’re looking for the edges to be just lightly golden brown. They’ll smell incredible, and the filling will be bubbly and warm. Let them cool just a tiny bit on the sheet before moving them – they’ll be hot!
If you want to see these in action, check out my Garlic Parmesan Chicken Skewers post; the assembly process is similar and super satisfying!
Tips for Perfectly Cheesy Thumbprint Appetizers
Okay, so you’ve got the recipe, but sometimes little tweaks make all the difference, right? A few things I’ve learned over the years making these make them even better. First off, make sure your butter and cream cheese are *really* softened. It makes the dough so much easier to handle and the filling super smooth. Trying to mix cold stuff just leads to frustration, trust me! Also, when you’re making that little thumbprint indent, don’t go all the way to the bottom or the filling might just ooze out. Just a nice little dip is perfect. For more recipe adventures, check out my Crispy Black Bean Quesadillas!
Ingredient Notes and Substitutions for Your Appetizers
Okay, let’s chat about the ingredients for these Cheesy Thumbprint Appetizers for a sec. The cheddar cheese is key for that savory pop, but if you’re feeling adventurous, a sharp white cheddar or even a Monterey Jack would be delicious too! Just make sure it’s finely shredded. For the chives, if you’re not a fan or can’t find them, a little bit of finely chopped green onion (just the green part!) works in a pinch. Some people even tried a tiny bit of dried dill, which is lovely too! And remember, good quality ingredients really do make a difference, even in something as simple as these little bites. For more ideas on simple, tasty recipes, check out my Cucumber Dill Pinwheels!
Frequently Asked Questions about Cheesy Thumbprint Appetizers
Got questions about these yummy Cheesy Thumbprint Appetizers? I’ve got answers! It’s always good to know a few extra tips to make sure everything goes perfectly when you’re whipping up some party food.
Can I make these Cheesy Thumbprint Appetizers ahead of time?
Oh, absolutely! These are fantastic for making ahead. You can mix up the dough and the filling separately and stash them in the fridge for a day or two. Just assemble and bake them a few hours before your guests arrive. You can even bake them and then gently reheat them in a warm oven for a few minutes right before serving – they’re still delicious!
What if my dough for the thumbprints is too sticky?
Don’t you worry if your dough feels a little sticky! It happens, especially depending on the humidity. The key is to make sure your butter and cheese are cold when you start making the dough, not warm. If it’s still too clingy, just pop the whole bowl in the fridge for about 15-20 minutes. That little chill will firm it up and make it much easier to roll into balls and handle. Remember, a little bit of stickiness is okay, but if it’s unmanageable, a quick chill is your best friend.
Can I freeze the Cheesy Thumbprint Appetizers?
Yes, you can! It’s a great way to prep for a party way in advance. You can freeze the unbaked thumbprints – just make sure they’re assembled and on a baking sheet solid in the freezer first, then transfer them to a freezer bag. Bake them directly from frozen, just add a few extra minutes to the baking time. Or, you can bake them completely, let them cool, freeze them, and then reheat as needed. They hold up beautifully!
Are there any other cheese options for the dough?
While cheddar is my go-to for that classic flavor, feel free to experiment! A sharp white cheddar offers a slightly different tang. Monterey Jack is a great melt-y option that’s a bit milder. You could even try a blend, like half cheddar and half Monterey Jack, or a touch of Parmesan mixed in for an extra savory kick. Just make sure whatever cheese you use is finely shredded so it incorporates nicely into the dough. For more recipe ideas, check out my Crispy Mashed Potato Recipe!
Nutritional Information (Estimate)
Please keep in mind that nutritional information is always an estimate, and it can vary based on the exact ingredients and brands you use. These Cheesy Thumbprint Appetizers typically come out to be around 80-100 calories per appetizer, with about 6-8 grams of fat, 2-3 grams of protein, and 4-6 grams of carbohydrates. Enjoy!
Nutritional Information (Estimate)
Just a heads-up, the nutritional info for these Cheesy Thumbprint Appetizers is an estimate, because, you know, brands and exact measurements can tweak things. But generally, you’re looking at about 80-100 calories per little bite. They usually have around 6-8 grams of fat, a couple of grams of protein, and about 4-6 grams of carbs. So, not too shabby for a tasty party treat!
Cheesy Thumbprint Appetizers
Ingredients
Equipment
Method
- Preheat your oven to 375°F (190°C). Line a baking sheet with parchment paper.
- In a medium bowl, combine the flour, shredded cheddar cheese, and softened butter. Mix until crumbly.
- Add the cold water and mix until a dough forms. Do not overmix.
- Roll the dough into 24 small balls, about 1 inch in diameter. Place them on the prepared baking sheet.
- Using your thumb or the end of a wooden spoon, make an indentation in the center of each dough ball.
- In a small bowl, mix together the softened cream cheese, chopped chives, garlic powder, and salt until well combined.
- Spoon about 1/2 teaspoon of the cream cheese mixture into each indentation.
- Bake for 10-12 minutes, or until the edges are lightly golden brown and the filling is heated through.
- Let cool slightly before serving.