

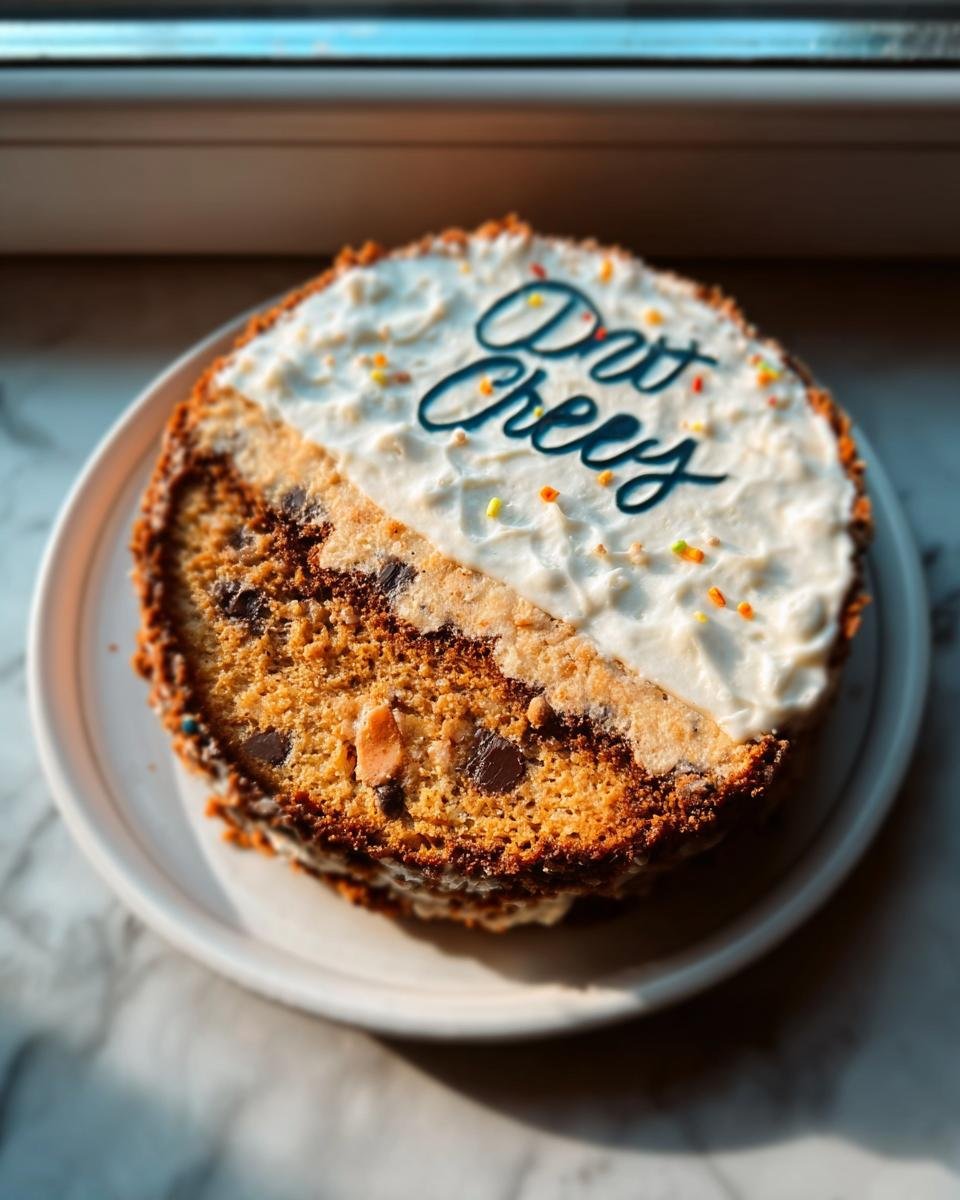
I don’t know about you, but sometimes I just need a cake that works. You know, for birthdays, unexpected guests, or just because it’s Tuesday and you deserve something sweet! Forget fussy layers and complicated steps; my go-to reliable dessert is this incredibly quick Cheers Cake. It’s the base recipe I keep mentally bookmarked whenever I need a guaranteed success without spending half my day in the kitchen.
This recipe proves that simple ingredients, when handled right, taste absolutely phenomenal. I’ve tested the ratios over and over again, making sure it’s tender, wonderfully moist, and ready for whatever celebration you throw at it. If you need a crowd-pleaser that comes together faster than ordering takeout, you’ve found your winner!
Why This Cheers Cake Recipe Works So Well (E-E-A-T Focus)
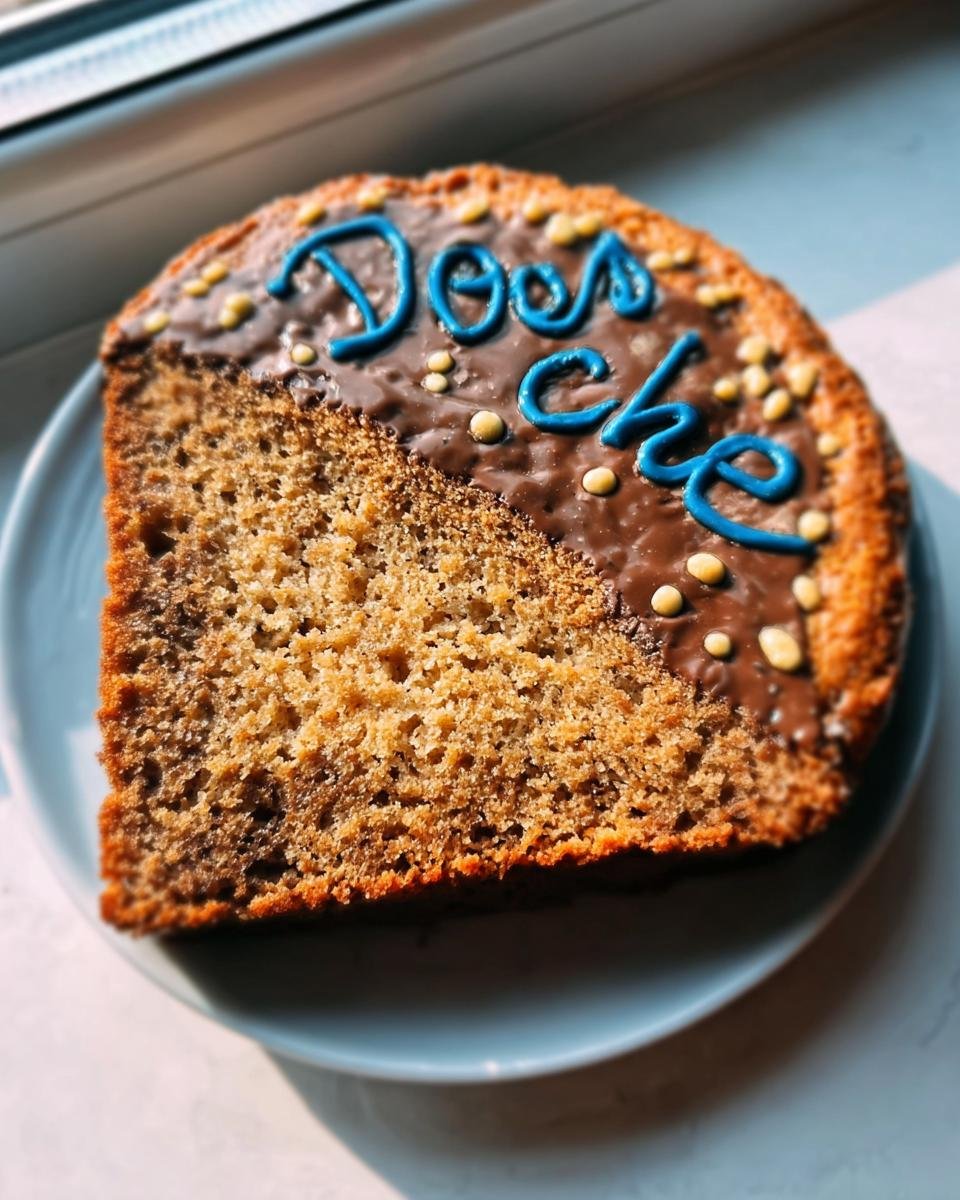
What makes this cake special isn’t some crazy secret ingredient; it’s the technique and the perfect balance of standard pantry items. I rely on this Cheers Cake because it never lets me down. The ratio of fat to liquid creates this beautifully tender crumb that holds up well, even after a day or two on the counter. It’s a wonderfully classic American home baking standard.
It’s the cake I pull out when I need something dependable. Honestly, whether I’m dressing it up for a big event or just serving it plain with coffee, it always gets rave reviews!
Quick Preparation for Your Cheers Cake
The best part? You’re looking at barely twenty minutes of prep time, people! Seriously, that’s faster than a trip through the drive-thru sometimes. Total time is under an hour, and most of that is just hands-off baking time for this fantastic Cheers Cake. It’s built for busy people who still love real, comforting dessert.
Equipment Needed for Perfect Baking
You don’t need a professional setup for this, thankfully. Just grab your standard mixing bowl, an electric mixer to do the hard work of creaming, and a simple 9-inch round baking pan. That’s it! Keep those tools handy, and you’re already halfway there.
Gathering Ingredients for Your Cheers Cake
Before you even think about turning on the oven, let’s talk ingredients. For a cake this simple, the quality of what you use really shines! My biggest piece of advice? Make sure your butter is actually softened—not melted, just soft enough to give slightly when pressed. And eggs? They should be room temperature. Cold eggs tossed into creamed butter can make the batter seize up, and we absolutely don’t want that fuss with the Cheers Cake process.
Using room-temperature ingredients helps everything emulsify properly, which is how we get that smooth, uniform texture instead of a greasy mess. Trust me, taking five minutes to let the butter and eggs warm up saves you headaches later!
Cake Ingredients List
- 1.5 cups All-purpose flour
- 1 cup Granulated sugar
- 1 tsp Baking powder
- 0.5 tsp Salt
- 0.5 cup Unsalted butter, softened
- 2 Large eggs
- 0.5 cup Milk
- 1 tsp Vanilla extract
Step-by-Step Instructions to Bake the Cheers Cake
Alright, we’re ready to mix! This isn’t a complicated procedure, but paying attention to the order and speed during mixing is what keeps this Cheers Cake beautifully consistent. Take a second to read through the instructions before you start banging things around in the kitchen.
Preparing the Pan and Oven
First thing’s first: we need heat! Preheat your oven right now to 350 degrees F (175 degrees C). While that warms up, grab your 9-inch round baking pan. You need to generously grease and flour it. Don’t skip that step; nothing ruins the moment faster than a sticky, stuck cake!
Mixing the Batter for the Cheers Cake
In your large bowl, we start dry. Whisk together the flour, sugar, baking powder, and salt until they look happy and combined. Now, add that softened butter. Set your electric mixer to low—we need this to resemble coarse crumbs, like wet sand. This step is developing structure for our Cheers Cake!
In a separate spot, quickly whisk your two eggs, milk, and vanilla extract. Once that’s done, slowly add the liquid mixture to the crumbly dry ingredients. Mix on medium speed just until everything comes together. I mean it: Do not overmix! A few small streaks are fine; overmixing builds too much gluten and we want cake, not rubber bands.
Baking and Cooling
Pour that lovely batter into your prepared pan and smooth the top gently. Pop it into the preheated oven for about 30 to 35 minutes. You’ll know it’s done when a toothpick inserted right into the center comes out completely clean. Let the cake rest in the pan for about 10 minutes—this lets it firm up a bit before you try to move it. Then, carefully turn it out onto a wire rack to cool all the way through. Patience here prevents breakage!
Tips for Perfecting Your Cheers Cake Every Time
Even simple recipes benefit from a few insider tips, right? I’ve learned a few tricks over the years to make sure my Cheers Cake comes out perfect every single time, even on my busiest days.
- Don’t eyeball the baking powder measurement. It’s a small amount, but it’s crucial for the lift. Too much, and your cake tastes metallic; too little, and it gets dense.
- When combining the wet and dry mixes, stop the mixer the second you don’t see any more white flour streaks. It might look *slightly* shaggy, but it will smooth out in the heat of the oven.
- Make sure your baking powder bottles aren’t ancient! If it’s been sitting in the pantry for years, it’s lost its power, and you’ll end up with a flat disc instead of a proper cake.
- If you want a slightly richer flavor that tastes homemade (which it is!), use full-fat whole milk instead of anything lower. Fat equals flavor here!
Ingredient Notes and Substitutions for This Cake
If you run out of something, don’t panic! This recipe is quite flexible, though I always suggest sticking to the core ingredients when possible.
Butter is best, truly, because of the flavor it lends, but if you absolutely need to sub in a good quality margarine or shortening, you can. Just know the flavor profile will change slightly because we lose that beautiful dairy richness.
Milk is easy to swap. You can use almond, soy, or even a non-dairy beverage if you water it down a smidge to mimic whole milk consistency. I would avoid using heavy cream straight up unless you cut it with water, otherwise, the batter might get too rich and heavy.
For the sugar, granulated white sugar is essential here because it creams perfectly with the butter to incorporate air. Brown sugar might make it too dense, so I stick strictly to white for this particular base.
Serving Suggestions for Your Cheers Cake
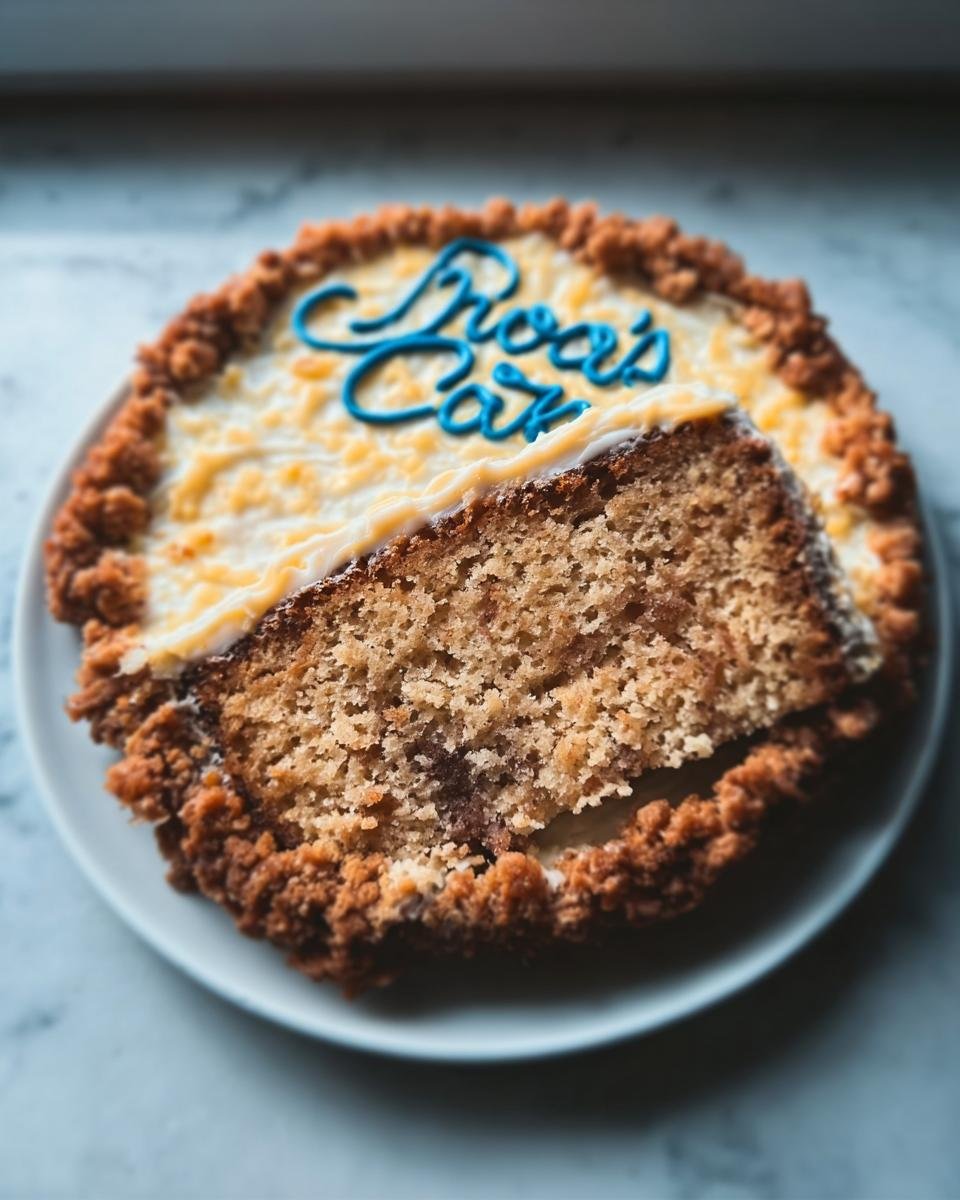
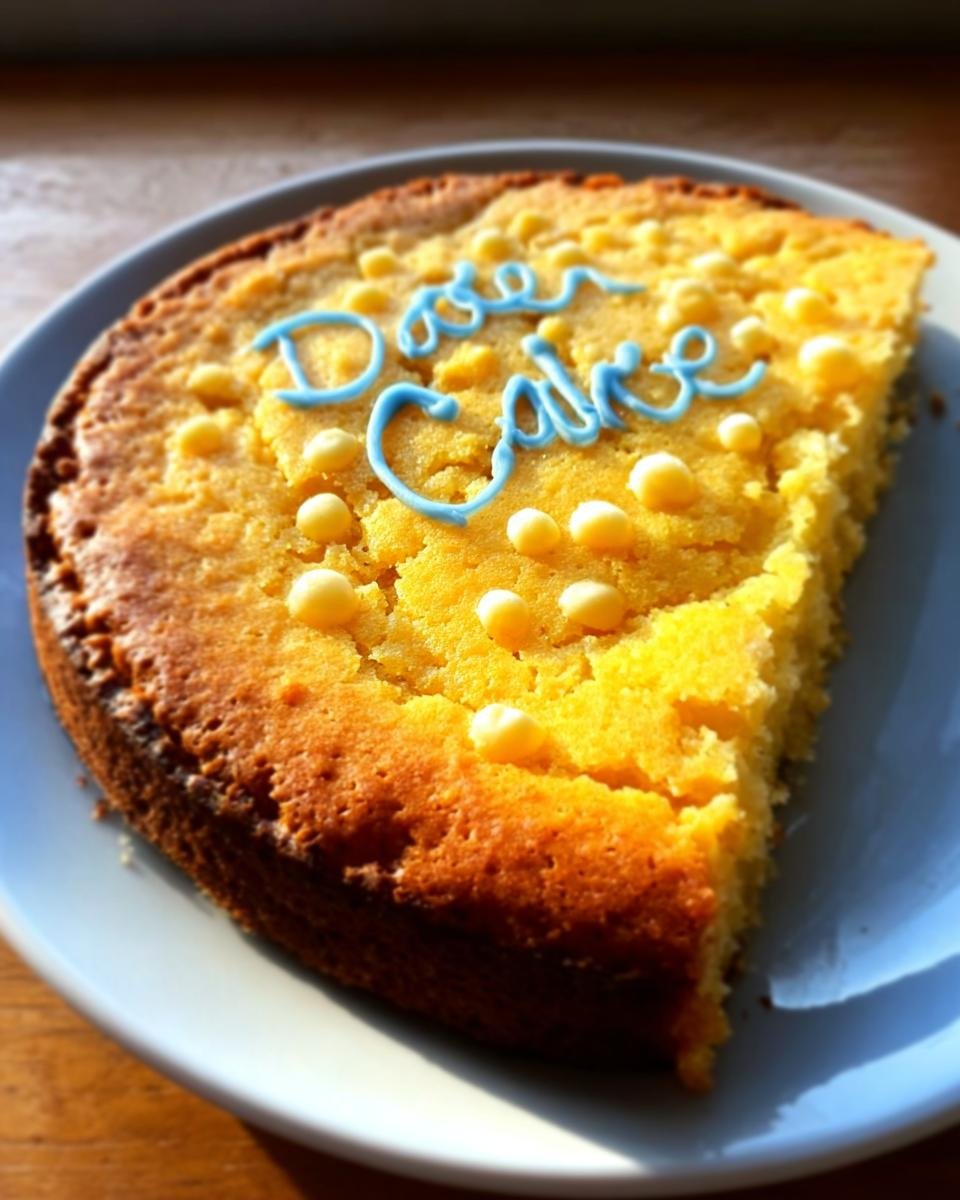
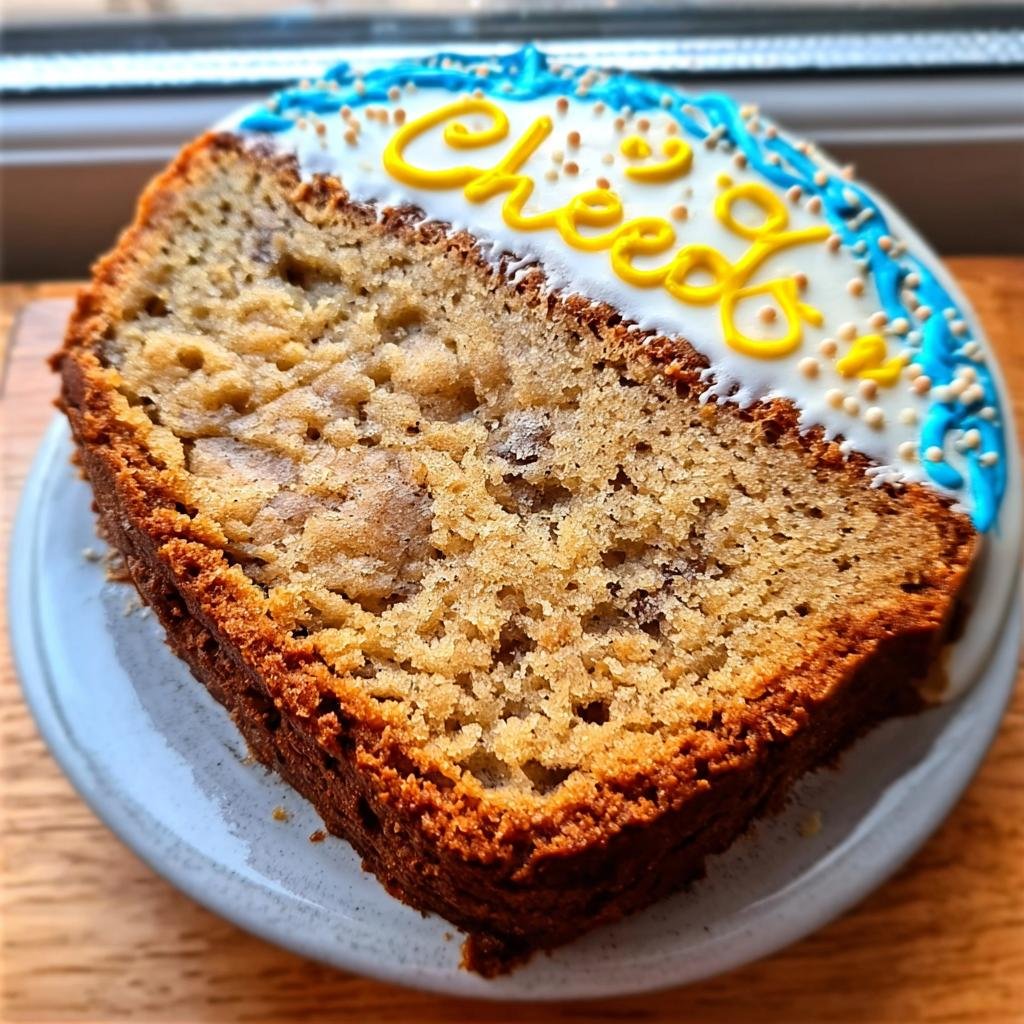
The beauty of this delightful Cheers Cake is that it’s a perfect blank canvas ready for decoration, or just fantastic plain! My own family prefers a simple dusting of powdered sugar—I use a fine-mesh sieve and just dust it right over the top while the cake is still slightly warm. It gives it such a homey, classic look.
However, if you need something fancier for a party, you can always go with a classic vanilla or almond buttercream frosting. A hint of lemon zest mixed into a simple glaze also brightens everything up without feeling too heavy. It’s amazing how a little topping can completely change the vibe of this simple dessert!
Storing Leftover Cheers Cake
If, by some miracle, you have leftovers of your wonderful Cheers Cake, storage is super simple. As long as it’s unfrosted, it keeps beautifully right on the counter, loosely covered with foil or plastic wrap, for about two to three days. It actually seems to get a little moister overnight, which is a bonus!
If you’ve frosted it with butter or cream cheese frosting, you should definitely keep it in the fridge. Just make sure to take a slice or two out about 30 minutes before serving so it can come back to room temperature, making it soft and enjoyable again.
Frequently Asked Questions About This Cake Recipe
Can I make this Cheers Cake into cupcakes?
Yes, you absolutely can! Cupcakes are an excellent way to serve a crowd quickly. Just fill your lined cupcake tins about two-thirds full. Since cupcakes are smaller, they cook much faster—plan on checking them around 18 to 20 minutes instead of the full 35. Enjoy those perfect little single-serving portions of Cheers Cake!
What is the best frosting to pair with this cake?
I think a light, tangy frosting cuts the simple sweetness of the cake so wonderfully. My top recommendation is a classic cream cheese frosting—the slight tanginess complements the simple vanilla base perfectly. Vanilla bean buttercream is a close second if you prefer something richer but still simple.
Nutritional Estimate for One Serving of Cheers Cake
Since this is a straightforward home recipe made with standard pantry items, I pulled together an estimated nutritional overview for one slice, based on 8 servings. Remember, these numbers shift depending on what brands you use and if you add any toppings like frosting!
- Calories: 300
- Carbohydrates: 40g
- Protein: 5g
- Fat: 14g (Saturated Fat: 8g)
- Cholesterol: 60mg
- Sodium: 250mg
- Sugar: 20g
It’s a lovely, balanced treat without breaking the bank on calories for a simple celebration cake!
Why This Cheers Cake Recipe Works So Well (E-E-A-T Focus)
What makes this cake special isn’t some crazy secret ingredient; it’s the technique and the perfect balance of standard pantry items. I rely on this Cheers Cake because it never lets me down. The ratio of fat to liquid creates this beautifully tender crumb that holds up well, even after a day or two on the counter. It’s a wonderfully classic American home baking standard. You can even check out some other great options over at our cake ideas collection if you’re looking for inspiration!
It’s the cake I pull out when I need something dependable. Honestly, whether I’m dressing it up for a big event or just serving it plain with coffee, it always gets rave reviews!
Quick Preparation for Your Cheers Cake
The best part? You’re looking at barely twenty minutes of prep time, people! Seriously, that’s faster than a trip through the drive-thru sometimes. Total time is under an hour, and most of that is just hands-off baking time for this fantastic Cheers Cake. It’s built for busy people who still love real, comforting dessert.
Equipment Needed for Perfect Baking
You don’t need a professional setup for this, thankfully. Just grab your standard mixing bowl, an electric mixer to do the hard work of creaming, and a simple 9-inch round baking pan. That’s it! Keep those tools handy, and you’re already halfway there.
Gathering Ingredients for Your Cheers Cake
Before you even think about turning on the oven, let’s talk ingredients. For a cake this simple, the quality of what you use really shines! My biggest piece of advice? Make sure your butter is actually softened—not melted, just soft enough to give slightly when pressed. And eggs? They should be room temperature. Cold eggs tossed into creamed butter can make the batter seize up, and we absolutely don’t want that fuss with the Cheers Cake process.
Using room-temperature ingredients helps everything emulsify properly, which is how we get that smooth, uniform texture instead of a greasy mess. Trust me, taking five minutes to let the butter and eggs warm up saves you headaches later! This list is short, sweet, and reliable.
Cake Ingredients List
- 1.5 cups All-purpose flour
- 1 cup Granulated sugar
- 1 tsp Baking powder
- 0.5 tsp Salt
- 0.5 cup Unsalted butter, softened
- 2 Large eggs
- 0.5 cup Milk
- 1 tsp Vanilla extract
Step-by-Step Instructions to Bake the Cheers Cake
Alright, we’re ready to mix! This isn’t a complicated procedure, but paying attention to the order and speed during mixing is what keeps this Cheers Cake beautifully consistent. Take a second to read through the instructions before you start banging things around in the kitchen. It’s simple stuff, but doing it in the right sequence makes all the difference in the final texture!
I’ve linked to a few easy dinner recipes just in case you’re planning a full meal, but right now, focus on the oven!
Preparing the Pan and Oven
First thing’s first: we need heat! Preheat your oven right now to 350 degrees F (175 degrees C). While that warms up, grab your 9-inch round baking pan. You need to generously grease and flour it. Don’t skip that step; nothing ruins the moment faster than a sticky, stuck cake!
Mixing the Batter for the Cheers Cake
In your large bowl, we start dry. Whisk together the flour, sugar, baking powder, and salt until they look happy and combined. Now, add that softened butter. Set your electric mixer to low—we need this to resemble coarse crumbs, like wet sand. This step is developing structure for our Cheers Cake!
In a separate spot, quickly whisk your two eggs, milk, and vanilla extract. Once that’s done, slowly add the liquid mixture to the crumbly dry ingredients. Mix on medium speed just until everything comes together. I mean it: Do not overmix! A few small streaks are fine; overmixing builds too much gluten and we want cake, not rubber bands.
Baking and Cooling
Pour that lovely batter into your prepared pan and smooth the top gently. Pop it into the preheated oven for about 30 to 35 minutes. You’ll know it’s done when a toothpick inserted right into the center comes out completely clean. Let the cake rest in the pan for about 10 minutes—this lets it firm up a bit before you try to move it. Then, carefully turn it out onto a wire rack to cool all the way through. Patience here prevents breakage!
Tips for Perfecting Your Cheers Cake Every Time
Even simple recipes benefit from a few insider tips, right? I’ve learned a few tricks over the years to make sure my Cheers Cake comes out perfect every single time, even on my busiest days. When you stick to these basics, you’re building up that baking authority!
- Don’t eyeball the baking powder measurement. It’s a small amount, but it’s crucial for the lift. Too much, and your cake tastes metallic; too little, and it gets dense.
- When combining the wet and dry mixes, stop the mixer the second you don’t see any more white flour streaks. It might look *slightly* shaggy, but it will smooth out in the heat of the oven. I always recommend checking out quick and easy recipes for other fast baking wins!
- Make sure your baking powder bottles aren’t ancient! If it’s been sitting in the pantry for years, it’s lost its power, and you’ll end up with a flat disc instead of a proper cake.
- If you want a slightly richer flavor that tastes homemade (which it is!), use full-fat whole milk instead of anything lower. Fat equals flavor here!
Ingredient Notes and Substitutions for This Cake
If you run out of something, don’t panic! This recipe is quite flexible, though I always suggest sticking to the core ingredients when possible. It’s important to know when a substitute is okay and when it might change the cake’s structure.
Butter is best, truly, because of the flavor it lends, but if you absolutely need to sub in a good quality margarine or shortening, you can. Just know the flavor profile will change slightly because we lose that beautiful dairy richness. Stick to what you have, but be aware that the texture might feel a tiny bit less tender.
Milk is easy to swap. You can use almond, soy, or even a non-dairy beverage if you water it down a smidge to mimic whole milk consistency. I would avoid using heavy cream straight up unless you cut it with water, otherwise, the batter might get too rich and heavy for the leavening agents we are using.
For the sugar, granulated white sugar is essential here because it creams perfectly with the butter to incorporate air. Brown sugar might make it too dense, so I stick strictly to white for this particular base. If you use all brown sugar, your cake might bake up significantly darker and heavier than intended.
Serving Suggestions for Your Cheers Cake
The beauty of this delightful Cheers Cake is that it’s a perfect blank canvas ready for decoration, or just fantastic plain! My own family prefers a simple dusting of powdered sugar—I use a fine-mesh sieve and just dust it right over the top while the cake is still slightly warm. It gives it such a homey, classic look that screams comfort.
But let’s be real, sometimes you need some flair! If you’re taking this to a gathering or a potluck, you can always go with a classic vanilla or almond buttercream frosting. A hint of lemon zest mixed into a simple glaze also brightens everything up without feeling too heavy. It’s amazing how a little topping can completely change the vibe of this simple dessert, making it feel ready for any holiday or celebration. You can find some light holiday recipes online if you need decoration ideas that don’t weigh the cake down, though I tend to keep the toppings simple for this one.
Honestly, this cake is so reliable, it pairs well with just a scoop of vanilla ice cream and maybe a few fresh berries if you have them hiding in the fridge!
Storing Leftover Cheers Cake
If, by some miracle, you have leftovers of your wonderful Cheers Cake, storage is super simple. You want to keep it protected from air so it doesn’t dry out, but you don’t need to panic about finding fridge space if you plan to eat it soon.
As long as the cake is completely unfrosted, it keeps beautifully right on the counter, loosely covered with foil or plastic wrap, for about two to three days. I find that this cake actually seems to get a little moister overnight as the starches settle in, which is a total bonus! Don’t leave it out for longer than that, though.
If you’ve frosted your Cheers Cake with anything dairy-based, like buttercream or cream cheese frosting, you should definitely cover it and tuck it into the fridge. Just make sure you pull a slice or two out about 30 minutes before you plan to eat it. Letting it come back up to room temperature makes the texture so much softer and more enjoyable!
And yes, freezing works great if you need to save it longer! Let the cake cool completely, wrap it tightly in plastic wrap first, and then tuck that package into a freezer bag. It lasts wonderfully for up to two months, and when you’re ready for a piece of Cheers Cake, just let it thaw overnight on the counter while still wrapped.
Frequently Asked Questions About This Cake Recipe
I always get so many questions about straightforward recipes like this one! People want to know the shortcuts or the safe substitutions, and that’s totally fair. It’s great that you’re thinking ahead—that’s how you become a successful baker!
If you’re looking for other fast ideas while you wait for this cake to cool, check out these quick low-carb lunches—baking sure you have something savory for tomorrow helps!
Can I make this Cheers Cake into cupcakes?
Yes, you absolutely can! Cupcakes are an excellent way to serve a crowd quickly. Just fill your lined cupcake tins about two-thirds full. Since cupcakes are smaller, they cook much faster—plan on checking them around 18 to 20 minutes instead of the full 35. Enjoy those perfect little single-serving portions of Cheers Cake!
What is the best frosting to pair with this cake?
I think a light, tangy frosting cuts the simple sweetness of the cake so wonderfully. My top recommendation is a classic cream cheese frosting—the slight tanginess complements the simple vanilla base perfectly. Vanilla bean buttercream is a close second if you prefer something richer but still simple.
Nutritional Estimate for One Serving of Cheers Cake
Since this is a straightforward home recipe made with standard pantry items, I pulled together an estimated nutritional overview for one slice, based on 8 servings. Remember, these numbers shift depending on what brands you use and if you add any toppings like frosting! I always try to keep things realistic when tracking food, and these figures are based on standard grocery store products.
If you are looking to compare this to other lighter options, you can check out some calorie-smart recipes around the site!
- Calories: 300
- Carbohydrates: 40g
- Protein: 5g
- Fat: 14g (Saturated Fat: 8g)
- Cholesterol: 60mg
- Sodium: 250mg
- Sugar: 20g
It’s a lovely, balanced treat without breaking the bank on calories for a simple celebration cake! This is just for the cake itself, mind you; frosting will certainly add to the tally!
Cheers Cake
Ingredients
Equipment
Method
- Preheat your oven to 350 degrees F (175 degrees C). Grease and flour a 9-inch round baking pan.
- In a large bowl, whisk together the flour, sugar, baking powder, and salt.
- Add the softened butter to the dry ingredients. Beat with an electric mixer on low speed until the mixture resembles coarse crumbs.
- In a separate small bowl, whisk the eggs, milk, and vanilla extract together.
- Gradually add the wet ingredients to the dry ingredients, mixing on medium speed until just combined. Do not overmix.
- Pour the batter into the prepared baking pan and spread evenly.
- Bake for 30 to 35 minutes, or until a toothpick inserted into the center comes out clean.
- Let the cake cool in the pan for 10 minutes before turning it out onto a wire rack to cool completely.