
Oh my goodness, I completely get it! When you’re trying to balance classes, maybe a part-time job, and just surviving on ramen half the time, that daily five-dollar latte starts to feel like a serious financial mistake. I remember those days staring longingly at the campus coffee shop, knowing I needed that caffeine kick but knowing my wallet just couldn’t handle it.
But here’s the secret: you don’t have to give up those comforting, customized drinks just because you’re on a strict spending plan! We all deserve a little treat, right? That’s why I’m sharing my absolute best shortcuts and hacks for creating amazing quality drinks right in your tiny dorm room. Forget the high prices; we are diving deep into making the best **Dorm-Friendly Starbucks Drinks: Starbucks on a Budget** without breaking the bank. Trust me, a few small, smart changes make a huge difference in your bank account by the end of the semester!
Why Dorm-Friendly Starbucks Drinks: Starbucks on a Budget is Your New Go-To
Look, when convenience meets cash savings, you just have to jump on it! Relying on this method really changes the game for your weekday routine. It’s not about giving up your favorite flavors; it’s about getting smarter with how you access them. My goal here is pure practicality for anyone stuck in a shoebox dorm! If you are already figuring out how to make dorm-friendly chicken thigh recipes on a budget, this is just the next logical step.
- It dramatically cuts down on impulse spending when you pass the coffee shop daily.
- You control exactly what goes in—less sugar, fewer weird additives if that’s your thing!
- You save precious time waiting in those ridiculously long morning lines.
Making your own customized caffeine fix is the core of nailing **Dorm-Friendly Starbucks Drinks: Starbucks on a Budget**.
Saving Money with Dorm-Friendly Starbucks Drinks: Starbucks on a Budget
Let’s talk real numbers. If you buy that fancy blended drink every day for five dollars, that’s twenty-five dollars a week, right? That adds up so fast! By using the tricks I’m about to show you, you can bring the cost of that same drink down to maybe seventy-five cents or a dollar using basic shelf-stable ingredients. Seriously, that’s the cost of two packets of sugar!
Simplifying Your Coffee Routine with Dorm-Friendly Starbucks Drinks: Starbucks on a Budget
It’s shockingly simple, which is why this works so well in small spaces. You aren’t whipping up complicated syrups every morning. You prep a component or two, maybe the night before, and then it’s just assembly. This hack makes your morning flow so much smoother, proving that **Dorm-Friendly Starbucks Drinks: Starbucks on a Budget** can be fast, easy, and taste great!
Essential Equipment for Crafting Dorm-Friendly Starbucks Drinks: Starbucks on a Budget
You truly don’t need much space or fancy gadgets when you’re trying to make drinks like these. We aren’t breaking out the immersion blenders here, nope! We need things that are small, easy to wash, and can handle boiling water safely. Think simplicity above all else. If you’re mastering one-pot sausage dinners, you can handle this level of minimal equipment!
For **Dorm-Friendly Starbucks Drinks: Starbucks on a Budget**, I always recommend having three key items on hand:
- A good, sturdy travel mug or insulated thermos. That keeps your hot drinks hot (or cold drinks cold!) for hours.
- A small whisk or even just a couple of forks taped together—this helps mix any powders really well. I sometimes use a tiny cocktail shaker if I smuggled one in!
- Measuring spoons or a simple liquid measuring cup. Eyeballing the syrup just doesn’t give you that consistent flavor.
That’s honestly it! You can make incredible drinks with just those simple tools.
Ingredients for Your Budget-Conscious Starbucks Fix
Okay, this is where the real magic happens! Forget needing tubs of expensive powders or specialty milk. For our **Dorm-Friendly Starbucks Drinks: Starbucks on a Budget**, we focus on buying the basics in larger, cheaper formats and then jazzing them up.
When I was setting up my dorm coffee station, I treated it like stocking a pantry for those easy honey garlic chicken recipes—start with the staples, then add flavor boosters. You don’t need a whole week’s worth of specialty dairy; you just need the right flavor architects!
Base Ingredients for Budget Starbucks Drinks
These are the things you’ll use up, so buying in slightly larger, affordable bulk sizes is smart. I always keep these stocked:
- One large box of plain black tea bags (you can use these for shaken espresso bases or lattes).
- One medium jar of instant espresso powder—it dissolves way better than regular coffee granules, which is crucial for cold drinks!
- One container of shelf-stable shelf-stable oat milk (the quart size lasts me almost two weeks).
Flavor Enhancers for Dorm-Friendly Starbucks Drinks: Starbucks on a Budget
If you want that authentic coffee shop taste without the price tag, you need flavor. Instead of buying pre-made liquid pumps, which are expensive, I grab extracts. Extracts are super concentrated, so a tiny bottle lasts forever. This is the key to amazing **Dorm-Friendly Starbucks Drinks: Starbucks on a Budget**!
- One small bottle of clear vanilla extract (so it doesn’t muddy up light drinks).
- One small bottle of almond extract, trust me on this one—a single drop mimics that popular nutty syrup flavor perfectly!
- A bag of plain granulated sugar, or if you can find it, a small bottle of liquid stevia drops for sugar-free options.
Step-by-Step Guide to Mastering Dorm-Friendly Starbucks Drinks: Starbucks on a Budget
Now for the fun part—actually making the treats! We’re focusing on simplicity here because nobody wants a complicated process before a morning lecture. I use these exact steps to create my favorite, dirt-cheap Iced Caramel Macchiato dupe. It tastes shockingly close, I promise. These little hacks are what make **Dorm-Friendly Starbucks Drinks: Starbucks on a Budget** so achievable, even if you’re sharing a mini-fridge with a roommate!
Keep that basic kit of equipment ready. We’re using hot water, but we’re going to chill things down fast. If you want to check out how I manage my sweet treats, you can see my tips for banana bread in a dorm setting; the ingredient storage philosophy is similar!
Creating the Perfect Base for Your Budget Drink
For the coffee base, skip the drip machine! I use instant espresso powder mixed directly into a tiny bit of hot water—just enough for it to dissolve completely, maybe two tablespoons worth. Whisk it aggressively until it’s smooth and all the grit is gone. This creates a super-concentrated coffee shot that tastes much smoother than regular instant coffee. If you prefer tea, steep two tea bags in just a half-cup of hot water for about five minutes to get a very strong tea concentrate. Remember, we are concentrating flavors!
Assembling Your Dorm-Friendly Starbucks Drinks: Starbucks on a Budget
Once your base is ready, it’s all about the layering when making **Dorm-Friendly Starbucks Drinks: Starbucks on a Budget**. First, grab your tall travel mug and fill it about two-thirds full with ice. Pour in your concentrated coffee base first, and then add a splash of your shelf-stable milk. Now for the ‘caramel’ flavor—I drizzle in about a teaspoon of vanilla extract and a dash of stevia or sugar right over the ice. The cold stops the extract from overpowering everything instantly!
Finally, add just a little more milk to top it off. Stir it gently with your fork or small whisk. When you take that first sip, you get that intense, sweet, cold jolt just like you paid five bucks for it. Easy, right?
Tips for Maximum Flavor in Dorm-Friendly Starbucks Drinks: Starbucks on a Budget
You nailed the basic steps, but now we need to elevate these drinks from “okay dorm coffee” to “I can’t believe I made this cheap!” Flavor is all in the technique and sourcing, which you’d know if you’ve ever tried to figure out how I get my chocolate chip banana bread incredibly moist—it’s all about those tiny adjustments.
For **Dorm-Friendly Starbucks Drinks: Starbucks on a Budget**, the goal is mimicking those complex layers of flavor the baristas build. You can do this without spending extra money at the register!
First tip: Don’t forget the salt! I know, it sounds wild in coffee or tea, but just a tiny, tiny pinch of regular table salt when you mix your instant espresso or tea concentrate cuts the bitterness immediately. It brings out the sweetness of whatever syrup or extract you are using. It’s almost like adding a base note to music, and seriously, no one will ever guess what it is.
The texture is another big flavor component. If your cold drink tastes watery, you need more concentrated ice. Instead of using regular ice cubes, try making ice out of your leftover brewed tea or coffee from the day before! That way, as the ice melts, it just gets stronger, not weaker. I always have a small container of cold coffee cubes in my little dorm freezer.
My personal sourcing tip for maximum flavor on a budget? Skip the specialty coffee aisle entirely. Look in the baking aisle first. Extracts and pure vanilla are far cheaper and more potent than buying pre-made coffee syrups. Plus, remember: **Dorm-Friendly Starbucks Drinks: Starbucks on a Budget** success often hinges on finding the highest quality, cheapest base ingredients, usually found where regular groceries are kept, not specialty items.
And finally, always smell your extracts before using them. Almond extract, for instance, is very strong and can easily take over. A little goes a *long* way, which is exactly what we want when watching those pennies!
Common Questions About Dorm-Friendly Starbucks Drinks: Starbucks on a Budget
I knew you’d have questions! When deviating from the menu boards, things can get a little fuzzy, especially when you’re already running low on sleep and cabinet space. That’s totally normal! Trying out DIY coffee hacks can feel intimidating at first, but I’ve tried most of the tricky scenarios so you don’t have to waste your own precious instant coffee supply. Here are the ones I hear most often as people start their journey into **Dorm-Friendly Starbucks Drinks: Starbucks on a Budget**.
Are these DIY coffee hacks safe to keep in a dorm room fridge?
Mostly, yes! Since we are focusing on shelf-stable ingredients like extracts, honey, and instant coffee, you really only need to worry about what you do with milk or cream. If you are using shelf-stable oat milk or almond milk (the cartons that don’t need the fridge until opened), you are golden. If you opt for real dairy milk for a latte, you need to use it up quickly, or make sure you have enough fridge space—and trust me, sharing a fridge in a dorm is always a challenge! For storage ideas, check out my post on 24 grab-and-go breakfast ideas; it covers how I keep things organized in a small space.
How much time does making Dorm-Friendly Starbucks Drinks: Starbucks on a Budget really save me?
This is the best part for busy students! If you’re talking about the assembled drinks I walked you through—like the Iced Coffee hack—it takes less than three minutes if your water is already boiled or your concentrate is pre-made. Compare that to walking down to the campus café, waiting in the mobile order line, waiting for the baristas to actually make it, and walking back? You can save twenty minutes easily! That’s twenty minutes you could be using to review notes or just catching an extra few minutes of sleep.
Are there any cheap coffee alternatives that taste better than instant?
I hear you on the instant coffee bitterness! If you absolutely cannot stand the taste of instant espresso powder, even mixed well, you have a few cheap options. My favorite suggestion, if you can swing it, is picking up a small bag of pre-ground coffee and purchasing a cheap, small single-serve plastic pour-over device (they are usually less than five dollars online). If you steep that pre-ground coffee in a travel mug for about five minutes, it gives you a much cleaner flavor than instant. It takes an extra minute or two to steep, but many people find it worth the trade-off compared to classic **Dorm-Friendly Starbucks Drinks: Starbucks on a Budget** tactics.
Can I use these budget hacks outside of coffee, like for tea?
Absolutely! That’s why I focused so heavily on the vanilla and almond extracts; they transform tea just as well as coffee. If you are making a ‘Chai Latte’ dupe, steep a strong black tea bag, mix in your sugar or stevia, and then add just one tiny drop of vanilla extract and a small amount of milk. It gives the drink that creamy, spiced flavor that makes those expensive tea lattes so popular!
Storing Your DIY Coffee Creations
So you’ve made a big batch of that glorious, cheap coffee concentrate or you’ve mixed up a little batch of custom sweetener because you’re being super efficient—that’s great! But now you’re stuck with extra liquid staring at you in your tiny, already-packed dorm fridge. Don’t worry, I’ve totally been there. The key to making all these hacks work long-term is management, not throwing things out after one use.
You’ve got limited space, so organization is everything. If you can’t store it safely, it’s going to get funky, and then you’ve wasted precious ingredients! In my experience, the biggest challenge in dorm life isn’t the prep; it’s containment.
For any brewed coffee or tea concentrates you make ahead of time, you need something airtight and separate. Forget leaving it in that big, open mug you used to mix it in—you’ll end up with coffee flavor ghosting your roommate’s sad leftovers. I highly recommend dedicating one small mason jar or a similar container exclusively for your coffee base. A tight lid means you can safely tuck it away behind that carton of questionable milk without worrying about spills.
If you mix up a small batch of sweetener—say, sugar dissolved in a little bit of water to mimic a simple syrup—you need to treat that exactly like store-bought syrup. Keep it in the smallest container you own, sealed tightly, and keep it cold. Because it’s mostly sugar, it lasts a surprisingly long time compared to milk, but watch out for crystallization at the bottom. Give it a good shake or stir before use, even if it looks fine.
And here’s a practical tip I learned the hard way: if you are keeping any dairy or dairy alternative product, make sure it’s pushed to the very back of the fridge shelf. Things on the door get warm every time someone opens it, and that speeds up spoilage dramatically. Cold, dark, and sealed are your three storage mantras for anything you want to keep more than 24 hours!
Rating Your Dorm-Friendly Starbucks Drinks: Starbucks on a Budget
Okay, you’ve gone through the steps, you’ve saved cash, and you’re staring at your perfectly crafted, budget-friendly beverage. But how do you know if you’ve succeeded? We need a system! Just like how I rate my copycat breakfast bites, you need to score your drink based on what matters to you. This final taste test is how you refine your recipe for next time!
When I’m testing a new version for my **Dorm-Friendly Starbucks Drinks: Starbucks on a Budget** series, I check three main things. Don’t just gulp it down; take a proper, thoughtful sip!
- Strength Check: Is it hitting you right in that sweet spot, or is it painfully weak? If it’s weak, you know for next time you need stronger concentrate or more instant espresso powder.
- Sweetness Balance: This is personal, but try to gauge if the sweetness is balanced by the bitterness of the coffee or the tannins of the tea. Too sweet, and you wasted that precious extract!
- Texture/Mouthfeel: Does it feel satisfyingly cool and smooth, or is it thin and watery? If it feels thin, you need to remember to use that coffee-ice cube trick next time to keep the flavor density up.
Once you figure out your perfect ratio for your **Dorm-Friendly Starbucks Drinks: Starbucks on a Budget**, write it down somewhere! Honestly, I have a tiny sticky note inside my thermos lid listing my favorite ratios for when I’m rushing out the door.
Now, I want to hear from you! Did you try the almond extract trick? Did it taste exactly like that overly expensive drink you love? Let me know in the comments below what your winning formula is for making the absolute best **Dorm-Friendly Starbucks Drinks: Starbucks on a Budget**!
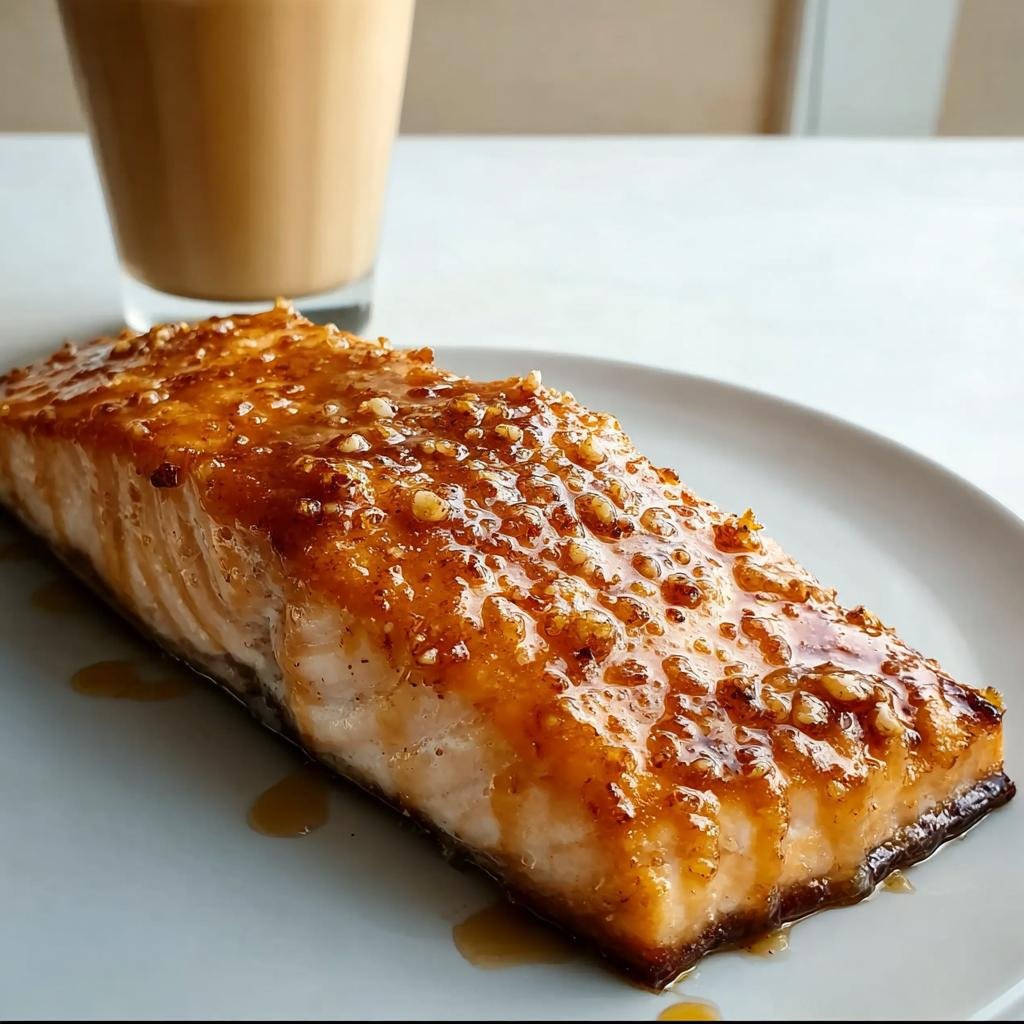
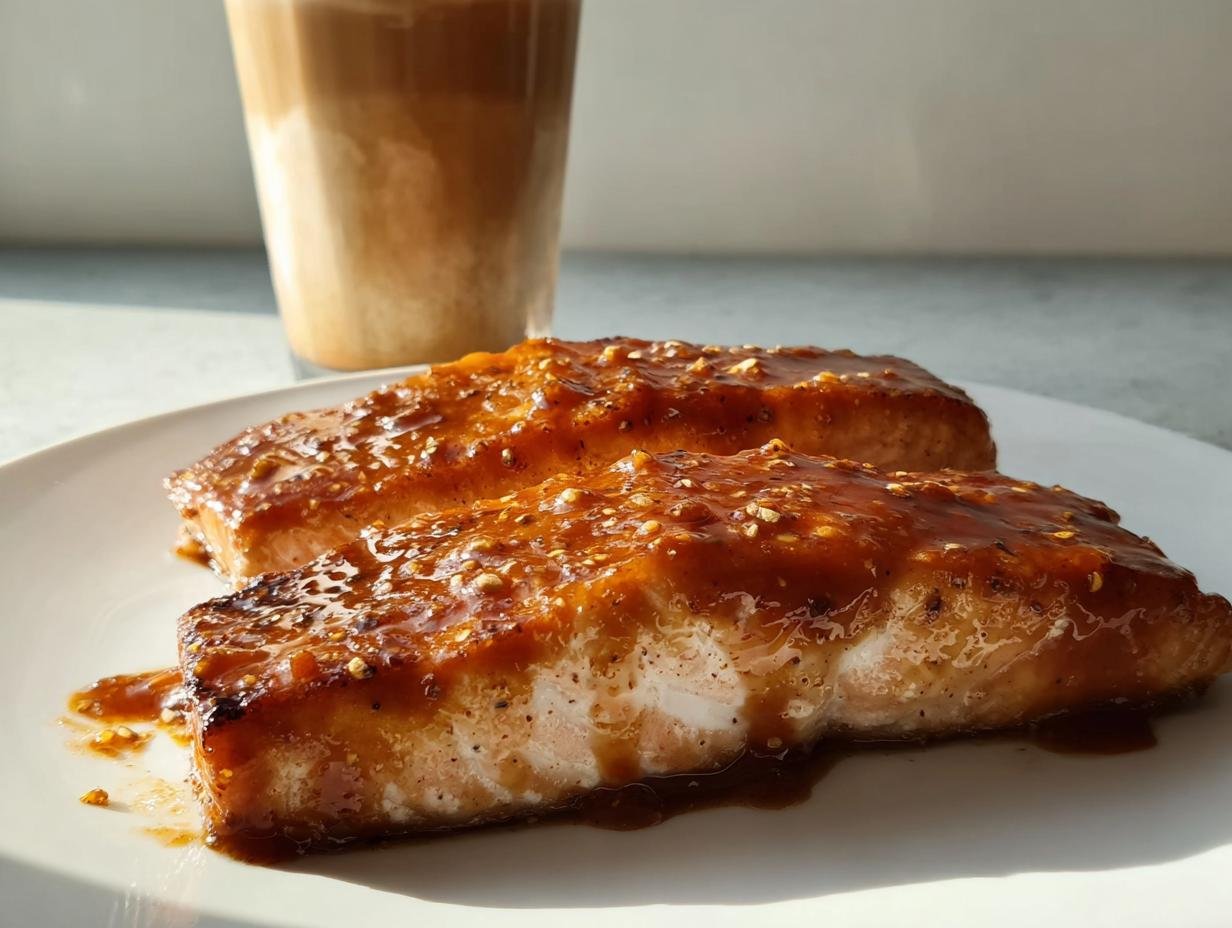
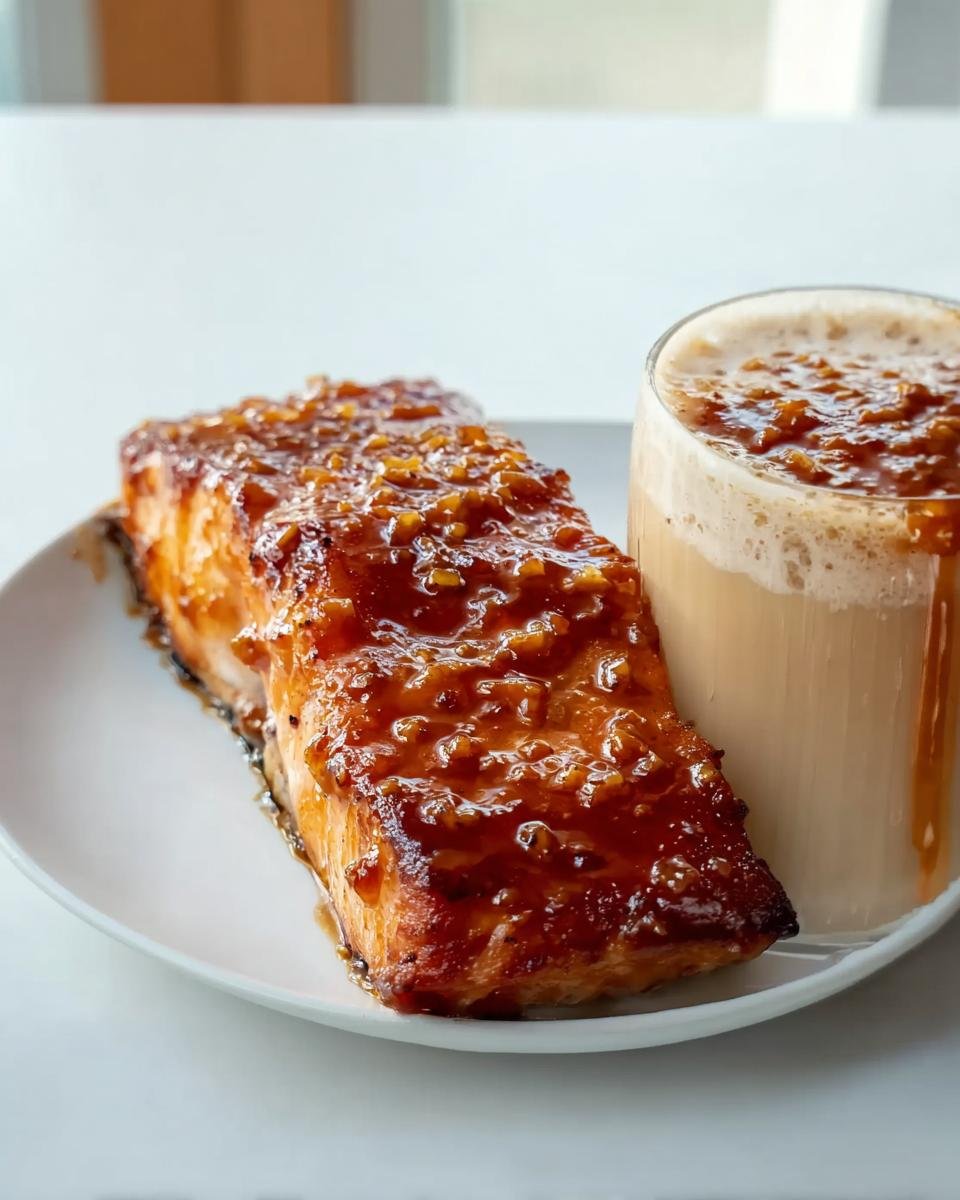
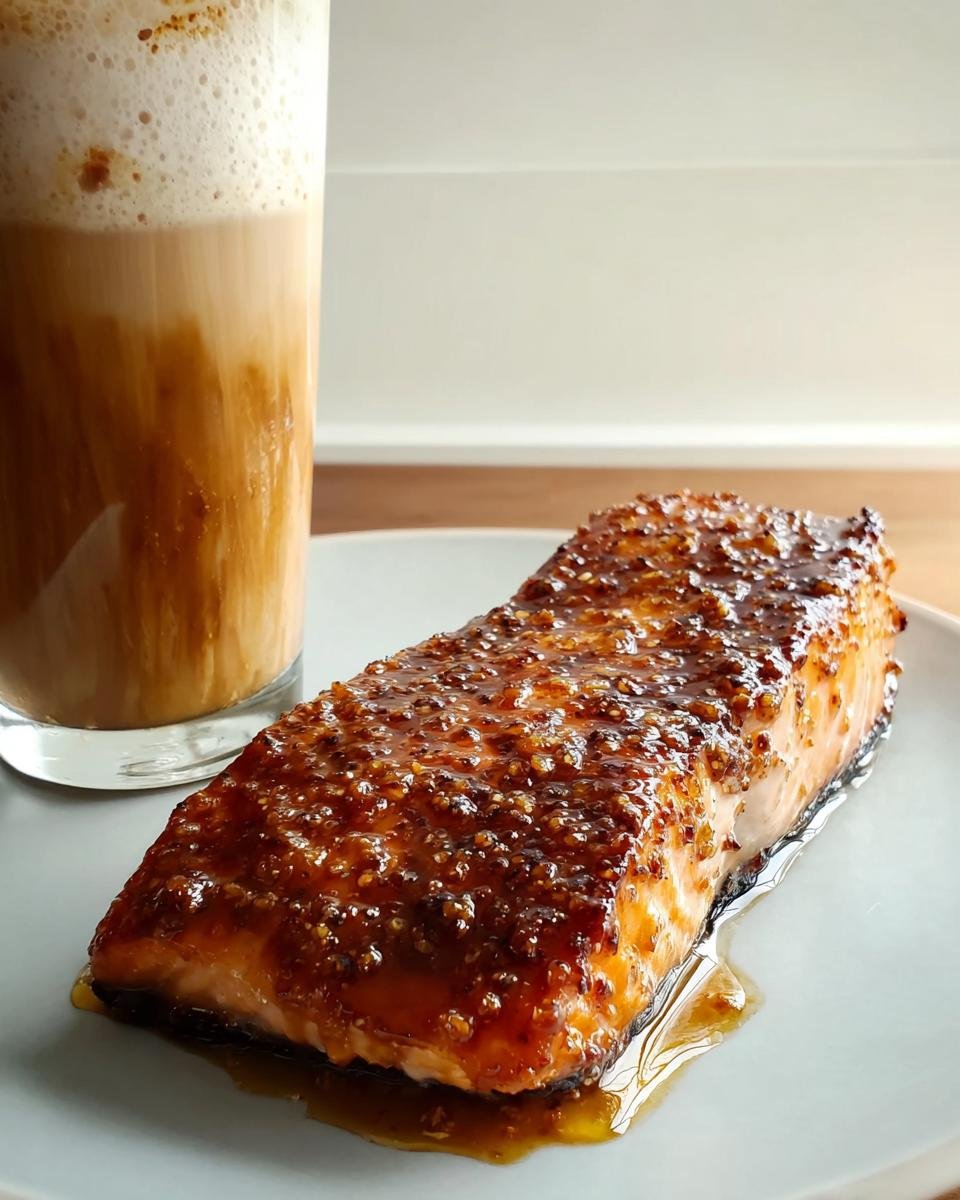
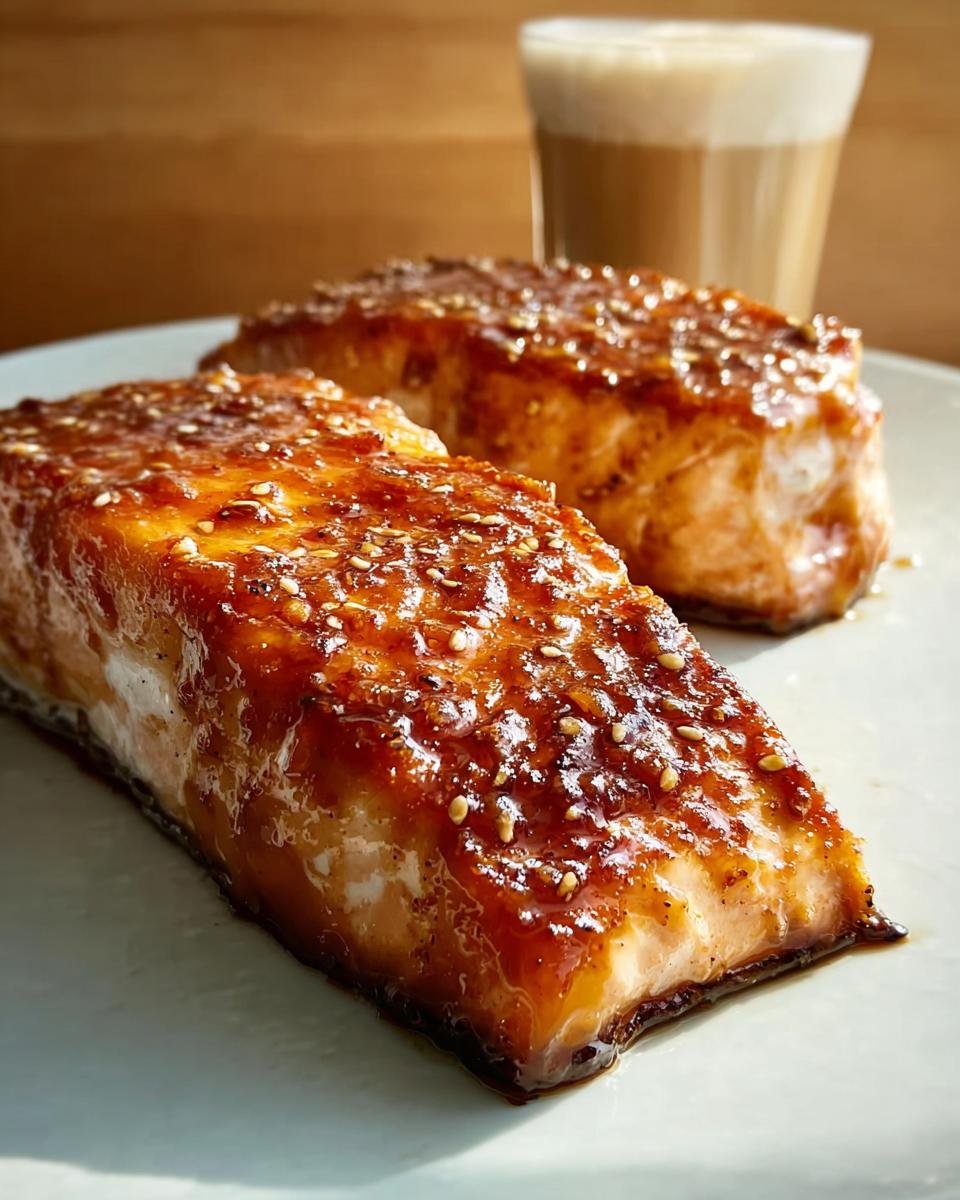
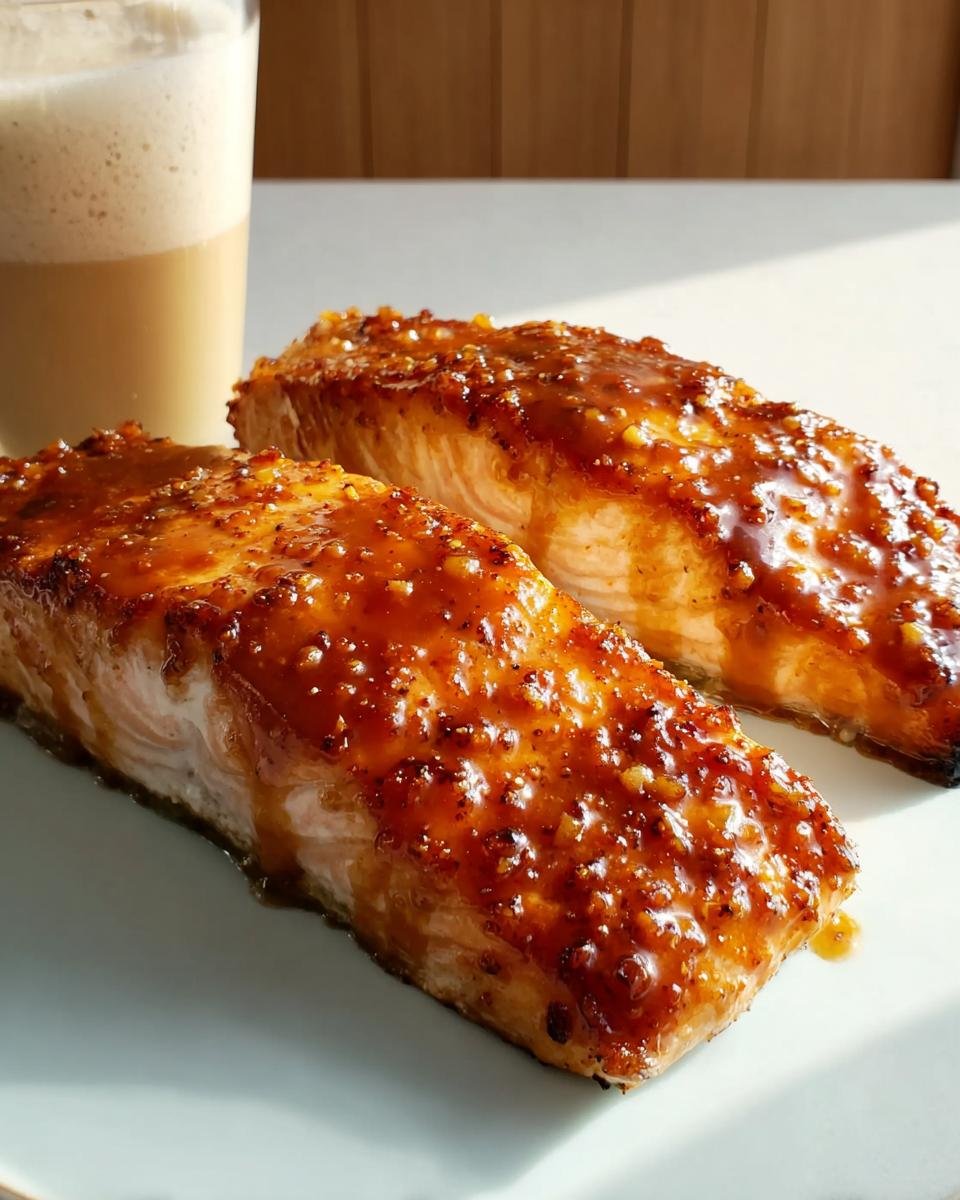
Crispy Honey Garlic Glazed Salmon
Ingredients
Equipment
Method
- Preheat your oven to 400°F (200°C). Line a baking sheet with parchment paper or foil.
- Pat the salmon fillets dry with paper towels. Rub them lightly with olive oil and season with salt and pepper. Place the fillets on the prepared baking sheet.
- In a small bowl, whisk together the honey, soy sauce, and minced garlic.
- Bake the salmon for 10 minutes.
- While the salmon bakes, stir the cornstarch and water mixture into the honey garlic sauce. Heat this mixture in a small saucepan over medium heat, stirring constantly until it thickens slightly, about 1 to 2 minutes. Remove from heat.
- Remove the salmon from the oven. Brush half of the thickened glaze over the tops of the fillets.
- Return the salmon to the oven and bake for another 5 minutes, or until the internal temperature reaches 145°F (63°C) and the glaze is bubbly and slightly caramelized.
- Remove the salmon from the oven. Brush with the remaining glaze before serving.