
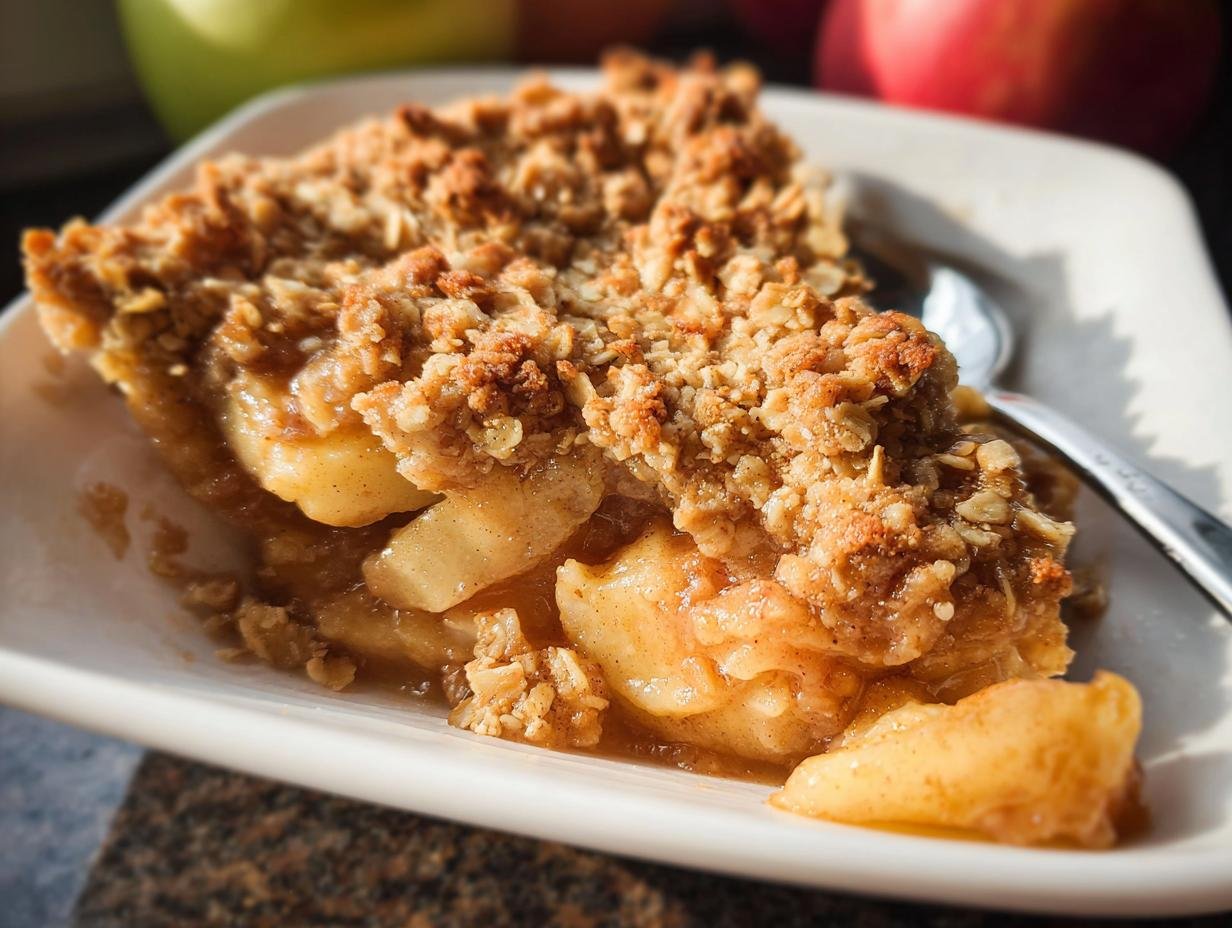
Oh, there is nothing quite like walking into the kitchen when the weather turns chilly and smelling cinnamon and baked apples. Those cozy dessert aromas are just the best, aren’t they? If you’re looking for a real kitchen hug, you have to try this **Apple Crumble Pie Easy No Fail** recipe. Trust me, this is the one time you don’t have to stress about your crust separating or your filling being too runny!
Apple crumble pies were my absolute first ‘confidence booster’ dessert growing up. I remember making them on damp, dreary weekends, always shocked at how something so incredibly simple could fill the entire house with warmth and delicious smells. That feeling of ease and success is what I aimed for when I perfected this crumb topping. It never fails, and now it’s yours!
We’re making everything from scratch here today, but without any fancy techniques. I promise you’ll be pulling this out for every holiday gathering, and your family will ask for it again and again.
Why This Apple Crumble Pie Easy No Fail Recipe Works for Everyone
This recipe shines because I took all the guesswork out! You get that homemade, comforting dessert feeling without the stress of making traditional pie dough. It’s truly the perfect combination for someone who needs an easy win in the kitchen.
- It’s incredibly family friendly, satisfying everyone from kids to grandparents.
- The filling is simple—just chopped fruit and spices—no fiddly slicing required!
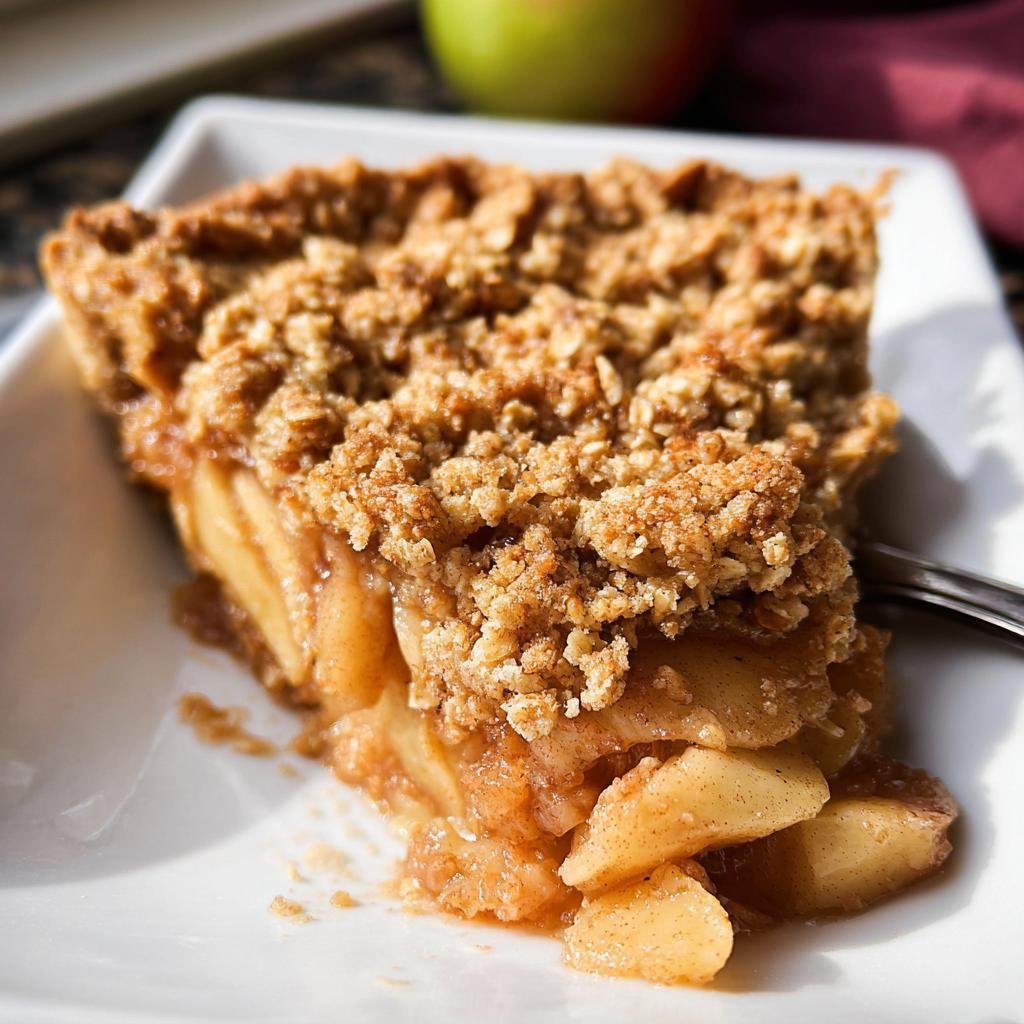
- It always bakes up beautifully, giving you that gorgeous golden color and bubbling fruit.
Quick Prep Time for Busy Days
Seriously, we’re talking about 20 minutes of hands-on time. That’s barely enough time to put the kettle on! You can have this almost entirely assembled before bedtime the night before you need it, which is great for busy schedules.
Reliable Results Every Time
I’ve messed up so many crumble toppings over my years of baking, but this ratio of oats, flour, and butter is tested and true. It guarantees a crisp, buttery finish that never gets soggy. It’s the ‘No Fail’ part of the title, and I stand by that!
Gathering Ingredients for Your Apple Crumble Pie Easy No Fail
You don’t need a pantry stuffed full of fancy items for this one, which is why I love it. Everything here comes together so quickly, and you probably have most of it already! We are making everything from scratch, so let’s get our components ready for assembly.
For the Spiced Apples Filling
- 6 golden delicious apples, peeled and chopped
- 2 Tbsp granulated sugar
- 3/4 tsp ground cinnamon
- 1 1/2 tsp lemon juice
For the Crisp Topping
This is where the magic happens, so pay attention! The butter absolutely has to be cold and diced into those small cubes you see listed. That coldness keeps the topping from melting too fast, which is key to that wonderful crisp texture.
- 1 cup light brown sugar
- 3/4 cup old fashioned oats (quick oats can be used if that’s what you have!)
- 3/4 cup all-purpose flour
- 1 tsp ground cinnamon
- 1 pinch kosher salt
- 1/2 cup cold unsalted butter, diced into small cubes
Essential Equipment for Making the Apple Crumble Pie Easy No Fail
You don’t need a stack of specialized baking gear to pull off this easy dessert, which is a huge win! Having the right tools just makes the process smoother, and I want to eliminate any chance of frustration for you. This recipe is famous for being simple, but having these basics ready helps keep us on track.
The most important thing you’ll need, hands down, is the baking vessel itself. Since this isn’t a traditional double-crust pie, we can use something much easier to manage!
- 1 standard 8×8 baking dish. This size is perfect for getting that ideal ratio of baked apple to crispy topping. If you use something too big, the apples will dry out!
- Mixing bowls, one large for the filling and one medium for the topping.
- A pastry blender or, even better, your own two hands for handling the butter in the crumble mixture.
Step-by-Step Instructions for Your Apple Crumble Pie Easy No Fail
It’s time to put everything together! Don’t sweat this part too much; remember, we are making an incredibly easy, forgiving dessert here. The key is just making sure those apples are flavorful and the topping stays crumbly. Follow along, and you’ll see how quickly we go from raw components to a warm slice of heaven.
Preparing the Baking Dish and Apples
First things first, get that heat going. Preheat your oven to 350 F degrees. Remember, your oven needs time to catch up, so do this before you start mixing the apples! Next up, you need to butter an 8×8 baking dish, or just spray it really well with non-stick cooking spray. Set that dish aside—we’ll need it soon.
Now, take all those 6 chopped golden delicious apples—or if you prefer, use sliced apples like I noted above, it just changes the texture slightly—and toss them right in a bowl. Add the 2 tablespoons of granulated sugar, the 3/4 teaspoon of cinnamon, and the lemon juice. Mix it all together with a spoon until every single apple piece is coated. Pour that beautiful spiced apple mixture evenly into your prepared baking dish.
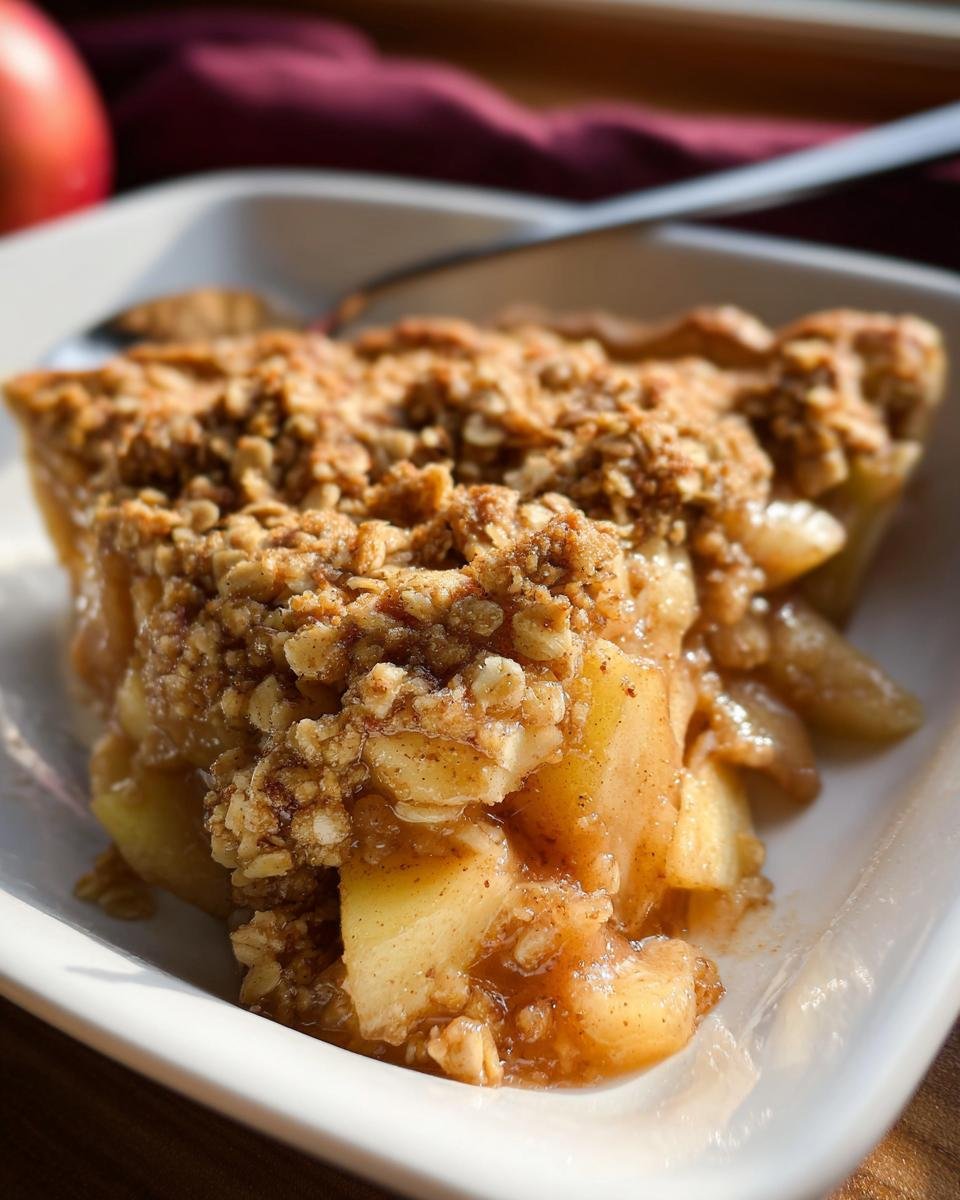
Creating the Perfect Crisp Topping
In a separate mixing bowl, grab your dry topping ingredients first: the light brown sugar, old-fashioned oats, flour, the second teaspoon of cinnamon, and that pinch of salt. Whisk those together until they look uniform—you want those spices distributed evenly!
This is the most important part for texture: take your 1/2 cup of cold, diced unsalted butter and toss it right into the flour mixture. Now, use your fingertips or a pastry blender to cut that butter in. You must work quickly so the butter stays cold! Stop mixing when the mixture resembles coarse crumbs, with some pea-sized pieces visible. Don’t overmix, or you’ll end up with a hard crust instead of a crisp topping!
Assembly and Baking Times
Take that gorgeous topping and sprinkle it all over the spread-out layer of spiced apples in the baking dish. Make sure you cover the entire surface! You want to leave a little space between the topping and the edge slightly so it doesn’t sink into the edge of the dish.
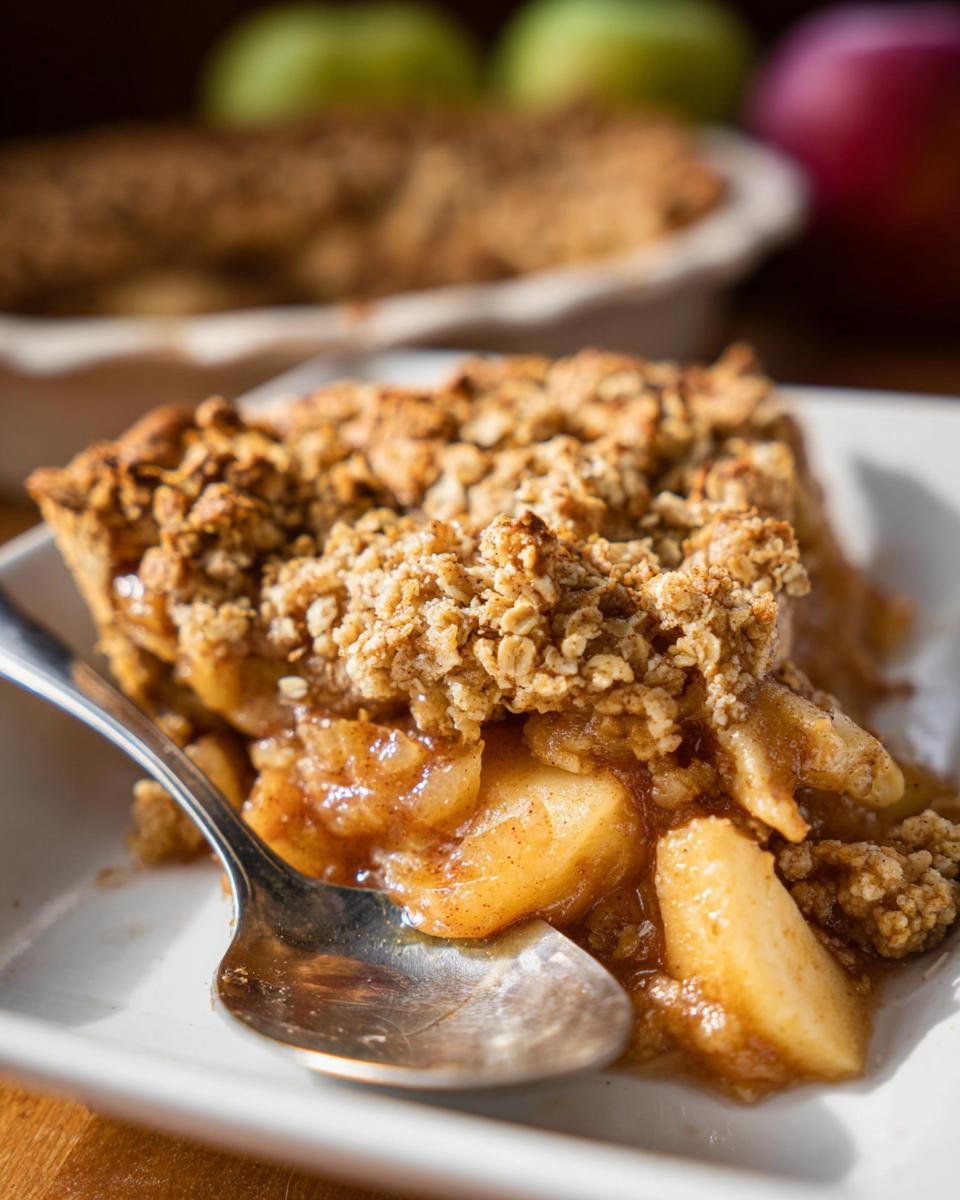
Carefully place the dish in the center rack of your preheated 350 F oven. You’re going to bake this for about 45 minutes. You’ll know it’s done when the topping is golden brown and you see those delicious apple juices bubbling up around the edges. Let it cool for about 15 minutes before serving—that helps the apples set up just a little bit!

Expert Tips for the Best Apple Crumble Pie Easy No Fail
Okay, now that you know the basic steps for this wonderful pie recipe, let me share a few tricks I’ve picked up over the years to make this *truly* exceptional. Even though it’s easy, a few tweaks can take it from great to the best dessert you’ve ever served!
First off, let’s talk apples. Golden Delicious are my go-to because they hold their shape beautifully while baking and offer the perfect sweet-tart balance. But if you can’t find them, Honeycrisp or Granny Smith are fantastic too. Just remember, if you use Granny Smith, you might want to bump that granulated sugar up by just half a tablespoon, as they are quite tart.
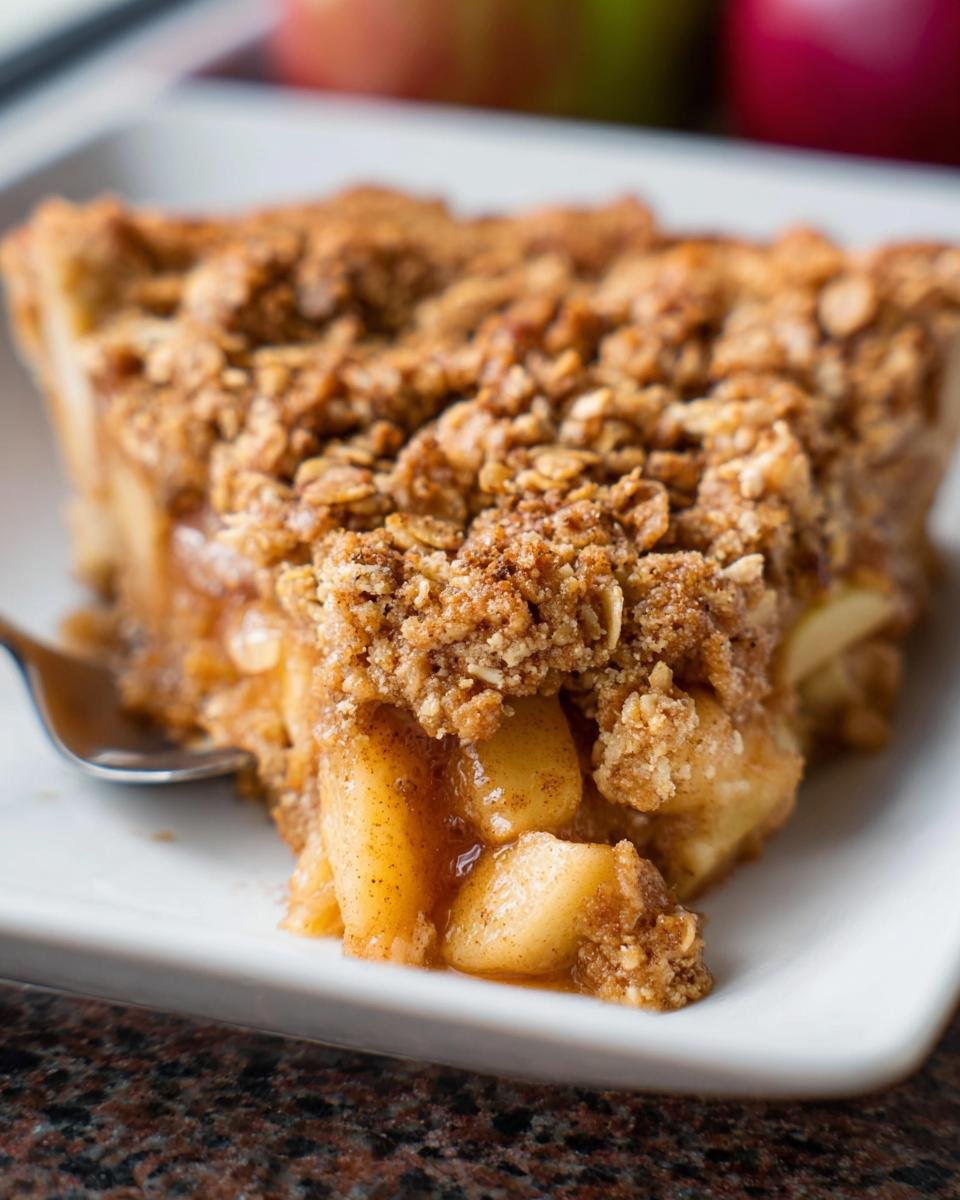
As I mentioned earlier in the notes, you absolutely can substitute the chopped apples for slices. Chopped apples give you a dense, jammy filling, whereas slices tend to stay a bit firmer. Use thin slices—about 1/8 inch thick—so they cook through evenly in the 45 minutes. I usually stick to chopped because I love that intense apple concentration!
For the best crumble texture, the cold butter rule is non-negotiable. If your kitchen is super warm, try chilling your flour and oats briefly in the freezer for five minutes before starting the topping. When you cut the butter in with your fingers, use a light touch—think rubbing your hands together gently—rather than pressing hard. You want to develop that coarse, uneven crumb, not a paste. That variability is what creates those irresistible crunchy bits that everybody fights over when serving!
And one final tip: the baking dish matters! Since we are using an 8×8 dish, the apples and topping are relatively deep, which helps keep the filling moist. If you try to spread this same amount of filling into a much wider, shallower pan, the apples might dry out before the topping browns perfectly. Stick to that square dish for success!
Making This Apple Crumble Pie Easy No Fail Ahead of Time
I love a good plan, and this recipe is fantastic for prepping ahead, which is a lifesaver when you’re busy! For the best results, I usually prep the topping in two stages. You can totally mix the dry ingredients for the topping in a jar a few days sooner and keep it sealed tight.
Then, when you’re ready to bake, just cut in your cold butter quickly. If you want to assemble the whole thing earlier, that works too! You can layer the spiced apples and the crumble topping in the 8×8 dish, cover it tightly with plastic wrap, and keep it in the fridge for up to 12 hours. Just remember, you might need to add an extra 5 to 10 minutes to that 45-minute bake time since it’ll be starting cold. Pop over to check out my apple crisp cheesecake bread if you need another easy make-ahead option!
Storing Leftovers of Your Apple Crumble Pie Easy No Fail
Even though this dessert disappears fast—because who can resist seconds?—you might end up with some leftovers, especially if you’re saving some for dessert the next day! The main challenge with any crumble or crisp is keeping that gorgeous topping from getting soft.
If you have leftovers, you’ll want to cover the 8×8 dish tightly with aluminum foil or seal it securely in an airtight container. You can safely keep it at room temperature for about a day if your kitchen isn’t too warm, but for longer storage (up to three days), the refrigerator is your best bet. The topping will definitely soften up in the fridge, so don’t panic!
The magic for reviving that texture happens in a hot oven. Don’t even bother with the microwave unless you only want mushy apples! To bring back the crispness, just scoop your portion onto a small baking sheet or into a small oven-safe dish. Sprinkle the top lightly with a few extra oats if you have some spare. Pop it back into a 350 F oven for about 8 to 10 minutes. That brief blast of dry heat will dry out the topping again and make it wonderfully crisp. Seriously, warmed-up leftovers taste almost as good as fresh!
Frequently Asked Questions About This Easy Pie Recipe
I figured some of you might have a few lingering questions about putting this together, especially if you’re new to making any kind of pie recipes or baking from scratch! These questions come up a lot in my kitchen, so I bundled up the answers right here to make sure your experience is super easy and successful.
Can I use a different type of apple for this easy recipe?
You totally can! While Golden Delicious are my personal favorite because they balance sweet and tart without getting too mushy, they aren’t the only option. If you prefer a tart kick, grab Granny Smith apples. Just be aware that Granny Smiths release a little more water, so you might notice the filling is slightly looser. If you go that route, adding just a tiny bit more cinnamon helps balance the tanginess. Avoid apples that break down too quickly, like McIntosh. Keep your apples firm!
What is the best way to serve this classic Pie Recipes dessert?
Honestly, you could eat this standing over the sink with a fork, and I wouldn’t judge! But if you’re serving this family friendly favorite after dinner, you have to go for the classic temperature contrast. Warm apple crumble pie is just begging for a big scoop of good quality vanilla ice cream. As it melts over the warm topping, it creates its own mini-sauce! A dollop of freshly whipped cream dusted with extra cinnamon is also divine, especially if you’re making this for a cozy holiday gathering.
Can I make this Apple Crumble Pie Easy No Fail completely from scratch?
Yes, yes, and a million times yes! That’s the whole point of this recipe! We aren’t using any store-bought crust mix or pre-made topping here. Everything—from the diced butter in the topping to the spiced apples—is put together by you, right now, from scratch. That’s why it tastes so much better and feels like such an accomplishment—because you made every layer yourself, and it was totally easy!
Nutritional Estimates for This Comfort Dessert
Look, I’m not a nutritionist, so take these numbers with a grain of salt, okay? These estimates are based on using the exact measurements here, but if you drizzle on extra caramel or use more butter, well, those numbers are going up!
For one serving (the recipe makes 6), you’re looking roughly at: Calories 385, Fat 18g, Protein 4g, and Carbs 55g. It is a satisfying comfort dessert, and a little bit of that warm goodness from your apple crumble pie is well deserved!
Easy No Fail Apple Crumble Pie
Ingredients
Equipment
Method
- Preheat your oven to 350 F degrees.
- Butter an 8×8 baking dish, or spray it with non-stick cooking spray. Set the dish aside.