
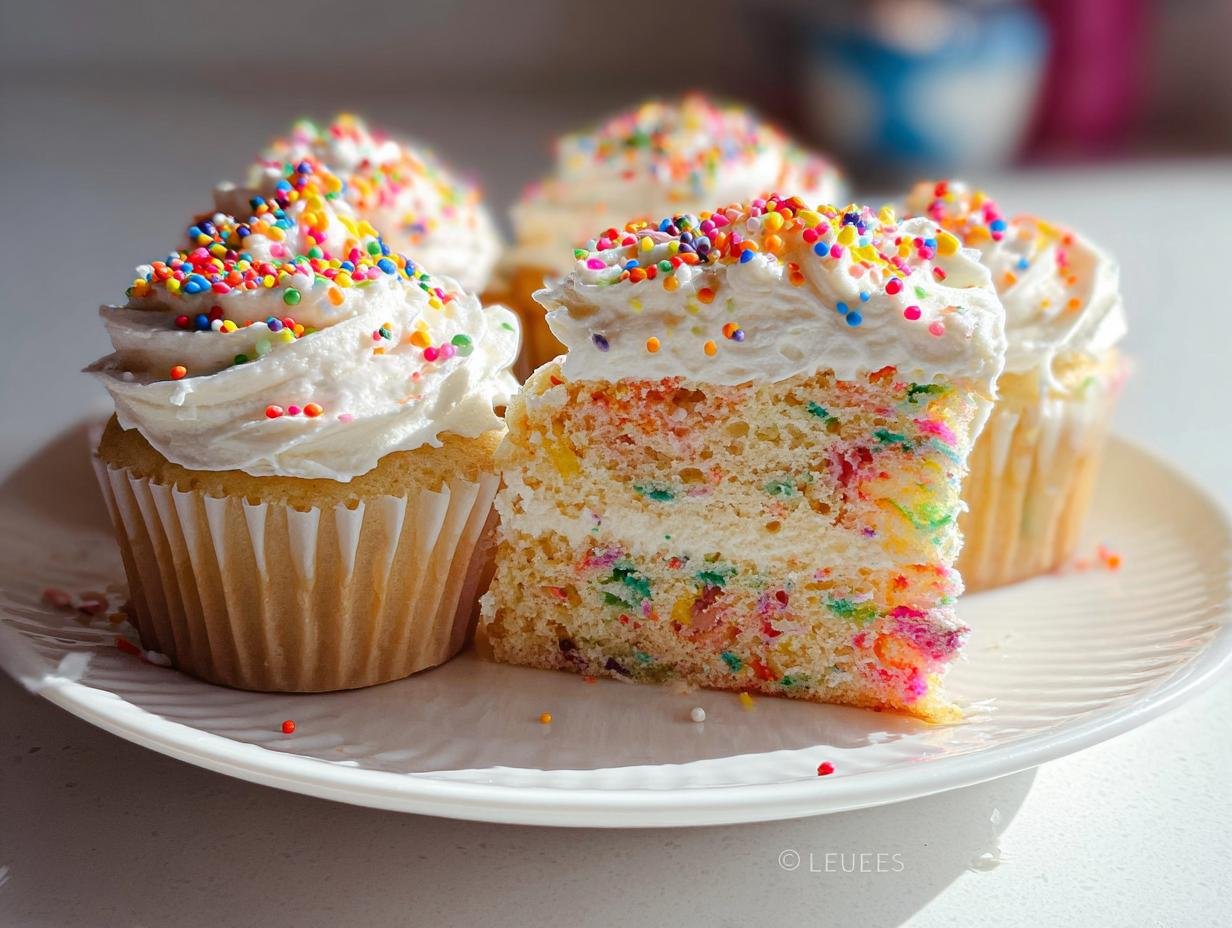
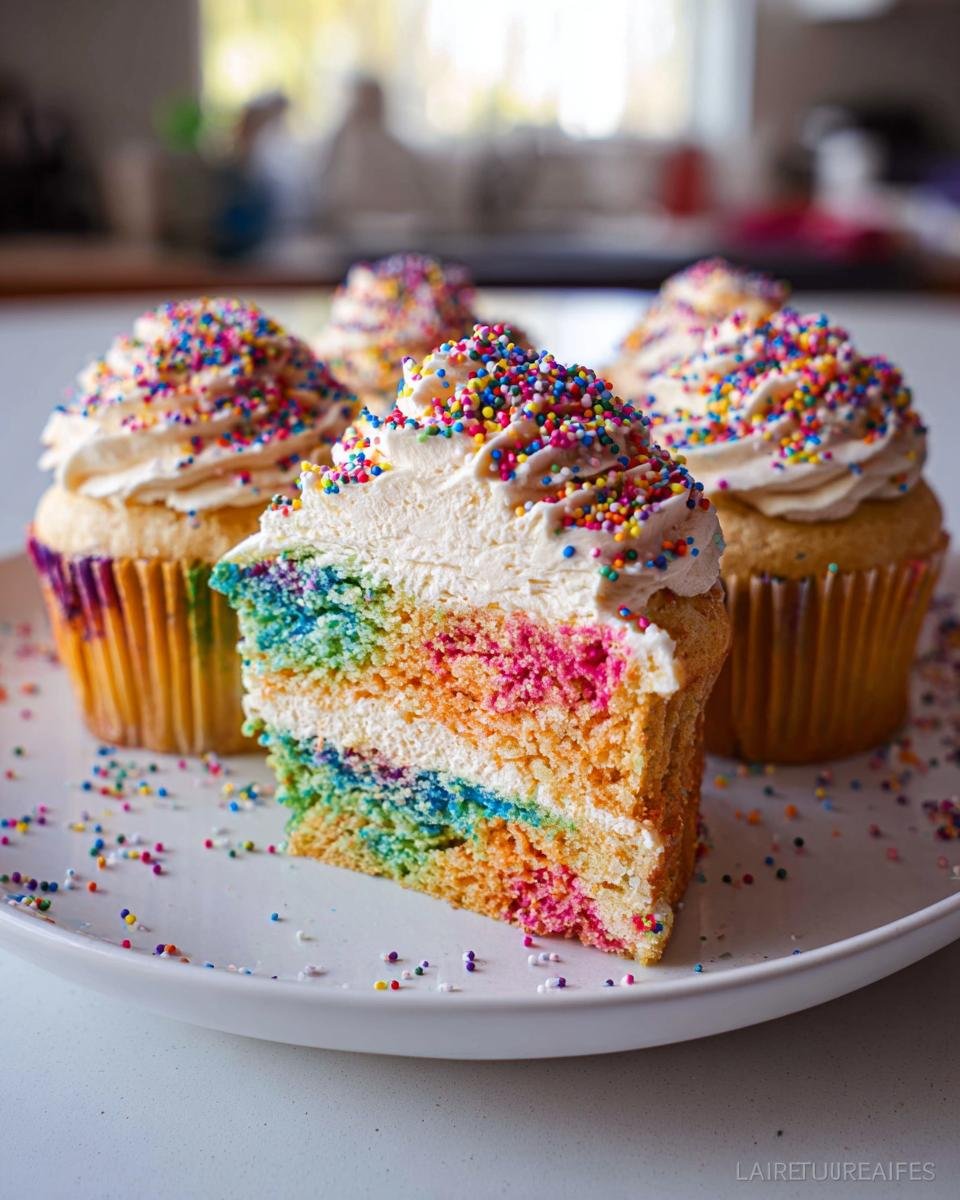
You know, sometimes you just need a birthday cake that screams *magic*! Forget those perfectly neat, plain white cakes; birthdays deserve a little bit of glorious, colorful chaos. When I was little, my mom made me a cake that looked like a rainbow exploded on it—I still remember running straight for the brightest purple slice. That feeling? That’s what we are chasing today! This guide is full of creative, totally achievable **Whimsical Birthday Cake Ideas to Make Any Party Magical!** Trust me, even if you think you can’t decorate, these tips will make you feel like a baking superhero.
Why You Need Whimsical Birthday Cake Ideas to Make Any Party Magical!
Honestly, if you’re going to spend the time baking, why not make the star of the show totally unforgettable? Using **Whimsical Birthday Cake Ideas to Make Any Party Magical!** means you’re investing in the moment. First off, the photo opportunities are priceless—kids (and lets be real, adults too!) lose their minds over bright colors.
Secondly, it ties the whole party theme together instantly. Whether the theme is unicorns, outer space, or just ‘happy chaos,’ a whimsical cake anchors the decor beautifully. I always say that a plain cake gets eaten; a whimsical cake becomes a centerpiece! Finally, it just shows the guest of honor you put extra heart into the effort. Don’t you want squeals of delight instead of polite applause? You should definitely check out some fun inspiration over at these cake ideas if you need a jump start!
Essential Components for Your Whimsical Birthday Cake Ideas to Make Any Party Magical!
To nail those stunning **Whimsical Birthday Cake Ideas to Make Any Party Magical!**, you need a rock-solid foundation. This recipe gives you a classic, fluffy vanilla base that takes color beautifully, which is half the battle! A great cake is like a blank canvas, and we need enough gorgeous frosting to paint masterpieces on it.
The secret to texture here is getting that butter perfectly soft before creaming. Speaking of flavor foundations, if you are fascinated by how changing butter can change everything, you absolutely have to see how brown butter rocks cookies over here. But for this cake, we keep things classic!
Ingredients for the Cake Base
These are the dry and wet items you need to mix up for two perfect layers:
- 2 cups All-purpose flour
- 1 tsp Baking powder
- 1/2 tsp Salt
- 1 cup Unsalted butter, softened—and I mean soft, not melty!
- 1 1/2 cups Granulated sugar
- 3 large Eggs, room temperature if you can manage it
- 1 tsp Vanilla extract
- 1 cup Milk
Ingredients for the Colorful Frosting
This is where the fun starts! Make sure your butter is soft for this buttercream so it whips up like a cloud.
- 1 cup Unsalted butter, softened
- 4 cups Powdered sugar, powdered sugar, powdered sugar!
- 1/4 cup Milk
- 1 tsp Vanilla extract
- Assorted gel colors for food coloring—you need the gel ones, trust me, they won’t water down your frosting!
Step-by-Step Instructions for a Whimsical Birthday Cake
Now we get to the fun part—turning those ingredients into something spectacular! Following these steps exactly is how we guarantee this cake will be the highlight for your **Whimsical Birthday Cake Ideas to Make Any Party Magical!** Don’t rush the cooling, that’s my biggest piece of advice! If you want inspiration for quick treats for the little helpers while you bake, check out these speedy cookie recipes right here.
Preparing and Baking the Cake Layers
First thing’s first: get that oven fired up! You need to preheat to 350°F (175°C). While it’s heating, grab your two 8-inch cake pans, grease them well, and dust them lightly with flour so nothing sticks. Nobody wants a half-cake disaster!
In one bowl, whisk your flour, baking powder, and salt together—the dry team. In the big bowl, you’ll cream the butter and sugar until it looks genuinely fluffy and pale; this takes patience, usually about three minutes with the mixer. Then, you add the eggs one-by-one, mixing totally after each one, followed by the vanilla.
Here’s the crucial part of the mixing: add the dry ingredients alternating with the milk. Don’t dump it all in at once! Stop mixing right when the flour disappears. Seriously, overmixing turns a light cake into something dense. Pour the batter evenly and bake for 30 to 35 minutes. When you think it’s done, test it with a toothpick. If it comes out clean, great! If not, give it five more minutes.
Let those beauties cool in the pan for about 10 minutes. Then, flip them out onto a wire rack to cool completely. You cannot frost a warm cake; it’s just asking for trouble!
Creating the Colorful Frosting and Assembly
While the layers cool, we make the frosting! Beat your softened butter until it’s smooth—no lumps allowed. Then, slowly beat in that mountain of powdered sugar, alternating with the milk and vanilla. Beat it until it’s super creamy. This is your vanilla base!
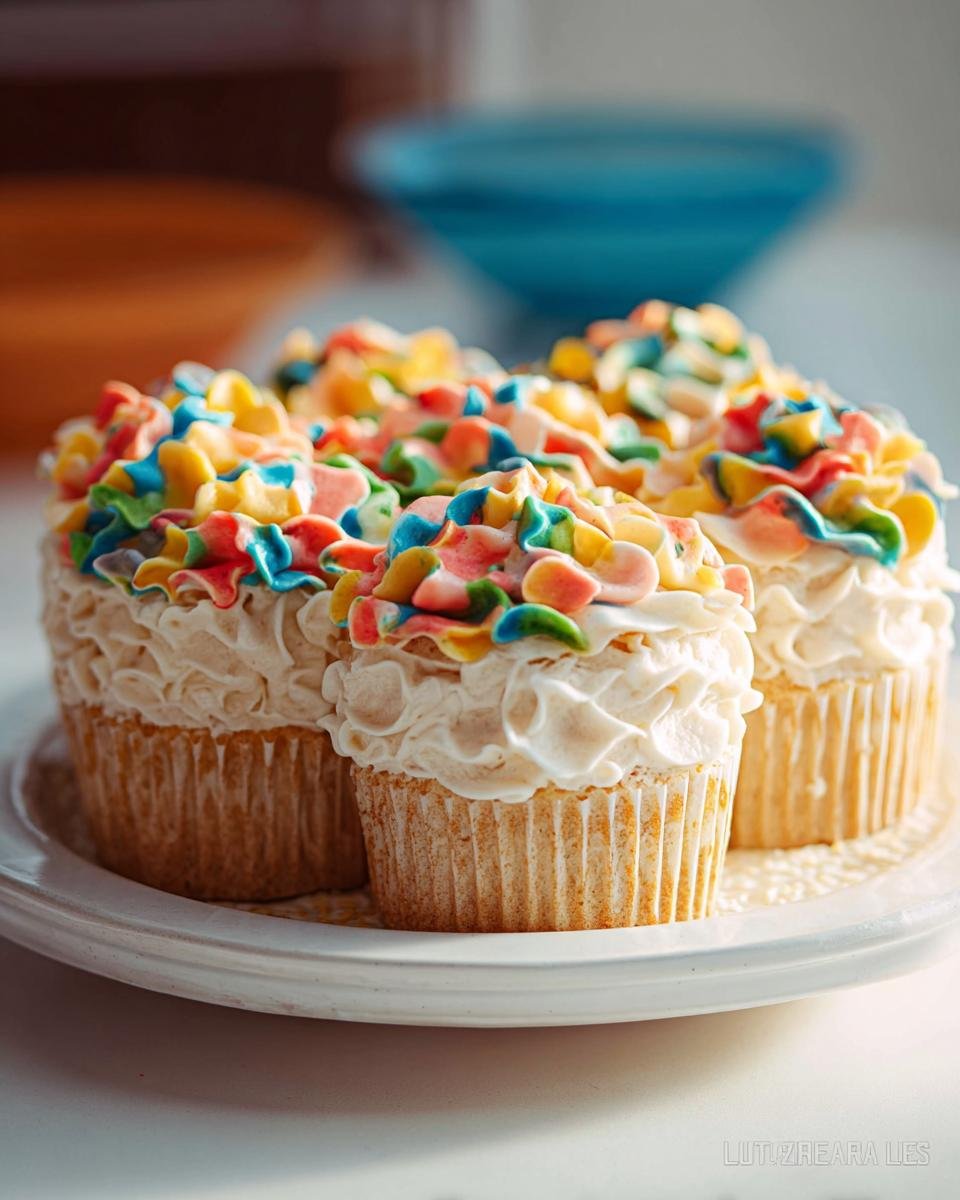
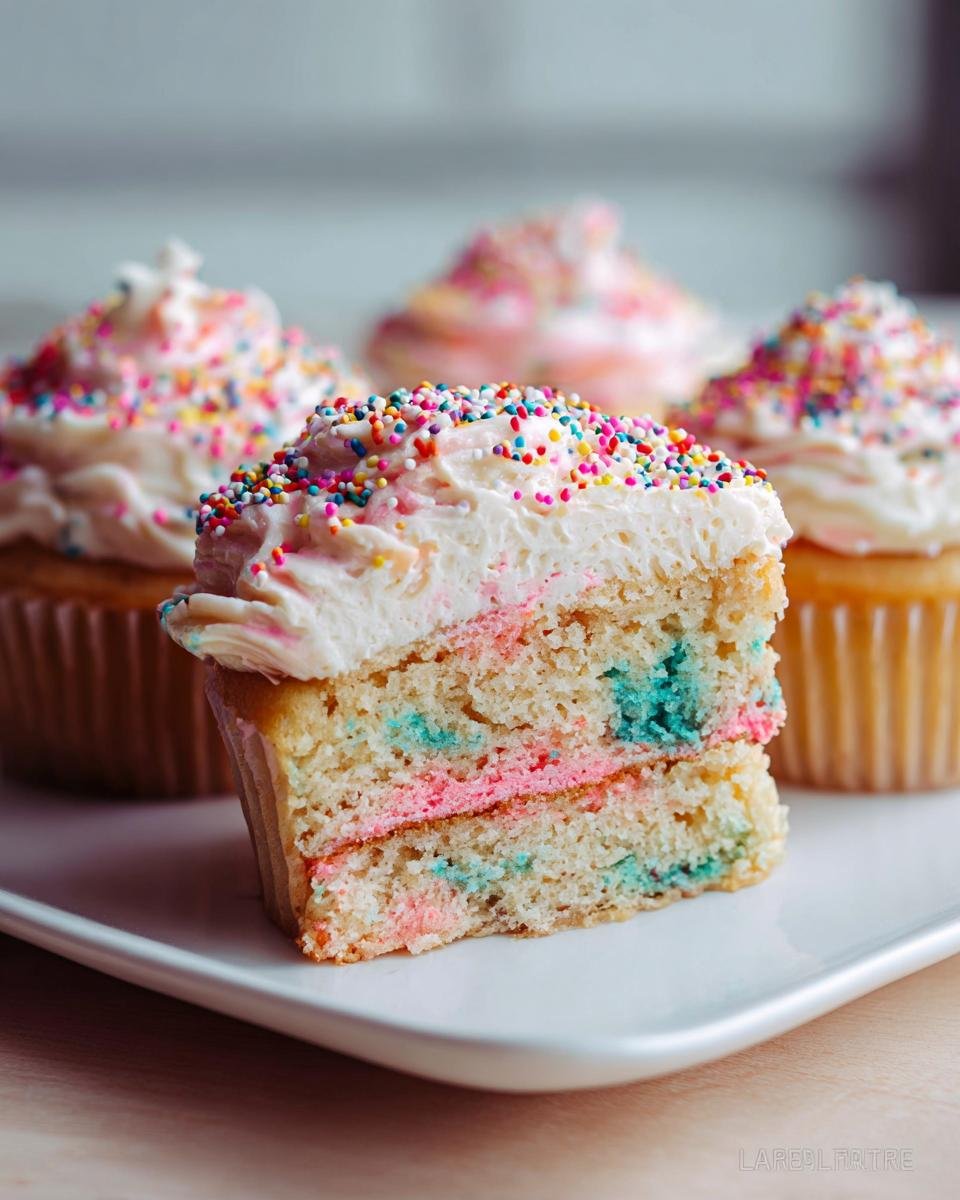
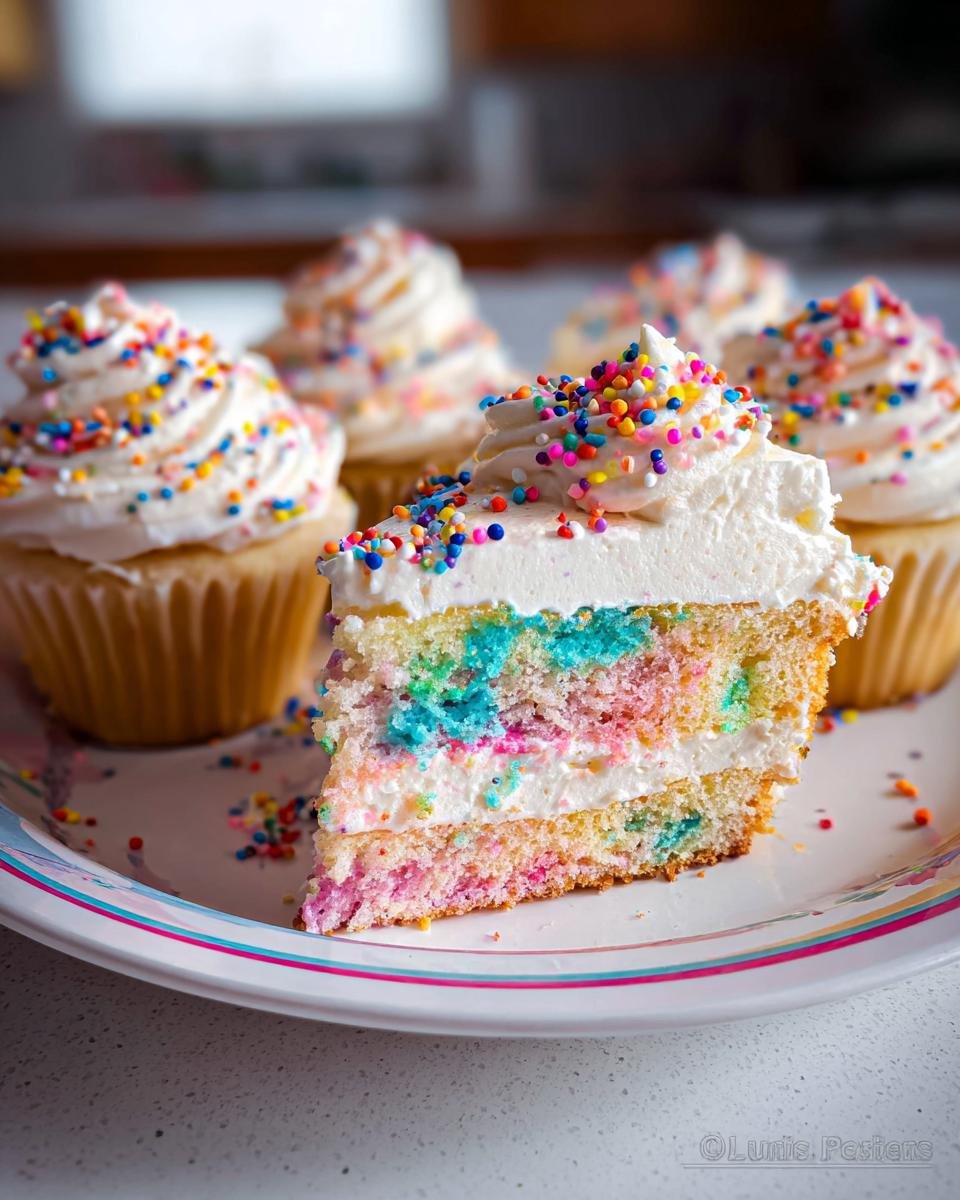
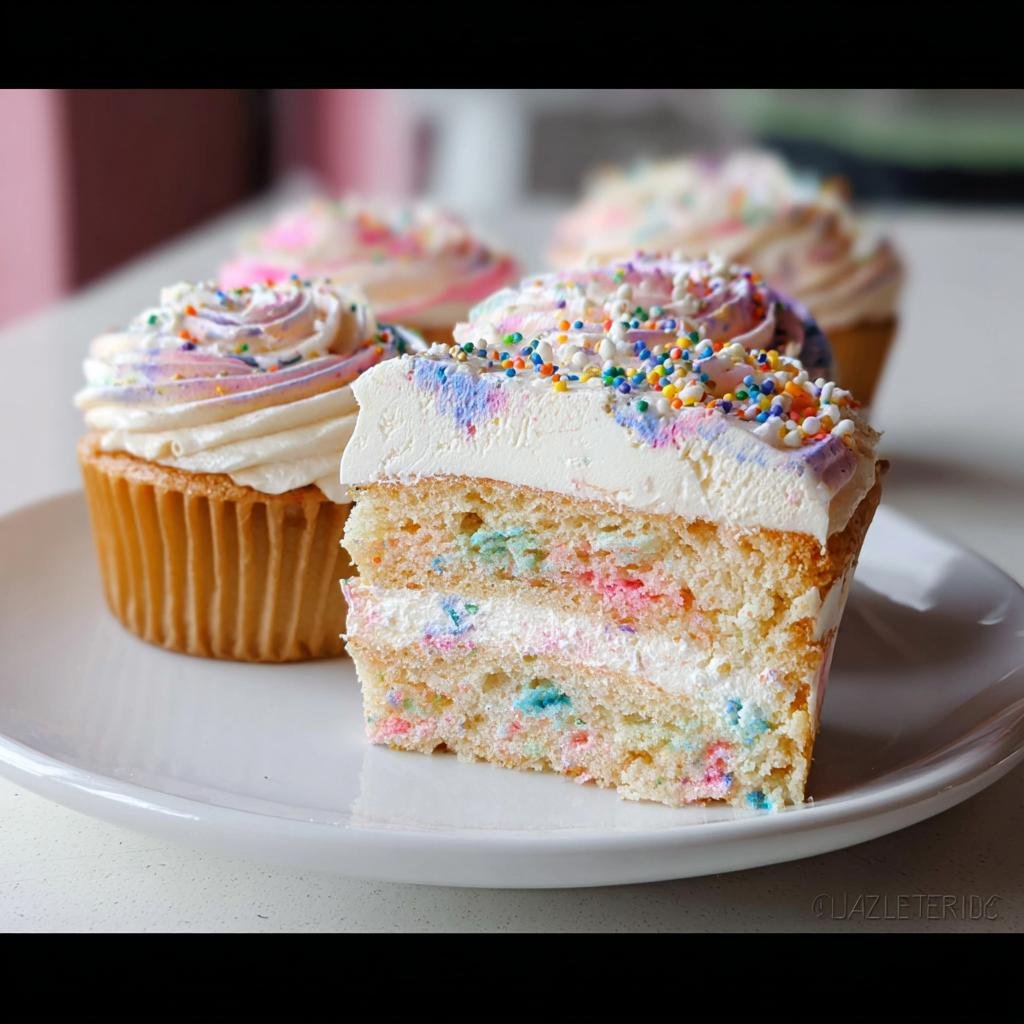
Now for the magic of whimsy: take your finished frosting and divide it into several smaller bowls. Tint each one a different vibrant gel color—think neon pink, electric blue, sunshine yellow. Take one completely cooled layer and spread a layer of one color on top. Place the second layer right on top of that.
To get that random, messy-but-gorgeous look that anchors all the best **Whimsical Birthday Cake Ideas to Make Any Party Magical!**, just grab spoonfuls of your different colored frostings and randomly smear them all over the top and sides of the cake. Don’t try to make smooth borders; just swirl and blend the colors directly on the cake for that perfectly unplanned, whimsical look!
Expert Tips for Achieving Whimsical Birthday Cake Ideas to Make Any Party Magical!
You’ve got the recipe, but let’s talk finesse! How do we take this from a pretty cake to a show-stopping example of **Whimsical Birthday Cake Ideas to Make Any Party Magical!**? It’s all about those tiny tricks that make a huge difference.
First, ingredients must be at room temperature, especially the butter and eggs for both the cake and the frosting. If your eggs are fridge-cold, they can curdle the batter when added. It’s a small step, but it ensures a smooth, even mix every time!
For those vibrant colors, you absolutely must rely on good quality gel food coloring, like I mentioned before. Liquid dye just waters down your buttercream and muddies the shades. A tiny drop of gel goes a long way toward achieving that neon look that screams true whimsy. You can find some great gooey cookie inspiration here, by the way, if you need a baking break.
Finally, before you even think about stacking, level those cooled layers if they have domes. I just use a long serrated knife and slice straight across the top. A flat cake makes assembly so much easier and keeps your finished whimsical towers from leaning like the Tower of Pisa!
Equipment Needed for This Whimsical Birthday Cake
To make sure your cake decorating session goes smoothly and you aren’t scrambling mid-frosting, you absolutely need to have your tools laid out! I always set everything up before I even start creaming the butter; it saves so much fuss later.
Here is the absolute bare minimum list of things you’ll need to pull off this birthday masterpiece. Don’t skimp on getting these ready!
- A couple of sturdy mixing bowls for dry and wet ingredients.
- Two 8-inch standard cake pans. If they are older, you might want to really oil and flour them up!
- Your electric mixer—handheld or stand mixer works fine, but be prepared to spend some elbow grease if you’re mixing frosting by hand!
- A good spatula or offset spatula for swooping that colorful frosting around.
Ingredient Notes and Substitution Guidance for Whimsical Birthday Cake Ideas to Make Any Party Magical!
Okay, let’s talk ingredients because this is where we build confidence for executing these **Whimsical Birthday Cake Ideas to Make Any Party Magical!**. The absolute number one rule I have for any cake, but especially for frosting, is using unsalted butter. Why? Because salt levels vary so much between brands, and we need full control over how much salt goes into our sweet layers!
If you’re in a pinch and only have salted butter, just cut back on any added salt in the recipe, but honestly, the unsalted choice gives you a cleaner sweetness.
What if you run out of milk for the cake or frosting? Don’t panic! You can use buttermilk instead for a slightly tangier crumb, which tastes unexpectedly delicious with bright colors. If you are frosting and the milk runs out, try adding a teaspoon of heavy cream or even a splash of room-temperature water, adjusting slowly until you hit that perfect spreading consistency. Speaking of creamy centers, if you’re looking for a great cookie to compare texture notes on, you have to see these soft oatmeal cookies here. It’s all about that smooth texture!
Storage and Serving Suggestions for Your Magical Cake
You’ve created a masterpiece, now the big question is: how do you keep it looking bouncy and delicious until party time? Since this cake uses a classic American buttercream frosting, storage is pretty straightforward, but you have to treat it right.
If you’re serving the cake the same day you bake it, leaving it out on the counter at room temperature is actually best. Buttercream actually tastes much better when it’s soft and creamy, not hard straight from the fridge! Keep it covered loosely with a cake dome or even an overturned large bowl so dust and curious pets stay away. At room temperature, it should stay gorgeous for a good 24 hours.
If the party is tomorrow or later in the week, you’ll need to refrigerate it. Place it in the fridge uncovered for about 30 minutes first, just to let the frosting harden up a bit so it doesn’t stick to the plastic wrap. Then, cover it snugly with plastic wrap. When you pull it out on party day, you *must* let it sit on the counter for at least an hour before serving. That cold dulls the flavor and hardens the texture!
And please, don’t even think about reheating this cake! It’s already baked beautifully, and heating it will just melt your gorgeous, colorful frosting into a puddle. We want structural integrity!
Serving Companions for Extra Whimsy
To really lean into the magical theme when you serve slices, think about what you plate alongside it. Keep it light so the focus stays on that colorful cake!
- Fresh Berries: A small handful of bright red strawberries or blueberries adds a natural pop of color and a lovely, tart contrast to the sweet buttercream.
- Sparkling Cider or Lemonade: Honestly, sugary drinks pair well with sugary cake! A fizzy, bubbly drink always feels festive and matches the celebratory vibe perfectly.
- Edible Glitter Dust: If you have any leftover edible glitter, a tiny sprinkle right over the plate just as you serve it adds that final, magical shimmer.
If you’re looking for another perfect party treat that’s big and shareable, you have to check out how to make one giant cookie—it’s perfect for cutting into wedges, almost like a cake! Find that recipe here!
Frequently Asked Questions About Whimsical Birthday Cake Ideas to Make Any Party Magical!
It is totally normal to have questions when you’re trying to achieve something this fun and colorful! Making **Whimsical Birthday Cake Ideas to Make Any Party Magical!** involves a few more moving pieces than a standard dinner cake, so let’s clear up any confusion so your party goes off without a hitch.
Can I make the cake layers ahead of time?
Oh yes, you absolutely should if you can! Baking cakes a day ahead is my biggest secret weapon for stress-free party days. You bake the layers, let them cool completely, wrap each layer tightly in plastic wrap—like a little mummy—and then you can store them at room temperature for up to two days, or freeze them for up to a month! If you freeze them, just make sure to thaw them completely on the counter before you even think about unwrapping or frosting them. Cold cake equals cracked frosting, and we don’t want that mess!
How do I get the frosting colors so bright?
This is the secret sauce when we talk about true whimsy! You must use gel food coloring instead of the liquid drops you usually find in the grocery store. Liquid coloring is mostly water, and when you add enough of it to a buttercream frosting to get a vibrant color, you end up thinning out your frosting, making it soupy and impossible to hold a shape.
Gel colors are super concentrated pastes. A tiny toothpick dip into the gel pot is usually enough to get a deep, saturated, beautiful color perfect for the random swirling we talked about earlier. Keep dipping and stirring until you hit that perfect shade of neon magic! If you’re looking for other ideas, check out how I make my soft and chewy double chocolate chip cookies here—it shows how important ingredient quality is there, too!
What if my frosting is too stiff?
Sometimes, especially if your kitchen is cold, the frosting gets just a little too stiff to spread nicely after you’ve mixed in all those colors. Don’t panic! Just add your milk in tiny increments—seriously, a half teaspoon at a time—and beat it on low speed for about 30 seconds between additions. The butter will soften up and incorporate the liquid, making it smooth and spreadable again without turning into soup!
How much batter should I use for a two-layer cake?
Since this recipe calls for two 8-inch pans, the batter divides pretty evenly. If you have a kitchen scale, weigh the total batter, then divide that number by two! That’s the exact amount to place in each pan. If you don’t have a scale, just eyeball it, but make sure you give the pans a little wiggle and tap on the counter to settle the batter evenly before they go into the oven.
Sharing Your Cake Creations
Whew! We made it through the mixing, the baking, and the glorious, colorful frosting frenzy. I’ve shared all my secrets for making **Whimsical Birthday Cake Ideas to Make Any Party Magical!**, but the best part is seeing what you all come up with!
Honestly, I live for seeing photos of your finished cakes in the comments. Did you try swirls of seven colors? Did you go wild with edible glitter? Did you discover a new favorite shade of blue?
Please, please leave a rating for the recipe if you tried it out. It helps other bakers know that this method works for them, too! And if you found a neat little trick while customizing your own whimsical design, shout it out below! We are all about sharing kitchen knowledge here.
And hey, if you need a little something extra to serve alongside this incredible cake—maybe a small dessert for those who are watching portions, or just something different for next time—check out this recipe for small batch cookies here. Happy decorating, and I can’t wait to see your magic!
Whimsical Birthday Cake
Ingredients
Equipment
Method
- Preheat your oven to 350°F (175°C). Grease and flour two 8-inch round cake pans.
- In a medium bowl, whisk together the flour, baking powder, and salt. Set this aside.
- In a large bowl, use an electric mixer to cream the softened butter and sugar until light and fluffy, about 3 minutes.
- Beat in the eggs one at a time, mixing well after each addition. Stir in the vanilla extract.
- Gradually add the dry ingredients to the wet ingredients, alternating with the milk. Mix until just combined. Do not overmix.
- Divide the batter evenly between the prepared cake pans. Bake for 30 to 35 minutes, or until a toothpick inserted into the center comes out clean.
- Let the cakes cool in the pans for 10 minutes before inverting them onto a wire rack to cool completely.
- To make the frosting, beat the softened butter until smooth. Gradually add the powdered sugar, alternating with the milk and vanilla extract. Beat until the frosting is smooth and creamy.
- Divide the frosting into several small bowls. Tint each portion with a different gel food coloring to achieve bright, whimsical colors.
- Once the cakes are cool, place one layer on a serving plate. Spread a layer of frosting on top. Place the second layer on top. Frost the top and sides of the entire cake with the remaining colored frostings, mixing colors randomly for a whimsical look.