

Oh, there’s just nothing that beats the sheer joy of pulling apart a freshly baked, warm roll, is there? It’s pure comfort food, and honestly, achieving that incredible, soft, bakery-quality texture at home always felt like a secret only the pros knew. Well, I’m here to tell you, that secret belongs to us now! I spent what felt like ages experimenting, but I finally nailed the perfect recipe for Sourdough Dinner Rolls Bakery Style.
I still remember the first time I attempted sourdough rolls on a quiet Sunday afternoon. The dough felt alive in my hands—soft, airy, and full of promise. As the rolls baked, the smell filled my kitchen with the same comforting aroma I used to notice when walking past small neighborhood bakeries. It reminded me that simple, mindful cooking moments like these can bring so much warmth into our routines. Trust me, after making these, you’ll see how easy it is to get those professional results every single time!

You can read a little more about my kitchen philosophy over on my About Me page if you’re curious!
Why You Will Make These Sourdough Dinner Rolls Bakery Style
You might think baking sourdough is hard work, but these rolls change everything! I’ve kept this recipe incredibly straightforward so you can focus on that amazing, tangy sourdough flavor. Seriously, these are a total game-changer for weeknights.
- They are wonderfully no knead—the stretch and folds handle the heavy lifting for you!
- The texture is unmatched; soft, fluffy, and incredibly buttery.
- That lovely little sourness from the starter pairs perfectly with the richness.
- They are perfect for making from scratch whenever you have an active starter ready to go!
Essential Ingredients for Perfect Sourdough Dinner Rolls Bakery Style
Okay, let’s talk fuel! Since we are making these rolls from scratch, the quality of what goes in really counts. We need two main groups of ingredients: what helps wake up your starter and what builds that beautifully soft dough. Don’t worry, you probably have most of this lying around!
The key here is timing—making sure that starter is happy and active before it even hits the main bowl. The final touch, that hint of butter on top, is what makes them truly bakery-worthy!
For Activating the Sourdough Starter
Your starter needs a little snack before it gets put to work in the bread dough. This part is super important to make sure we get that lovely slight tang!
- 1 tablespoon sourdough starter
- 1/3 cup + 1 tablespoon all-purpose flour (that’s 50 g)
- 3.5 tablespoons water (that’s 50 g)
For the Buttery Dough Ingredients
This is where the richness comes in! See that melted butter listed specifically for brushing at the end? Don’t skip it—it keeps the crust soft and shiny!
- 2 tablespoons butter (for incorporation into the dough)
- 1 cup milk (240 g)
- 3 tablespoons sugar (or 2 tablespoons of honey—honey is lovely here!)
- 1 teaspoon salt (5 g)
- 1/2 cup active sourdough starter (100 g)
- 3 cups + 2 tablespoons bread flour (375 g)
- 1 tablespoon melted butter (for brushing the top of the rolls after baking)
Step-by-Step Instructions for Sourdough Dinner Rolls Bakery Style
This is where the magic happens, and you’ll see just how much life your starter has! Getting the timing right for our long first rise is what gives us that fantastic, tender structure, meaning we skip the hard work of kneading. I love this hands-off method because I can tend to other things, but I always keep an eye on the dough—it really does start to feel alive and springy, just like I mentioned.
Before you jump in, take a quick peek at this guide on baking a fresh Italian bread for extra tips on handling sourdough, although these rolls are much simpler!
Preparing and Activating Your Sourdough Starter
You really need a happy starter for this recipe, so plan ahead! About 12 hours before you plan to mix the main dough, feed your starter in a clean jar. Just blend that teaspoon of old starter with the flour and water listed. Cover it loosely—it needs to breathe! You’re looking for it to be completely doubled in size and very bubbly when you stir it. If it’s not robust, your rolls won’t lift right.
Mixing the Dough and First Rise
First things first, let’s get that milk warm. Gently melt the 2 tablespoons of butter with the milk, sugar, and salt in a tiny saucepan over low heat; don’t let it boil! Pour that liquid into your main bowl and let it cool down completely to room temperature. If it’s too hot, it’ll shock your little starter! Once cool, stir in your active starter and the bread flour until everything is just combined. Don’t overmix! Cover that bowl and let it rest for a full hour. This rest allows the flour to fully hydrate.
Building Strength with Stretch and Folds
Now we’re going to slowly build structure without kneading. After that first hour rest, do your first set of stretch and folds. To do this, wet your hands slightly, grab the dough edge, stretch it up high, and fold it over onto itself. Turn your bowl a quarter turn and repeat until you’ve gone all the way around at least four times. Cover it and wait 30 minutes. Do this two more times, spaced 30 minutes apart, for a total of three sets. After the final set, cover it again and let the dough bulk rise for about 2 hours, or until it looks visibly puffier, maybe 50% bigger.
Shaping and Final Proof for Bakery Style
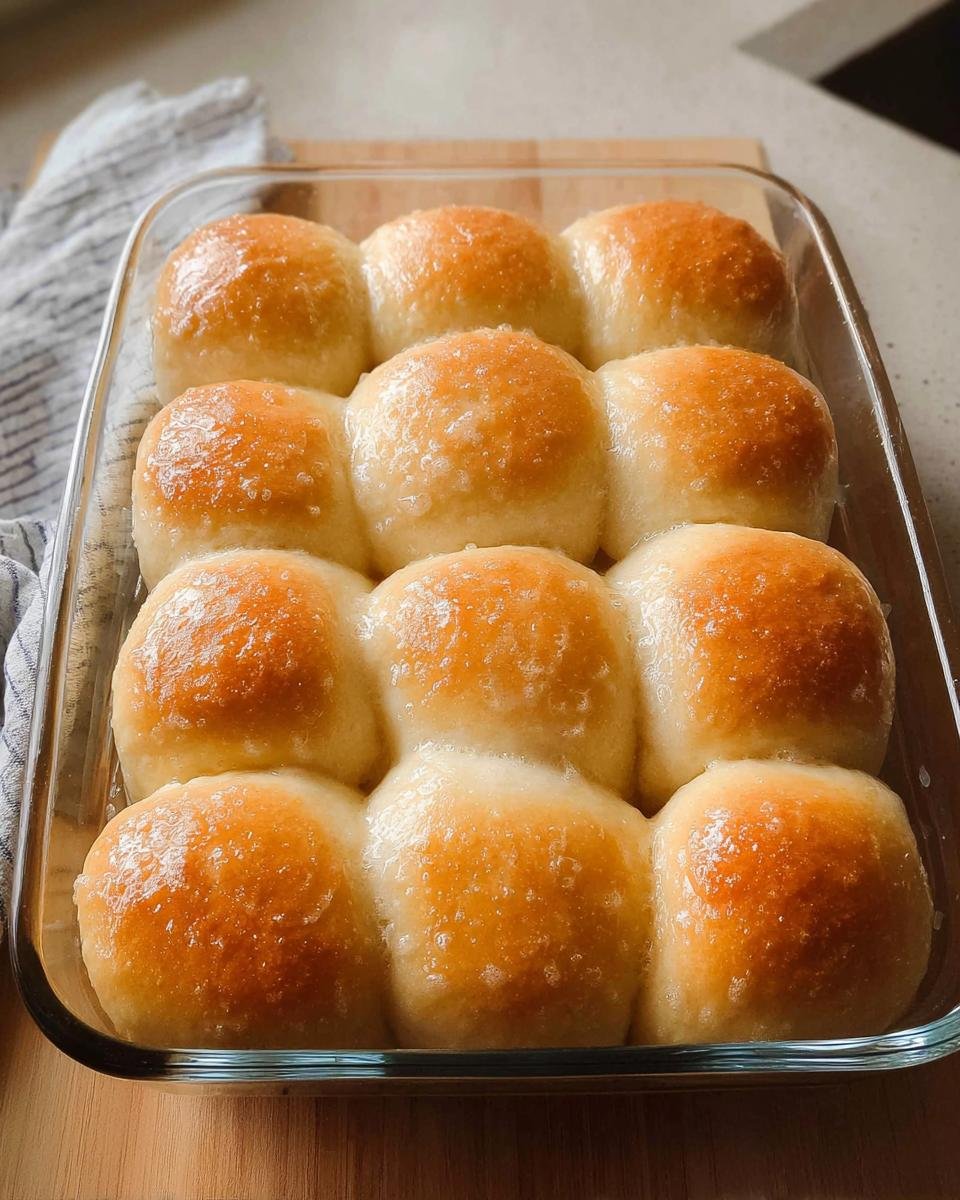
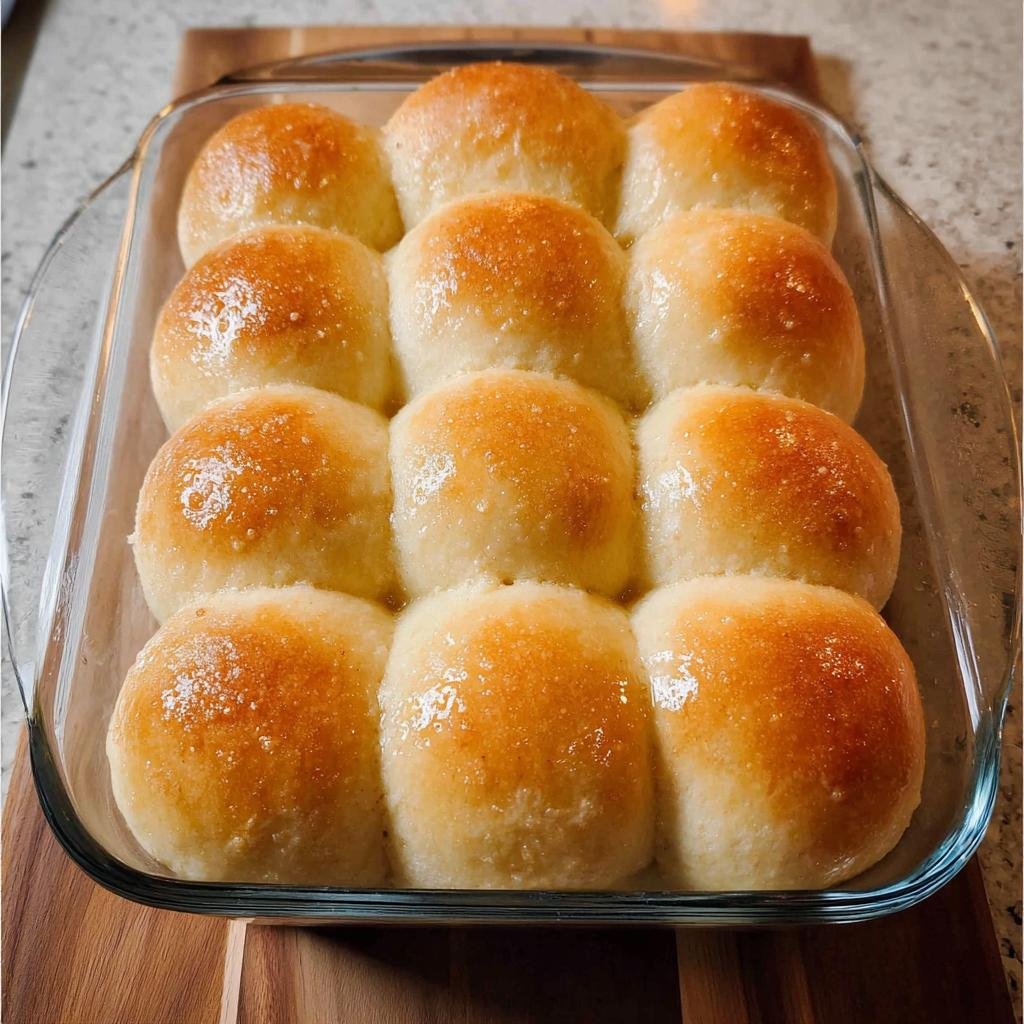
Gently turn that lovely dough out onto a lightly floured counter. Don’t punch it down; we want to keep all those precious air bubbles! Divide the mass into 12 equal pieces—they should be around 65 grams each if you’re using a scale. Cup your hand around each piece, stretching the sides under itself to create a tight ball resting seam-side down. Place these perfect little balls snugly in your greased baking dish. Now, cover them again and let them proof for a solid 3 to 4 hours. They’ll get big and cloud-like!
Baking Your Sourdough Dinner Rolls Bakery Style
Preheat your oven to 375°F (190°C) about 20 minutes before the rolls are ready to bake. We want that oven good and hot! Bake them for about 25 to 30 minutes. You’re done when the tops are that perfect golden brown color you see in bakeries, and if you use a thermometer, they hit an internal temperature of 190°F. Immediately when they come out, brush all those hot tops with that final tablespoon of melted butter. That’s the secret to keeping them soft and shiny!

Tips for Success with Rolls Recipes easy no knead from scratch
People always get worried when they see a sourdough recipe that skips traditional kneading, but trust me, these stretch and folds are exactly what these Sourdough Dinner Rolls Bakery Style need. Since the dough is already quite hydrated—we need that for softness—vigorous kneading would just deflate all the beautiful gas bubbles we coaxed out during the 240-minute first rise!
If your rolls end up a bit flat, it usually means one of two things: either your starter wasn’t quite active enough, or you rushed the final proofing time. Those few hours before baking are critical for fluffiness! Also, when you’re shaping those little balls, be gentle but firm. You want to create enough surface tension so they hold that beautiful round shape while they bake up buttery and perfect.
Make Ahead and Storage for Buttery Sourdough Dinner Rolls Bakery Style
Who doesn’t love making dough ahead of time? That’s the beauty of working with sourdough! While this recipe focuses on a same-day bake, you absolutely can tuck that shaped dough into the fridge after step 4 for a cold proof overnight. This slow, cold rest deepens the flavor even more, making them even more delicious the next day!
If you have leftovers, which is rare in my house, store them tightly wrapped at room temperature for up to two days to keep that buttery softness. Don’t put them in the fridge unless you have to, because cold bread gets hard fast. When you’re ready to eat them, just pop them in a 350°F oven for about five minutes to revive that fresh-baked glory. You can even check out how much quality matters by reading my post on French salted butter—it makes a difference!
Frequently Asked Questions About Sourdough Rolls
I know reading a new recipe can bring up a million little questions, especially when it involves sourdough! Don’t worry, these are the most common things people ask me when they’re trying to bake these rolls recipes easy for the first time. I’m happy to share a few extra pointers to make sure your batch turns out perfectly from scratch!
Can I make these Sourdough Dinner Rolls Bakery Style without a sourdough starter?
Oh gosh, I really wouldn’t advise it for this specific recipe! The best part of these rolls—that slight tang and the incredible long fermentation that makes them so digestible—comes directly from using that active starter. If you skip it, you’re just making a milk roll, not a sourdough roll. You’ll miss that signature depth of flavor that makes them feel like they came from a real bakery!
How do I ensure my rolls are extra buttery?
This is my favorite question! It really comes down to two places where the butter shines. First, using good quality butter in the main dough helps, of course. But the real trick for that gorgeous shine and that extra soft crust is step six: brushing them immediately with the full tablespoon of melted butter right when they exit the oven. Don’t wait, just brush it all over those hot tops. That’s what keeps them so decadent and undeniably buttery!
What is the best way to achieve the softest texture?
Texture is all about hydration and not overcooking! Remember how we made sure the milk mixture cooled completely before adding the starter? That keeps our hydration level just right for a soft crumb. The single most important thing, though, is pulling them out right when they hit that 190°F internal temperature. If you let them bake much longer looking for a ‘darker’ color, you’ll cook out that moisture, and they won’t be nearly as soft as they should be!
Estimated Nutritional Data for Sourdough Dinner Rolls Bakery Style
Now, I know we are eating these for comfort, not for counting every tiny calorie, but it’s always good to have a general idea of what’s in our delicious Sourdough Dinner Rolls Bakery Style, right? Since this recipe uses whole ingredients like bread flour and butter, these are hearty rolls!
Please remember this is a very rough estimate! I calculated this based on dividing all the listed ingredients (flour, butter, sugar, milk) by 12 servings. If you use honey instead of sugar, or if you use a very different type of flour, the numbers will shift a bit. If you’re looking for some genuinely lower-carb options, you can always browse my posts calorie-smart recipes for other ideas.
Here is a general breakdown per roll, assuming you eat the roll plus the buttery topping:
- Calories: Approximately 170-190 kcal
- Fat: Around 6-7g (Thanks to that delicious butter!)
- Protein: Roughly 4-5g
- Carbohydrates: About 28-32g
They are definitely a satisfying part of any dinner!

Share Your Bakery Style Sourdough Dinner Rolls Experience
I put my heart into making sure these rolls come out just right for you! I would genuinely love to hear how they turned out in your kitchen. Did they achieve that perfect soft, buttery crumb? Please take a moment to leave a rating below. And if you snapped a picture of your finished Sourdough Dinner Rolls Bakery Style, share it with me! You can read a bit about me and my little corner of the internet over at my About Us page!
Sourdough Dinner Rolls Bakery Style
Ingredients
Equipment
Method
- Feed starter 12 hours before mixing dough: Add the starter ingredients to a clean jar. Stir until combined, loosely cover the jar, and let the starter rise at room temperature until it has doubled in size and is bubbly.
- Melt butter: In a small saucepan, melt the butter, milk, sugar, and salt together over low heat. Pour the mixture into a mixing bowl and let it cool to room temperature.
- Mix the dough: Add the flour and active sourdough starter to the cooled butter mixture in the bowl. Stir with a spatula until the ingredients combine and no dry bits remain. Cover the bowl and let it rest at room temperature for 1 hour.
- Perform the first rise: Complete 3 sets of stretch and folds spaced 30 minutes apart. Between sets, keep the bowl covered. To stretch and fold, pick up the dough on one side, stretch it up and over itself, turn the bowl a quarter turn, and repeat until you have turned the bowl a full circle. After the final set, cover the dough and let it rise for 2 hours or until it has increased by 50% in size.
- Shape and second rise: Turn the dough onto a floured surface. Divide it into 12 pieces, about 65 grams each. Shape each piece into a smooth ball by gathering the sides and pinching them together, then turn the dough over so the seam side is down. Arrange the rolls in a lightly greased glass baking dish. Cover the dish with a tea towel and let them rise for 3-4 hours.
- Bake: Preheat your oven to 375°F (190°C) about 20 minutes before baking. Bake for 25-30 minutes, or until the tops are golden brown. The internal temperature should reach 190°F. Brush the tops of the rolls with melted butter and serve.