
Oh, I totally get it. Sometimes you just need a showstopper dessert, but the thought of turning on the oven when it’s sweltering outside—or when you’re just plain tired—is just too much.
That’s why this recipe for a truly No-Bake Peanut Butter Pie – Creamy & Easy Dessert is practically my superpower for sudden sweet cravings or unexpected guests. Seriously, the texture is unreal; it’s so rich and smooth you’d swear it spent hours being refined. But nope! We’re talking about mixing up a quick graham cracker crust, whipping up a dream filling, and letting the fridge do all the hard work.
I’ve relied on this pie countless times for last-minute summer barbecues. Everyone always asks for the recipe, and I just smile because telling them it took maybe 20 minutes of active time feels like cheating!
Why This No-Bake Peanut Butter Pie – Creamy & Easy Dessert Is a Must-Make
When I say this pie is a winner, I really mean it. It solves so many kitchen dilemmas at once. You’re going to love how effortlessly decadent this dessert turns out, and it’s perfect for those days you just don’t want to fuss with the oven.
-
Zero Oven Time Required
This is the biggest bonus, right? No preheating, no worrying if the temperature is exactly right. It’s your best friend during summer gatherings when turning on the oven feels like a crime.
-
Incredibly Smooth Filling Texture
That creamy factor? It’s huge. We use the right ingredients to make sure the filling is velvety smooth, rich, and just melts in your mouth. No graininess allowed in my kitchen!
-
Quick Assembly for a Fast Dessert
Seriously, you mix it, you spread it, you chill it. If you can stir ingredients together, you can make this pie. The active work flies by, which is why I call it my favorite easy dessert.
Gathering Ingredients for Your No-Bake Peanut Butter Pie – Creamy & Easy Dessert
Okay, grabbing the right stuff is half the battle, especially when you aren’t baking! Because we aren’t using the oven to correct our mistakes, we need everything measured perfectly so that the filling sets up just right. Don’t sub out the wrong kind of peanut butter—trust me on this one!
For the Graham Cracker Crust
This is the foundation! You need 1 1/2 cups of graham cracker crumbs. That usually works out to about 12 full sheets you crush up yourself. We mix that with 1/4 cup of regular white sugar. Then, the binding agent: 6 tablespoons of unsalted butter, melted. Mix it all until it looks like wet sand before pressing it into your 9-inch pie plate.
For the Rich Peanut Butter Filling
For that perfect, non-weeping texture, you absolutely must use standard, creamy peanut butter—the kind that sticks to the roof of your mouth! Do not grab that natural separation stuff; it will break the filling. You’ll need 8 ounces of cream cheese, and make sure it’s softened up nice and evenly. Then, 1 cup of creamy peanut butter and 1 cup of powdered sugar.
The magic ingredient is the fluff: 1 container (that’s 8 ounces) of frozen whipped topping, fully thawed. This makes it light!
Optional Topping Choices
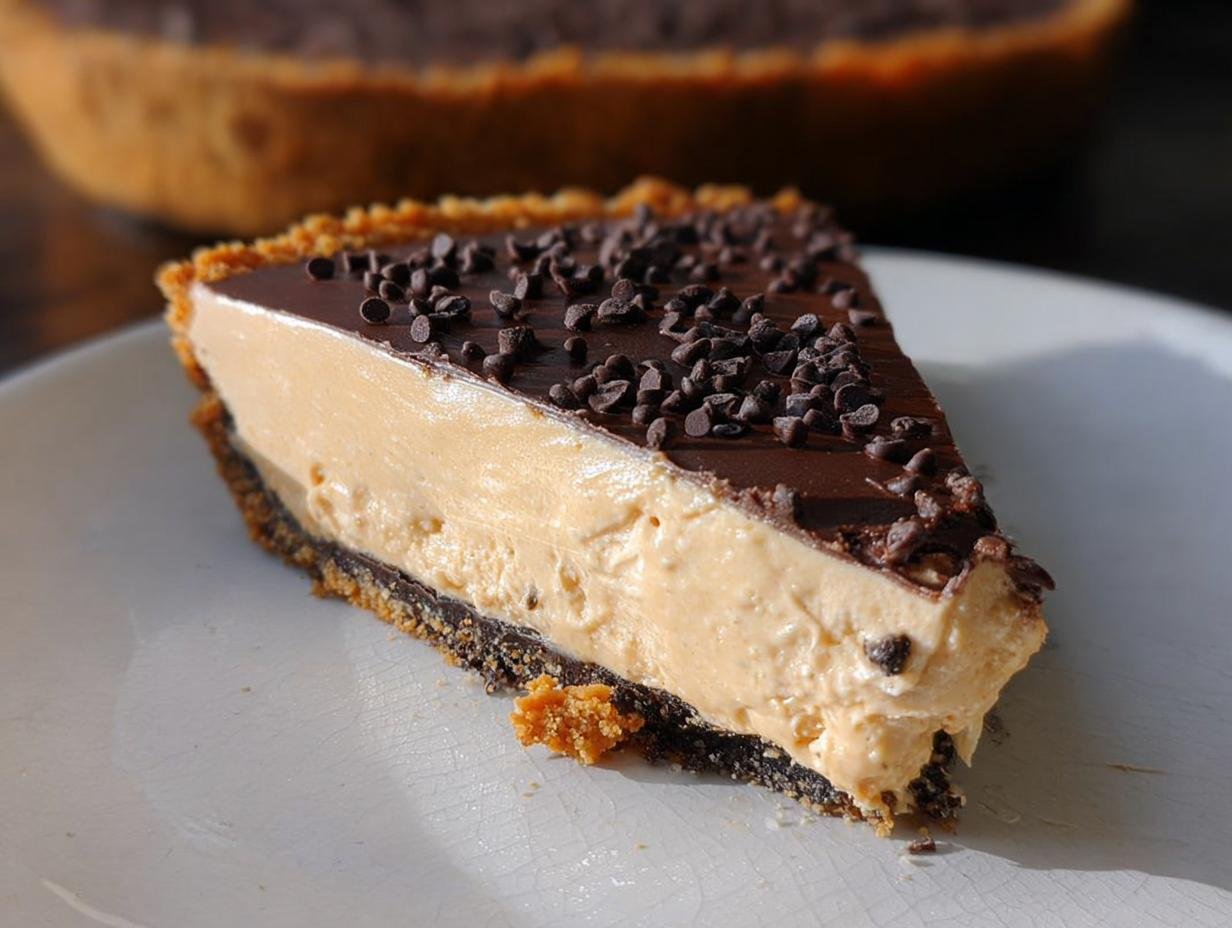
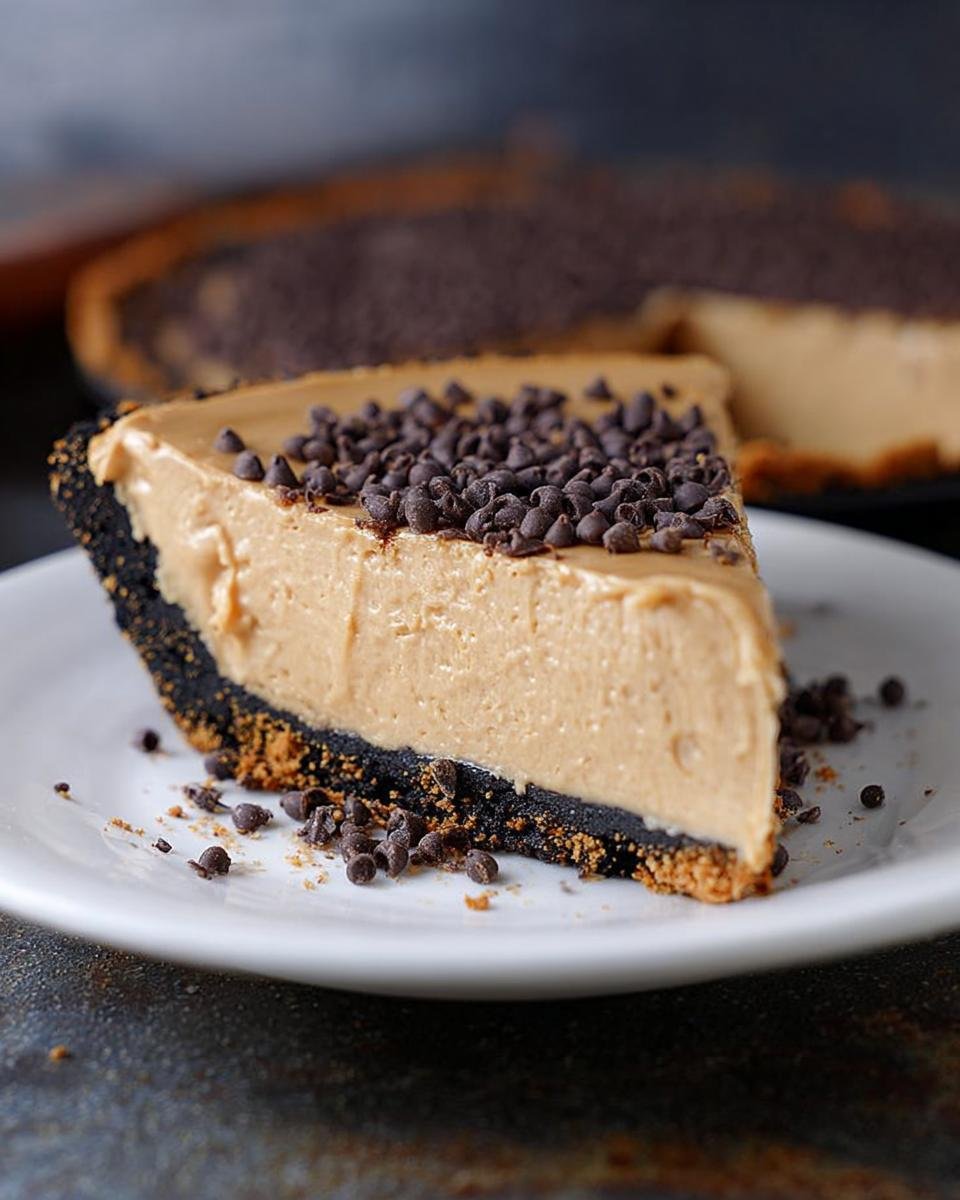
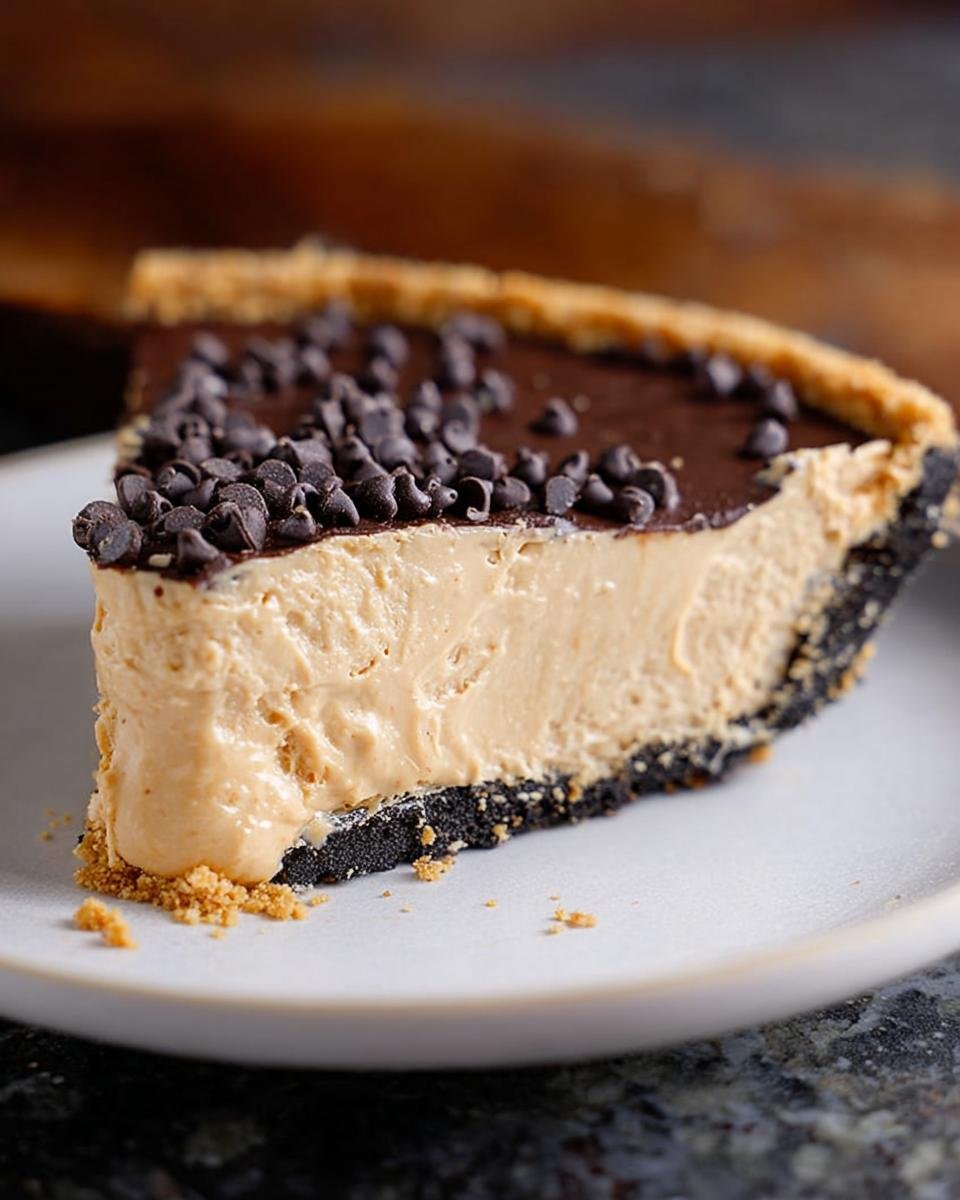
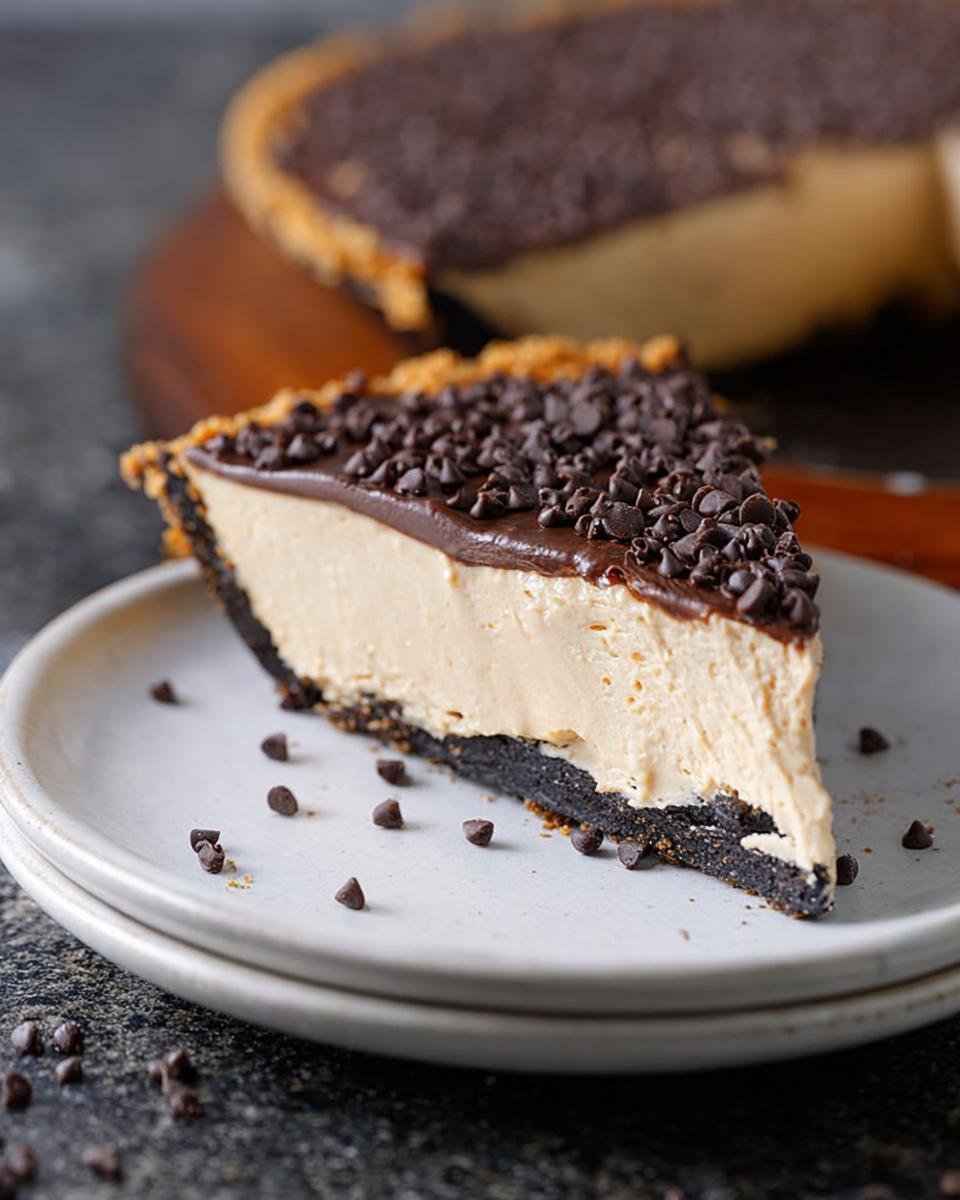
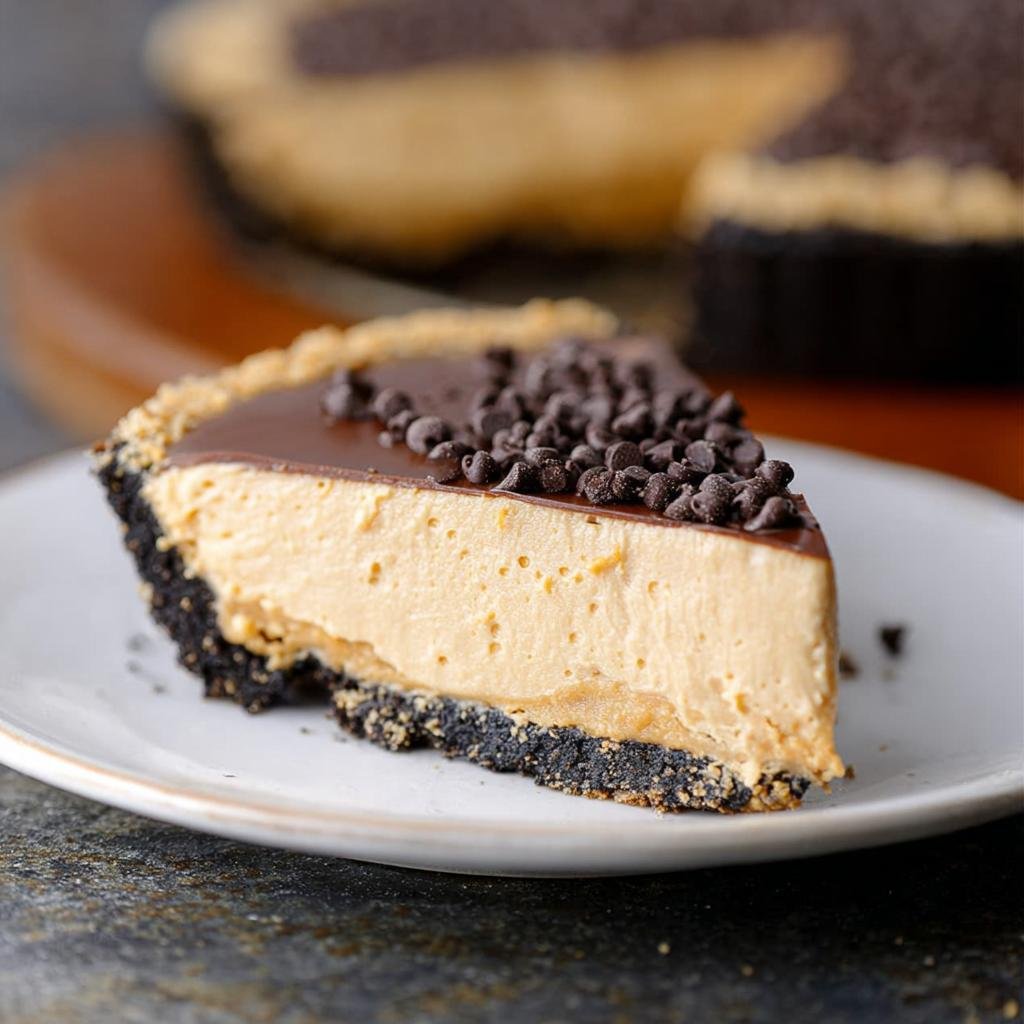
If you want to dress this beauty up, I highly recommend grabbing 1/2 cup of miniature chocolate chips. They look so cute scattered right over the top before the pie chills. You can always add more later, but this amount really balances the peanut butter beautifully!
Step-by-Step Instructions for the No-Bake Peanut Butter Pie – Creamy & Easy Dessert
Since there’s no baking involved, the real magic here is in the stirring and the setup! This is where you need to pay attention to keep that filling super smooth. If you are looking for other recipes that make organizing your kitchen life easier, I have a few tips over here on weekly meal prep that might help you get ahead!
Preparing and Setting the Crust
First things first, that crust needs to be set firmly in your 9-inch pie plate. Take those graham cracker crumbs, the sugar, and the melted butter. Mix it all until it looks evenly moistened—you want that wet sand texture. Then, use the bottom of a drinking glass or just your fingers to press this mixture down *really* firmly into the bottom and right up the sides of the plate. A dense crust means a sturdy pie!
Mixing the Creamy Peanut Butter Filling
Now for the star of the show. Get your electric mixer going with that softened cream cheese. Beat it until it looks totally smooth—no lumps allowed! Once it’s creamy, mix in your cup of peanut butter. After that’s combined well, you start adding your powdered sugar very slowly. Make sure you stop and scrape down the sides of the bowl every minute so there are no pockets of unmixed sugar lurking at the bottom. That’s a pro move for guaranteed smoothness.
Folding in the Whipped Topping
This next step decides whether your pie is airy or heavy. Take your thawed whipped topping and dump it into the peanut butter mixture. You must use a rubber spatula and *gently fold* it in. Seriously, lift from the bottom and turn it over. If you mix hard, you’ll knock all the air out, and then it won’t be light and creamy anymore. Just fold until you don’t see any white streaks left.
Chilling the No-Bake Peanut Butter Pie
Spoon that beautiful filling into your prepared crust and smooth the top. If you’re using those mini chocolate chips, sprinkle them on now! The crucial part: get this pie into the refrigerator immediately. It needs a solid chill time—at least 3 hours, but honestly, if you can let it go overnight, you’ll get the cleanest slices possible. Don’t rush this chilling phase!
Expert Tips for the Perfect No-Bake Peanut Butter Pie – Creamy & Easy Dessert
Now that you know the basic steps, let me give you the insider scoop that will take your pie from good to absolutely iconic. These aren’t just suggestions; they are the keys to unlocking that perfect, stable texture that makes this pie so famous.
Peanut Butter Selection Matters
This is non-negotiable if you want this creamy pie to hold up. You simply cannot use natural-style peanut butter where the oil separates. That oil doesn’t incorporate the way standard, stabilized peanut butter does. If you use natural, your filling will be runny, and nobody wants a soupy pie! Stick to the creamy kind you grew up with; it has the structure we need.
Achieving a Firm Pie Texture
While 3 hours of chilling is the minimum time, I always make mine the day before I plan to serve it. Why? Because that extra time in the fridge lets the cream cheese and whipped topping really firm up against the graham cracker base. If your kitchen is warm, or you just like a slice that stands tall when you cut it, definitely let it chill overnight. It won’t lose any flavor, I promise!
Ingredient Substitutions for Your No-Bake Peanut Butter Pie
I know sometimes you open the pantry and realize you’re missing that one key item. Don’t panic! This pie is pretty forgiving, especially the crust, and we can definitely swap out the whipped topping if you prefer making things completely from scratch. Flexibility is key when you’re cooking on the fly!
Crust Alternatives
If you are ever out of graham crackers, or maybe you just want a different flavor profile, you have tons of options. You can buy a pre-made, ready-to-go 9-inch crust—that cuts down your prep time even more, which is awesome. Or, try crushing up vanilla wafer cookies instead! They give a slightly sweeter, more buttery base. Just use the same amount of crumbs and the same amount of melted butter.
Whipped Topping Swaps
The recipe calls for that packaged frozen whipped topping because it whips up stable and holds its shape perfectly without freezing solid. If you want to whip your own, you totally can! You’ll want to make a stabilized whipped cream. I usually whip 1 cup of heavy whipping cream with just a little bit of powdered sugar and maybe a teaspoon of cornstarch or a tiny splash of vanilla extract. Whip it until stiff peaks form, and fold that in exactly the same way you would the thawed topping to keep the pie light.
Serving Suggestions for Your No-Bake Peanut Butter Pie – Creamy & Easy Dessert
Okay, so you’ve let the pie chill—it looks gorgeous, firm, and ready for its close-up! While the chocolate chips are fantastic on their own, sometimes a dessert this rich calls for just a little extra something on top to really make it sing. Serving suggestions are what elevate a great easy dessert into something truly memorable.
Perfect Toppings and Garnishes
If you kept the chocolate chips on top, that’s already half the battle won. But if you want to double down on the decadence, try a drizzle! A thin stream of salted caramel sauce right over the top before serving is heavenly; the saltiness plays so well with the peanut butter.
I also love using a vegetable peeler to shave off some nice curls of high-quality dark chocolate and sprinkling those over instead of mini chips. For a little freshness, which you definitely need to balance the heavy creaminess, top individual slices with a few fresh raspberries. The tartness cuts through the fat beautifully. If you’re into making things that really make peanut butter shine, I have some amazing chocolate peanut butter cookie recipes you should check out too!
Pairing Beverages
You need something to wash down all that creamy goodness, something strong enough to stand up to the peanut butter flavor without being too sweet itself. My go-to has always been a really strong, dark-roast black coffee. That bitter edge is the perfect counterpoint to the sweet pie filling.
If coffee isn’t your thing, a tall, cold glass of milk is classic for a reason! It just complements that nostalgic flavor so perfectly, especially if you have kids helping you clean up the kitchen. Honestly, for a rich pie like this, skip the extra-sugary sodas.
Storage and Make-Ahead Details for No-Bake Peanut Butter Pie
One of the best parts about using cream cheese and whipped topping in a no-bake dessert is that they hold up really well in the fridge. This seriously takes the stress out of party planning because you definitely don’t have to make this the day it’s being served!
How Long to Store Leftovers
Because this pie isn’t baked, we rely entirely on chilling to keep the texture locked in. Once it’s set, you cover that pie plate tightly with plastic wrap—and I mean *tightly*, especially if you put it near smelly leftovers! Stored correctly in the refrigerator, this No-Bake Peanut Butter Pie will stay absolutely delicious for about 3 to 4 days.
After day four, the graham cracker crust starts to get a little soggy from hugging that moist filling, and while it’s still safe to eat, the texture just isn’t as crisp as it was on day one or two. Seriously, try to save some for Day Two, because I think it tastes even better the next day!
Make-Ahead Planning
This pie is tailor-made for make-ahead planning! In fact, I highly recommend making it the day before you need it. Remember that minimum chilling time? That’s about 3 hours. But if you push it to 12 or 14 hours, the filling firms up perfectly, and the crust absorbs just the right amount of moisture from the filling—not too much, not too little.
You can even assemble the entire pie, cover it, and keep it in the fridge for a full 24 hours before you plan on serving it. When you pull it out, just top it with your chocolate chips right before slicing. It’s totally stress-free entertaining!
Frequently Asked Questions About This Easy Dessert
I always get a ton of questions when I post this recipe, especially since it’s so simple but tastes so rich. People really want to know the secrets to keeping it creamy and firm! If you’re looking for more impressive pie ideas, check out my collection of favorite pie recipes.
Can I use crunchy peanut butter in this No-Bake Peanut Butter Pie?
You certainly *can*, but you might not love the result if you’re after that totally smooth experience this pie is known for. Crunchy peanut butter adds little pieces of peanut throughout the filling, which interrupts that lovely, velvety texture we worked so hard to build with the cream cheese and whipped topping. If you love texture, go for it, but know it won’t be quite as uniformly creamy!
What is the best way to cut clean slices?
This is a game-changer for presentation! Once your pie is fully chilled, take a long, sharp knife and dip it into a glass of very hot water. Wipe the blade dry quickly with a paper towel, and then make your cut. The heat melts the fat in the filling just enough for a clean pass through the crust. If you’re cutting multiple slices, reheat and wipe the knife after every single slice!
Can I freeze this creamy dessert?
Yes, you absolutely can freeze this! This easy dessert is actually great for making ahead and hiding away for a future craving. Cover the set pie tightly in plastic wrap, and then wrap it again in foil before placing it in the freezer for up to about a month. When you want to eat it, just let it thaw in the refrigerator overnight. It comes out perfectly set!
Estimated Nutritional Information for This Easy Dessert
Look, I’m a cook, not a nutritionist! I usually just focus on taste, but I know some of you are tracking things closely, so I ran the numbers through my usual calculator. Please take this as a general guideline, not gospel, okay? Since this No-Bake Peanut Butter Pie – Creamy & Easy Dessert involves a lot of richness, it should definitely be treated like the indulgence it is!
These estimates are based on the recipe yielding 8 standard slices, including the standard amount of chocolate chips on top. I got these figures from my standard reference guide, which you can see linked here if you’re tracking your daily goals, like over on my calorie-smart recipes page.
- Calories: Around 350 calories per slice.
- Fat: About 21 grams. Yes, it’s rich, but that’s the butter and peanut butter working their magic!
- Carbohydrates: Roughly 35 grams. Most of this comes from the sugar in both the crust and the filling.
- Protein: A decent 8 grams per slice, thanks to all that peanut butter and cream cheese!
It’s a decadent treat, for sure, but every bite of that creamy filling is worth it when you’re enjoying a truly easy dessert!
Share Your Creamy & Easy Dessert Experience
So, there you have it! My favorite, foolproof way to make the most incredible No-Bake Peanut Butter Pie – Creamy & Easy Dessert without ever firing up the oven. It’s fast, it’s rich, and honestly, it never lasts long at my house!
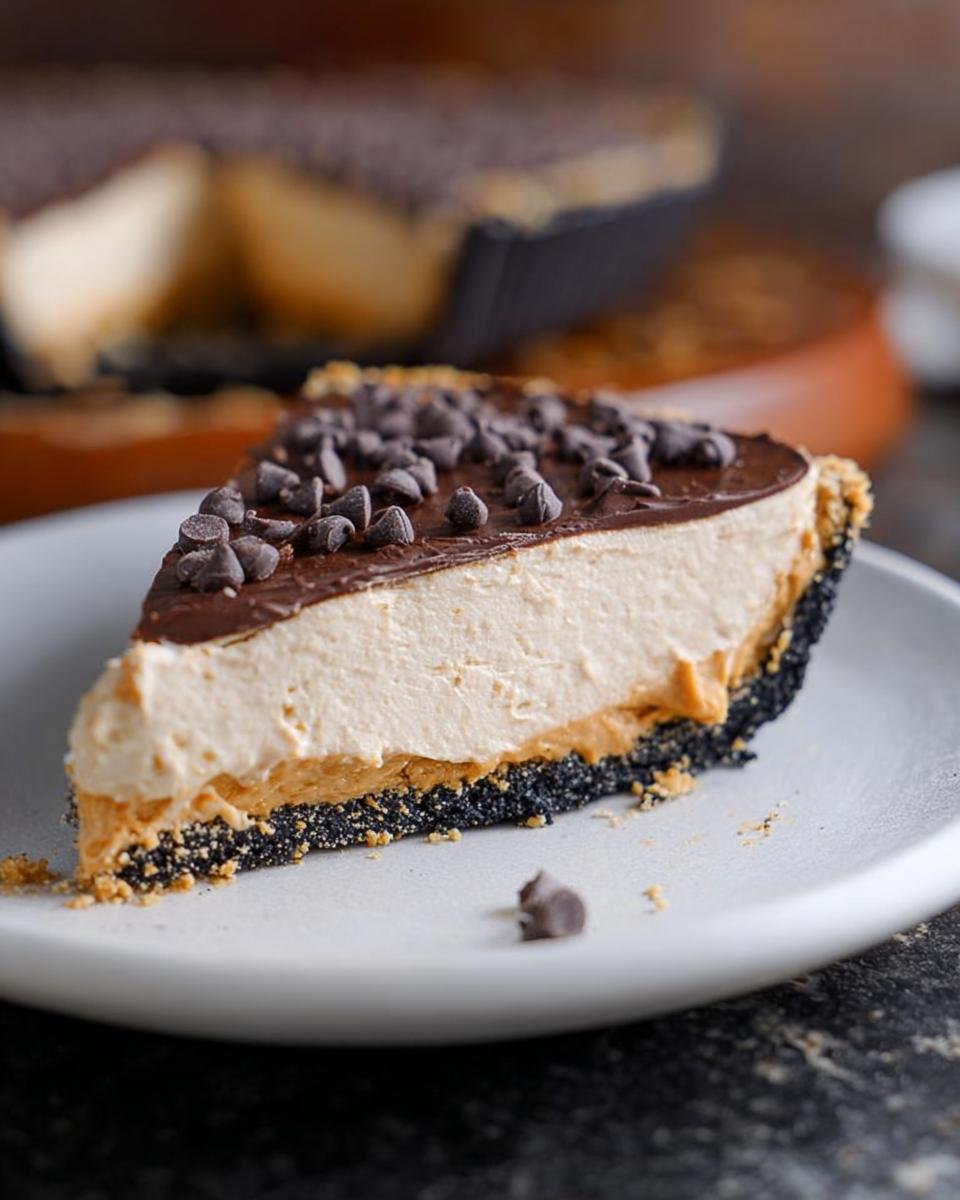
Now that you’ve tried it, I absolutely need to hear how it went for you! Did you stick with the mini chocolate chips, or did you get creative with the toppings? Maybe you tried crushing Oreos instead of graham crackers for the crust? Don’t keep those brilliant modifications to yourself!
If you loved how easy this was, please take a second to drop a rating. Five stars tells me you think this pie is as amazing as I do! Just click those stars right there below and then jump down to the comments section.
I love seeing pictures of your finished pies, so if you post one online, tag me! I can’t wait to see your versions of this classic, no-bake favorite dessert. Happy baking—or, well, happy *chilling*!
No-Bake Peanut Butter Pie
Ingredients
Equipment
Method
- Prepare the crust: Mix the graham cracker crumbs and granulated sugar in a medium bowl. Pour in the melted butter and mix until the crumbs are evenly moistened. Press the mixture firmly into the bottom and up the sides of a 9-inch pie plate.
- In a large bowl, use an electric mixer to beat the softened cream cheese until it is smooth. Add the peanut butter and beat until combined.
- Gradually add the powdered sugar to the peanut butter mixture, beating until smooth. Scrape down the sides of the bowl as needed.
- Gently fold in the thawed whipped topping until no streaks remain. Do not overmix.
- Spoon the filling into the prepared graham cracker crust and spread it evenly.
- If using, sprinkle the miniature chocolate chips over the top of the pie.
- Chill the pie in the refrigerator for at least 3 hours, or until firm, before slicing and serving.