
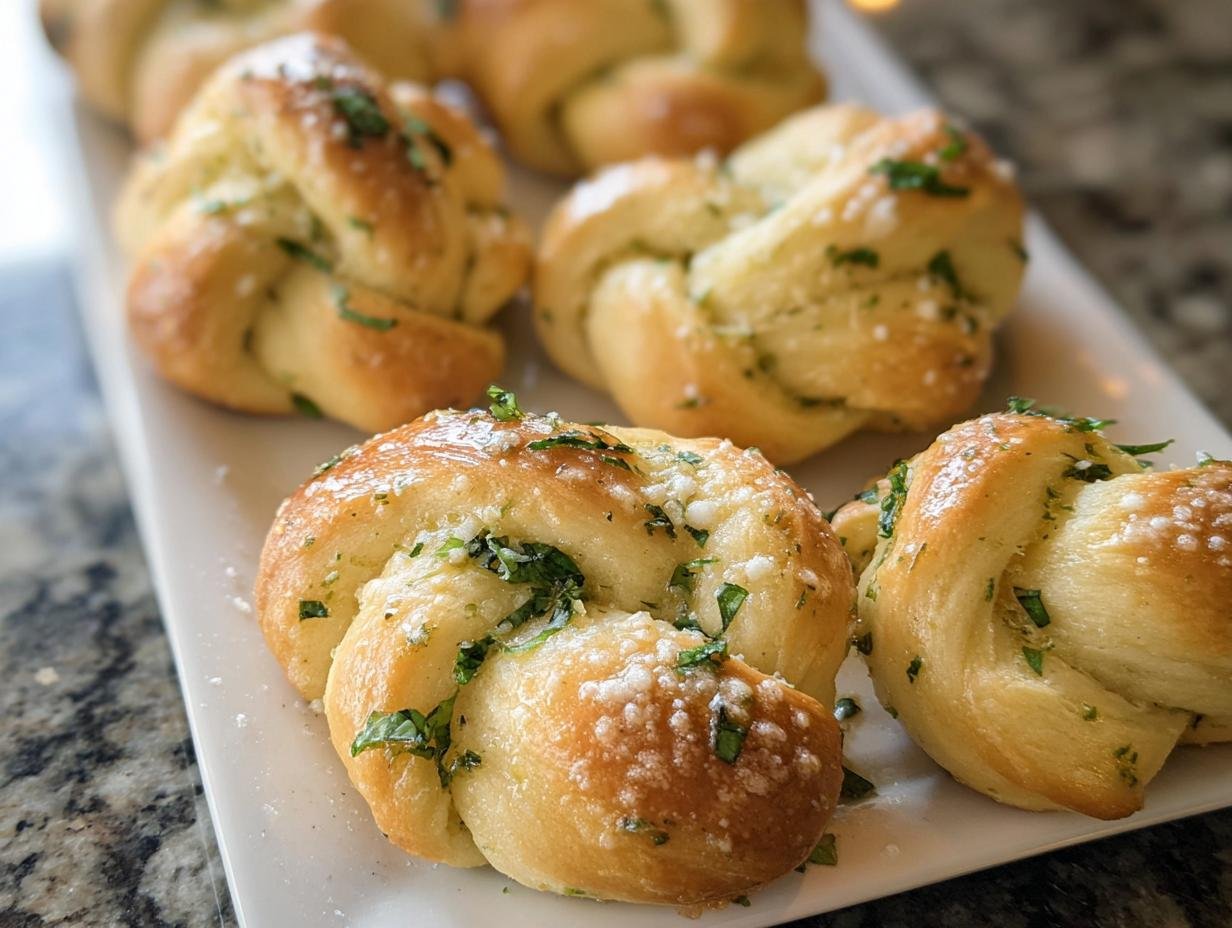
There’s just something about warm, soft bread pulled straight from the oven, isn’t there? It instantly makes any meal feel better! If you’ve been looking for an easy side that tastes like it took hours but actually takes minutes, you are in luck. We are making the best Garlic Knots with Olive Oil from scratch today, and I mean truly easy—we aren’t even kneading much!
These rolls recipes easy no knead from scratch are simple to shape and deliver that perfect buttery flavor you crave. I still vividly remember the first time I tested a batch of these knots in our kitchen. The aroma hit me before I even opened the oven—rich garlic, warm dough, and that delicate fruitiness from the olive oil. Amelia Ward, one of our recipe testers, knew instantly that this was one of those recipes people would want to make again and again. After a few rounds of refinement, she found the perfect balance: fluffy texture, golden edges, and just the right amount of garlicky shine. It was one of her favorite testing days because everything simply worked out perfectly.

Why You Will Love These Garlic Knots with Olive Oil
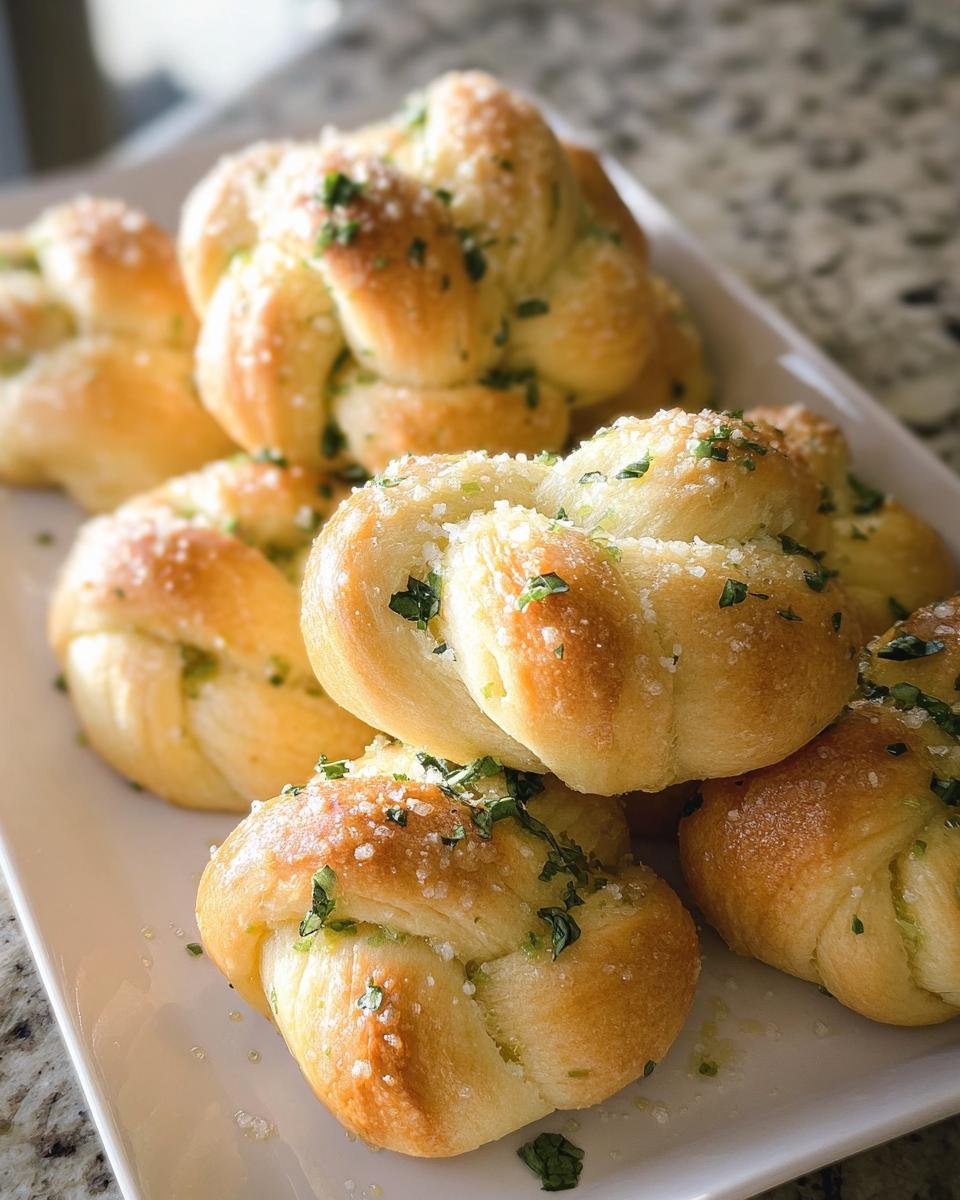
Honestly, these knots fly off the plate faster than anything else I bake. They are just incredibly satisfying and so fast. You’re going to want to bookmark this one for last-minute dinner helpers!
- These are seriously no knead! We just stir everything together until it looks shaggy, and the yeast does all the hard work while resting.
- They use basic pantry ingredients—nothing fancy required to get that incredible flavor.
- The finishing touch of garlic butter and Parmesan makes them wonderfully buttery and savory.
- The texture is exactly what you want: a fluffy inside that’s soft, but with just enough chewiness on the edges.
- They come together as a fantastic side dish in under an hour total, making them perfect for busy weeknights. Check out more quick and easy recipes on the blog!
- Since the dough rests in oil, they come out beautifully golden and never dry.
Essential Ingredients for Perfect Garlic Knots with Olive Oil
I love that we can whip these up with simple things we always have on hand, which is part of why this is such a reliable recipe. You don’t need a bread machine or a stand mixer for these rolls recipes easy no knead from scratch; just a strong arm and a big bowl! The key is making sure your water is the right temperature to wake up that yeast. You can explore some other great uses for fresh dough right here if you’re feeling ambitious after these Italian bread recipes!
For the Dough
- Flour: You need 2 to 2 1/3 cups of bread flour, divided. Trust me, you can use all-purpose flour if that’s what you have, but bread flour gives it that slight chew we are aiming for.
- Yeast: One packet of instant yeast, which is about 2 1/4 teaspoons.
- Sweetener & Salt: 1.5 teaspoons of sugar and 0.75 teaspoon of salt. The sugar feeds the yeast, making this truly a no knead process!
- Flavor & Moisture: We use 0.5 teaspoon of garlic powder right in the dough for backup flavor, plus 2 Tablespoons of olive oil—and don’t forget to grab extra olive oil for brushing later!
- Water: 0.75 cup of warm water, hitting that perfect 105–115F range. Too hot and you kill the yeast, too cool and they take forever to wake up!
For the Garlic Butter Topping
- Butter: 4 Tablespoons of salted butter, melted until liquid.
- Garlic: 3 cloves of minced fresh garlic, which is about 1 1/2 Tablespoons—you want that punch!
- Herbs: 1 Tablespoon of minced fresh basil. This brightens up the whole knot significantly.
- Finish: Grated Parmesan cheese, just to taste if you want that extra salty kick on top.
Step-by-Step Instructions for Making Garlic Knots with Olive Oil
Okay, this is the fun part where we transform ingredients into these amazing little rolls. Since this is a no knead dough, the key here is letting time do the work for us! We’re using the 400F oven temperature, so make sure you get that preheating done first. If you want to see these knots alongside another fantastic bread recipe, take a peek at my recipe for savory French onion sausage rolls.
Mixing and First Rise for the Dough
We start off just stirring everything together in one big bowl. It’s ridiculously easy!
- First thing: Preheat the oven to 400F (205C) and get that baking sheet lined with parchment paper. Have that ready to go!
- In your big mixing bowl, whisk together 1 cup of the flour, the instant yeast, sugar, salt, and garlic powder until they look happy and combined.
- Now pour in the 2 Tablespoons of olive oil and your cup of warm water. Grab a wooden spoon and mix until everything is incorporated into a shaggy mess.
- Slowly start adding the second cup of flour, mixing until a cohesive ball starts to form and pull away from the bowl sides.
- If you need it, add those last bits of flour until you have a dough that is still a little tacky but definitely manageable.
- Drizzle a separate, clean bowl (and brush the sides!) generously with olive oil. Roll your dough ball around in that oil until it’s coated, cover it tightly with wrap, and set it somewhere warm—like on top of your slightly warmed oven—for 30 minutes until it doubles up.
Shaping and Second Rest for Garlic Knots with Olive Oil
Once the dough has rested, it smells amazing and is ready to be shaped! This is where we create those perfect little knots.
- Gently punch down that puffed-up dough and turn it out onto a surface that’s just lightly dusted with flour.
- Roll the dough into one long log, about 15 inches long. Now, slice it into 9 equal pieces.
- Take each piece and gently roll it between your palms, stretching it just a bit until you have a rope about 8 inches long. If it’s sticking to your hands, use a tiny bit of flour!
- Carefully tie each rope into a simple knot and place it on your prepared baking sheet. You can brush them lightly with a little extra olive oil here if you want a crispier exterior.
- Pop that tray back on top of the warm oven to rest for just 5 minutes before they go in to bake. This quick rest helps the final shape set for your Garlic Knots with Olive Oil.

Baking and Finishing with Garlic Butter
While the knots are getting their final rest, we whip up that decadent topping. It takes no time at all!
- Slide those rested knots into the 400F oven and bake them for about 13 minutes. You’re looking for them to turn just a light golden brown—we don’t want them too dark yet.
- While they bake, start the butter: melt the 4 Tablespoons of salted butter in a small saucepan over medium-low heat.
- Once the butter is melted and gentle simmering, add in your 3 cloves of minced garlic. Let it cook until the garlic is fragrant—don’t let it burn or it’ll taste bitter!
- Remove the pan from the heat immediately and quickly stir in the minced basil.
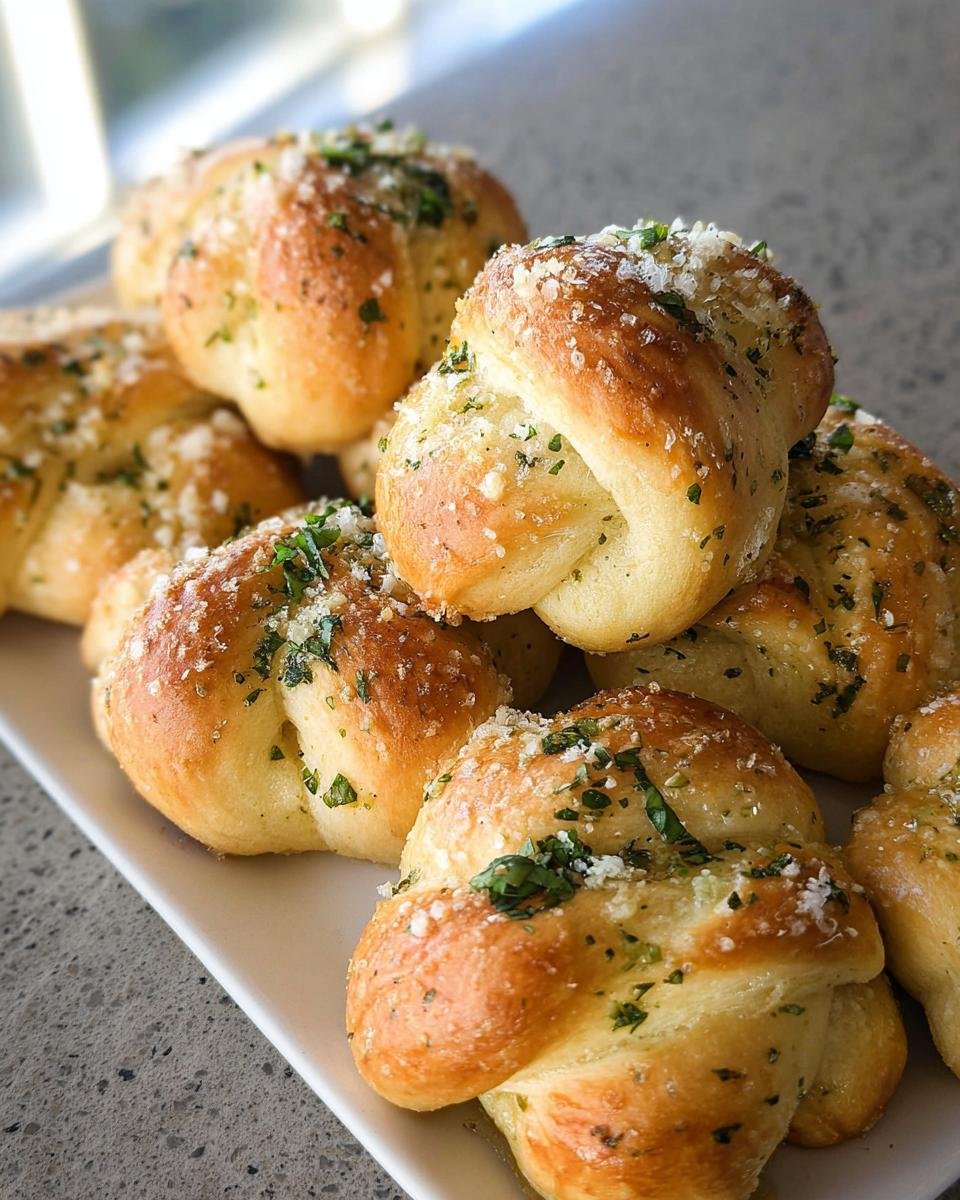
- As soon as the knots come out of the oven, grab a pastry brush and generously coat every single warm knot with that wonderful garlic butter mixture. Sprinkle with Parmesan if you’re feeling fancy, and serve them warm! Wow, what a treat!
Tips for Success with Your Garlic Knots with Olive Oil
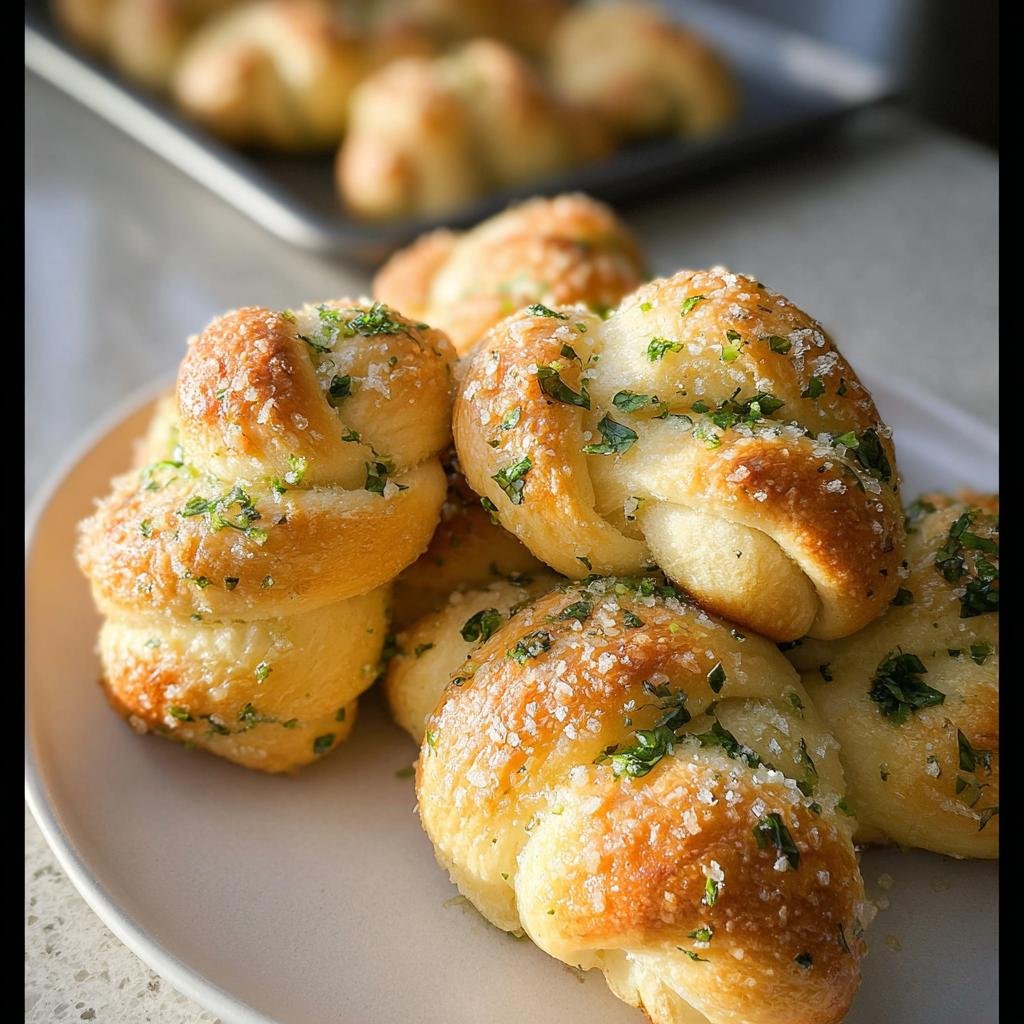
I want every single batch of these rolls recipes easy no knead from scratch to turn out perfectly golden for you—soft inside, slightly crusty outside, and incredibly flavorful. Since this is one of my absolute favorite easy homemade rolls recipes, I picked up a few little tricks over the years to guarantee success when making Garlic Knots with Olive Oil.
Here are my must-do tips:
- Go With Bread Flour If You Can: Remember how I mentioned you can use all-purpose flour? You totally can, and they’ll be soft! But if you want that fantastic, slightly stretchy, chewy texture that feels more like restaurant-style knots, definitely use bread flour. It has more protein and gives the dough structure. You can check out some great inspiration for lightened-up comfort food choices later!
- Oil the Bowl Generously: Don’t skimp on oiling that bowl for the first rise! This is crucial because it’s essentially replacing the kneading process. The oil keeps the surface of the dough supple, preventing a dry skin from forming while it rests, which means you get amazing elasticity for shaping later.
- Don’t Over-Flour the Rope: When you roll out the 8-inch ropes, use the absolute minimum amount of flour necessary to stop sticking. Too much flour incorporated at this stage will dry out your finished knots, and they’ll end up a bit dense rather than fluffy. If they feel tacky, just grease your hands slightly instead of adding flour to the dough itself.
- Butter Immediately After Baking: This is key for flavor and appearance. The moment those Garlic Knots with Olive Oil come out of the oven, they are piping hot and ready to soak up that fragrant garlic butter. If you let them cool down for even five minutes, the butter won’t absorb nearly as well, and you’ll miss out on that intensely buttery shine!
Ingredient Substitutions and Notes
I know that sometimes we all need to work with what we have in the pantry, and that’s perfectly fine! Baking is all about flexibility, even when we follow a detailed recipe like these rolls. I always try to keep the core flavor profile—the yeast and the olive oil—the same, but swapping out a few supporting players is easy enough if necessary.
The biggest question I get is always about the flour. Honestly, that’s the easiest swap. If you look back in the ingredient list, I mentioned we can use all-purpose flour instead of bread flour. Bread flour is my preferred choice because I like that superior chewiness for these knots, but all-purpose flour works beautifully too. If you go that route, expect a slightly softer, fluffier texture—which, hey, some people prefer that for their homemade rolls recipes! They come out lighter, almost like a classic dinner roll.
The fresh basil is lovely because it gives everything a brightness that contrasts really nicely with the heavy garlic and butter. But if you’re fresh out, don’t panic! You can easily swap it for 1/2 teaspoon of dried Italian seasoning or just a pinch of dried oregano. It won’t be quite as vibrant as the fresh basil, but it will still add that lovely herbaceous layer we want in our garlic butter mix. Just remember to taste as you go, especially with dried herbs since they are much more concentrated than fresh ones!
Storing and Reheating Your Garlic Knots with Olive Oil
Listen, if you’re like me, you probably wish these Garlic Knots with Olive Oil could last forever, right? They are truly at their peak perfection the day you bake them. That soft, buttery crust and the warm, chewy interior just don’t stay that way overnight, no matter how well you store them. But don’t worry, we aren’t throwing out leftovers!
For short-term storage—say, if you plan on eating them the next day—the best way to keep them fresh is to store them in an airtight container or seal them tightly in a zip-top bag right on your counter. Keep them away from the fridge! Cold air is the enemy of soft bread and will make these knots taste dry and firm really fast. Seriously, keep them on the counter, and they should be fine for about 24 hours.
When it comes time to reheat them, reviving that fresh-baked goodness is super simple, and this is where we bring back that amazing garlic flavor!
My favorite reheat method is using the oven. Wrap the knots loosely in foil—just enough to keep the moisture in but allow some air flow—and pop them into a 350F (175C) oven for about 5 to 8 minutes. That gentle heat warms them through perfectly. If you want a little extra kick, you can brush them with a tiny drizzle of olive oil or even a dab of fresh melted butter right before they go in the oven.
If you’re grabbing just one or two knots for a quick snack, the microwave actually works in a pinch, but you have to be fast! Only microwave them for about 10 to 15 seconds until just warm. Any longer, and they get chewy and tough again. It’s a tradeoff, but they are still great for a speedy lunch alongside something like my simple balanced suppers!
Frequently Asked Questions About Rolls Recipes Easy No Knead
I totally get it; when you find a great rolls recipes easy no knead from scratch, you want to know how much you can prep ahead of time! Baking bread is always better when you can plan ahead, even if these are already super quick to make on the day.
Can I make the dough ahead of time?
Absolutely, you can! Since this recipe uses instant yeast and doesn’t require heavy kneading, it’s actually perfect for a slow, cold-ferment rise. After you mix the dough and roll it into that nice oily ball for the first rise (Step 6), instead of leaving it on the counter for 30 minutes, cover it securely and pop it into the fridge. It can sit happily there for up to two days! When you’re ready to bake, just take it out, let it warm up on the counter for about an hour until it’s puffy again, and then continue with the shaping instructions. It develops a deeper, slightly more complex flavor too—bonus!
How do I ensure my knots are buttery and not dry?
This is all about the finishing touches! We use olive oil in the initial dough and for the rise, which helps keep the internal crumb soft. But the real buttery magic happens right at the end. Make sure you are *generous* smothering those hot knots with the garlic butter mixture the absolute second they come out of the oven (Step 14). That heat pulls the melted butter right into the surface crust. Also, don’t forget to use plenty of oil in the second bowl before the first rise; that surface oil prevents that dry crust from forming while the yeast is working its magic, helping you achieve that wonderfully soft, buttery outcome.
If you want even more tips on timing and perfecting your loaves, you should definitely check out this detailed post on rolls recipes easy no knead from scratch buttery make ahead!
Serving Suggestions for Garlic Knots with Olive Oil
Okay, now that you have these glorious, garlicky little rolls fresh out of the oven, the question becomes: What do we eat them with? Because honestly, they aren’t just a side dish; they are a main event! These Garlic Knots with Olive Oil are so versatile. They soak up sauces like sponges, which is exactly what you want from a fantastic homemade roll.
First off, they are the absolute perfect companion for any red sauce pasta. We can never get enough sauce in our bowls, right? These knots are perfect for wiping the plate clean after a big serving of spaghetti. Speaking of which, if you love mixing pasta with hearty flavors, you should absolutely try my recipe for spinach artichoke stuffed spaghetti—the knots mop up that creamy sauce beautifully.
They shine just as brightly next to soups! Forget plain crackers; these are the new dipping champion. They pair especially well with thick, rustic soups. Imagine dipping one into a warm bowl of Pasta e Fagioli—the broth, the beans, the buttery dough… it’s comfort food heaven. Seriously, they disappear before the soup does!
If you aren’t serving them with soup or pasta, you need a dipping sauce! Keep it simple. A small bowl of warm marinara sauce is always a winner, obviously. But if you want to elevate things just a touch, mix some extra virgin olive oil with a dash of balsamic vinegar and a pinch of red pepper flakes. That fruity olive oil we used in the dough carries over so well into a dipping oil. Trust me, you’ll be reaching for these Garlic Knots with Olive Oil long after dinner is over!
Nutritional Estimates for Garlic Knots with Olive Oil
When we create something this delicious and satisfying, it’s always smart to have a basic idea of what’s in it, even if we aren’t strictly counting every little bite! I always try to be as transparent as possible with what goes into my tried-and-true recipes, so here is a general look at what you can expect from making a batch of these fantastic Garlic Knots with Olive Oil.
Keep in mind that these numbers are just estimates based on the exact measurements listed in the recipe, and they factor in the whole batch yielding 9 individual knots. If you stretch your ropes a little longer or use a touch less butter, your numbers will shift slightly, but this gives you a wonderful starting point for tracking your meals. If you’re looking for more ways to balance your plate while still enjoying incredible flavor, check out my guides on calorie-smart recipes!
Here is the breakdown per single garlic knot:
- Calories: Approximately 200
- Fat: About 9g (with 4g of that being saturated fat)
- Carbohydrates: Around 26g
- Protein: Around 4g
- Sodium: Roughly 231mg
It’s a pretty decent trade-off for that beautiful, buttery garlic flavor, don’t you think? These knots are proof that homemade rolls recipes easy no knead from scratch can still fit into almost any meal plan!
Garlic Knots with Olive Oil
Ingredients
Equipment
Method
- Preheat oven to 400F (205C) and line a baking sheet with parchment paper. Set aside.
- In a large bowl, combine 1 cup (125g) of flour, instant yeast, sugar, salt, and garlic powder and stir well.
- Add olive oil and warm water and use a wooden spoon to stir until all ingredients are well-combined.
- Gradually add another 1 cup (125g) of flour. Add any additional flour as needed, stirring until the dough forms a cohesive, elastic ball and is beginning to pull away from the sides of the bowl. The dough will still be tacky but should be manageable with your hands.
- Drizzle a separate, large, clean bowl generously with olive oil and use a pastry brush to brush up the sides of the bowl.
- Transfer your dough to prepared bowl and roll the dough through the oil until the entire surface of the dough is lightly coated with oil, then cover the bowl tightly with plastic wrap and place on top of your oven to rise for 30 minutes or until doubled in size.
- Once the dough has risen, use your hands to gently deflate it and transfer to a lightly floured surface. Form into a log about 15” long and cut into 9 even pieces.
- Roll each piece between your palms and slightly pull it to form a rope about 8” long (lightly dust the dough with flour if needed).
- Carefully tie each rope into a knot and place on prepared baking sheet. Lightly brush with olive oil if desired.
- Set tray on top of warm oven and let garlic knots rest/rise for 5 minutes before baking.
- Transfer to oven and bake on 400F (205C) for 13 minutes or until just beginning to turn a light golden brown. Meanwhile, prepare garlic butter.
- For the garlic butter, combine butter and garlic in a small saucepan over medium/low heat. Cook until butter is melted and garlic is fragrant.
- Remove from heat and stir in minced basil.
- Once knots have finished baking, use a pastry brush to generously brush garlic butter mixture over each knot. Sprinkle with grated parmesan, if desired.
- Serve warm.