
Oh my goodness, don’t you just stare at those incredibly detailed cakes online and think, “Nope, I don’t have three specialty spatulas and a pastry degree”? I’ve been there! The pressure to make a birthday cake look stunning can turn joy into panic so fast.
But guess what? I’ve figured out the shortcuts. I promise you can whip up something seriously impressive in under an hour, even if you’re using a simple store-bought cake base. We’re focusing here on Easy Birthday Cake Decorating Ideas That Make a Statement. I’ve spent years finding the simplest hacks to make my cakes look totally professional, fast. You don’t need fancy skills, just a few smart moves!
Gathering Your Tools for Easy Birthday Cake Decorating Ideas That Make a Statement
Honestly, trying to frost a cake smoothly with just a dinner knife is a recipe for disaster, and I know because I’ve definitely done it! The secret to making these Easy Birthday Cake Decorating Ideas That Make a Statement look polished really comes down to having the right gear. These aren’t intimidating baker gadgets; they are workhorses that make things infinitely simpler.
Essential Equipment for Flawless Frosting
You only need a few key things to get that clean, professional line everyone admires. Trust me, having these items on hand saves so much headache.
- The offset spatula is your best friend for spreading that first crumb coat evenly across the top without destroying your layers.
- A piping bag and a couple of basic tips mean you can make pretty borders or dots without having to meticulously smooth everything by hand.
- And my absolute favorite? The bench scraper. This amazing tool takes your rough sides and smooths them out in about thirty seconds flat. It’s the closest thing to magic I’ve found in the kitchen!
Preparing the Canvas: The Foundation for Easy Birthday Cake Decorating Ideas That Make a Statement
Before we get to the fun part—making it look gorgeous—we have to make sure our cake base is ready to go. This prep work is honestly the biggest secret to getting those Easy Birthday Cake Decorating Ideas That Make a Statement to actually look good and not like a lopsided mess.
The absolute, non-negotiable first thing you must do is make sure your cake layers are fully baked, cooled, and then absolutely chilled. I mean cold! If you try to frost a room-temperature cake, it’s just going to slide and smear every time you touch it.
Oh, and pay attention to the notes my method suggests. Chilling the cake between the frosting layers stops those pesky crumbs from invading your pristine final coat. You have to work fast once that final layer comes out, but that initial chill is everything.
Ingredients Needed for Assembly
You don’t need a huge shopping list for these techniques, which is why they’re so practical for a last-minute celebration. Here’s what you need to have ready before you start your assembly line:
For the Cake Base:
- 1 batch Baked and cooled layer cake, Must be fully chilled
- 2 cups Buttercream frosting, Divided
For Decoration:
- 1/2 cup Sprinkles or edible glitter, For texture
- 10 pieces Fresh berries or small candies, For topping
Step-by-Step Instructions for Easy Birthday Cake Decorating Ideas That Make a Statement
Now we get to the actual application! Remember, speed and coldness are your friends here. If you’re looking for a truly show-stopping cake like a colorful rainbow inside, you might want to check out this rainbow funfetti recipe while your cake chills, but the decorating steps below work on any cake base!
Achieving a Smooth Base Coat
This first layer is truly protective armor for your beautiful cake. Take about a quarter of your buttercream and spread a very thin layer all over the sides and top of your chilled cake using that offset spatula. This is called the crumb coat. It traps all those annoying little loose crumbs so they don’t torpedo into your final coat later on.
Once that’s done, don’t skip the mandatory chill time! Pop it back in the fridge for at least 15 minutes until that thin layer feels completely firm to the touch. Trust me on this one—if you try to rush this, you’ll just end up with sad, crumbly sides.
The Final Frosting Layer and Smoothing Technique
Time for the good stuff! Slather on the rest of your frosting. Don’t be precious with it; put enough on so you can afford to shave some off. Now grab your bench scraper. Hold it vertically right against the side of the cake, keeping your hand slightly angled in towards the cake. Slowly spin your cake turntable, and watch that scraper magically smooth out any bumps!
You can use the scraper on top too, just pull it inward towards the center. Remember what I noted earlier: working quickly on this final layer is key so you don’t drag your spatula through the chilled base coat underneath.
Simple Texture Adds Visual Interest
If you get to this point and feel like the sides are *almost* perfect but maybe have one tiny slight lean, don’t try to fix it five times! Instead, add some texture. This is brilliant for hiding small imperfections.
Take the tines of a fork, and very gently drag them around the top edge of the cake. You can make little scallops or simple, rough waves going all the way around. It looks so intentional, like you spent ages fussing, but it takes two seconds. It adds dimension immediately!
Statement-Making Decoration Techniques for Your Easy Birthday Cake Decorating Ideas That Make a Statement
Okay, the cake is frosted and it feels smooth—even if it’s not perfectly professional smooth. That’s where we layer on the drama! These final touches are what turn a plain cake into something worthy of a photograph. We’re leaning heavily into that effortless, chic look, showing off what Pinterest calls a great design without the hours of work.
If you’ve ever wanted to try piping but got scared, now is the time to let go of that fear! Even if you want to explore other cool cake trends, like the popular chocolate drip style, you can see some great inspiration linked here: cake ideas.
Using Color Blocking with Simple Borders
This technique is amazing because it looks complicated but it’s so basic. Take a small scoop of your remaining frosting—maybe about a quarter cup worth—and mix in one drop of food coloring. You just need a tiny bit of contrast, like a soft mint green or a pastel pink.
Load this tinted frosting into your piping bag fitted with a simple round tip. Now, pipe simple dots or a continuous bead border right around the bottom edge where the cake meets the platter. It instantly frames the whole thing! It hides any tiny flaw where your scraper might have wobbled, and suddenly, your cake looks totally tailored.
Topping Placement for Maximum Impact
This is where you add personality! Forget trying to make intricate sugar flowers. We want impact with minimal effort.
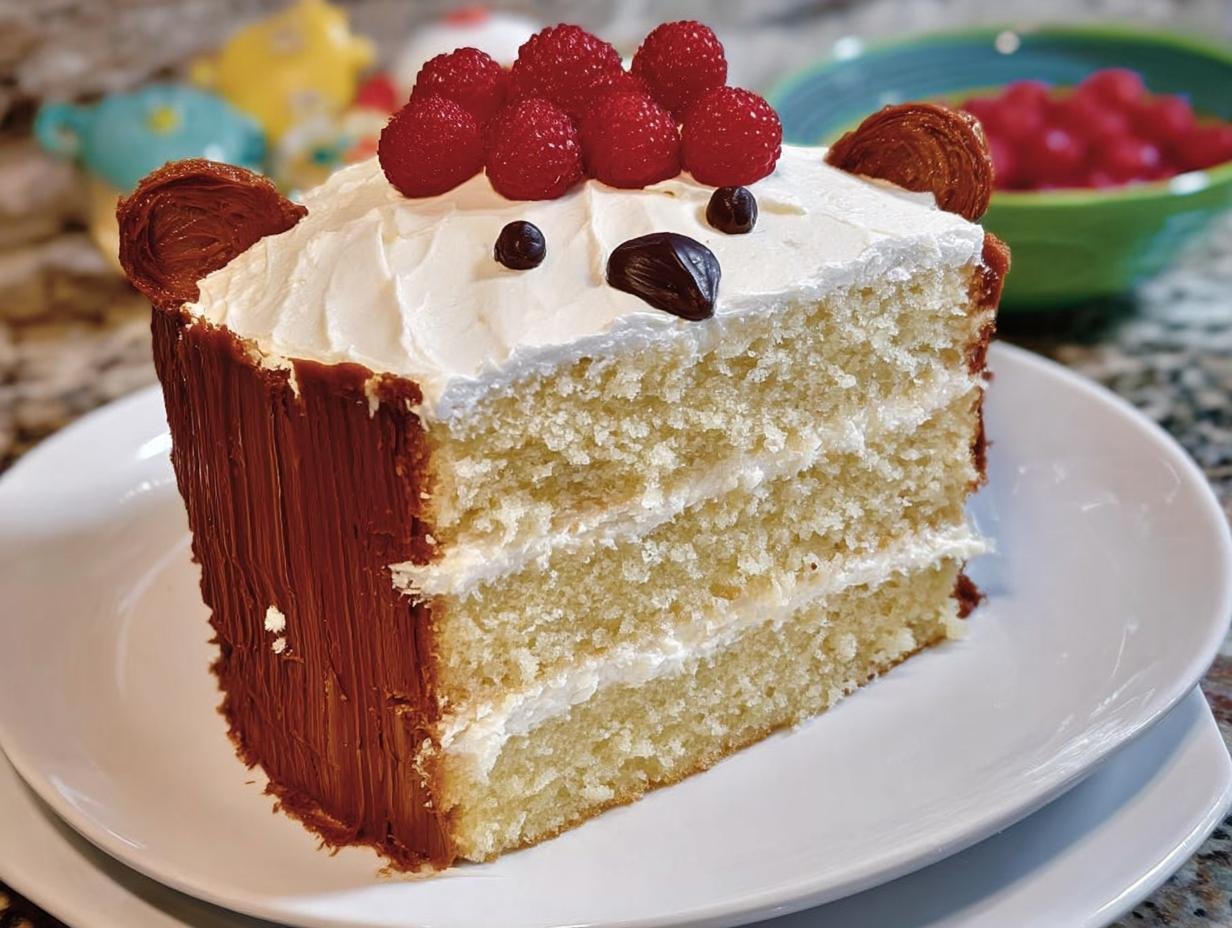
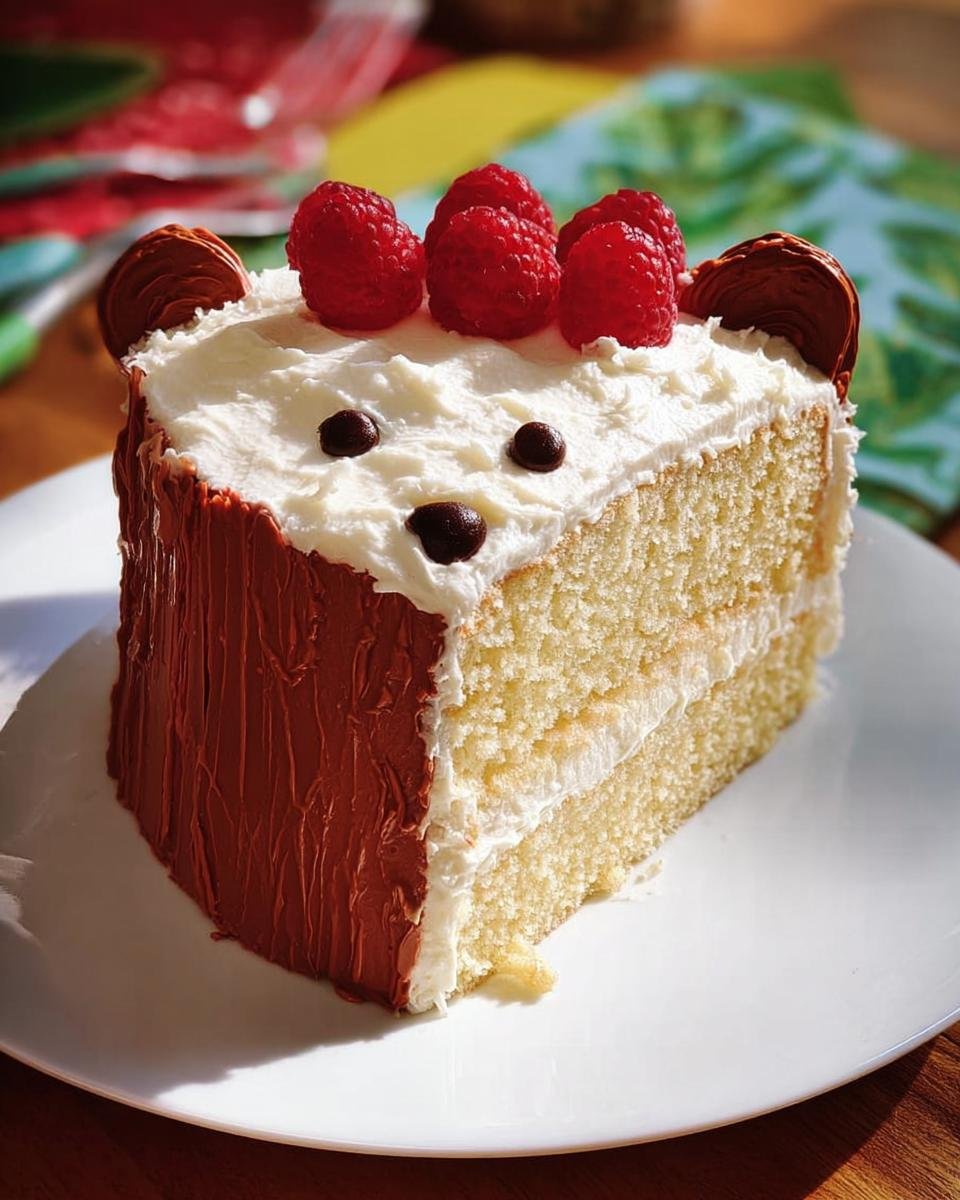
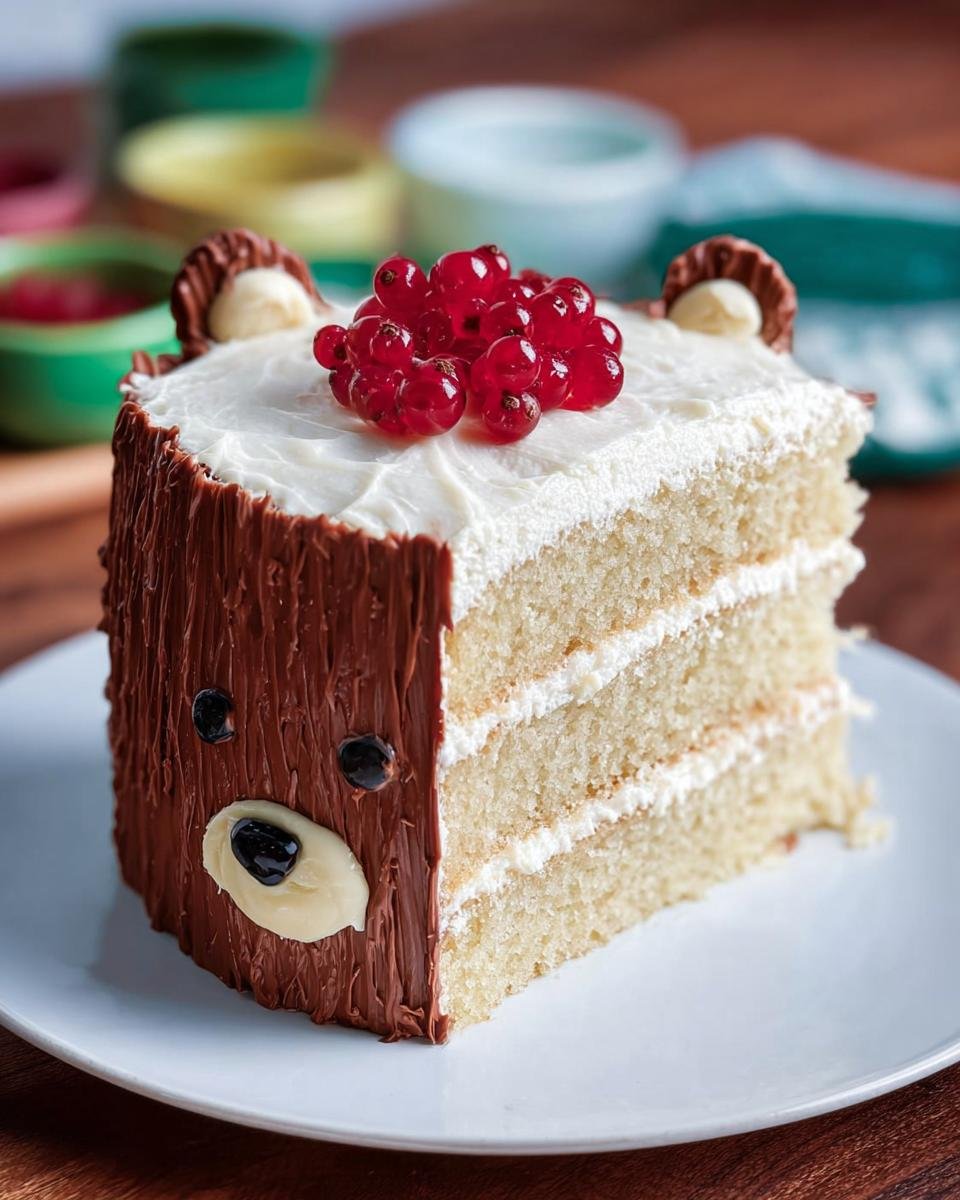
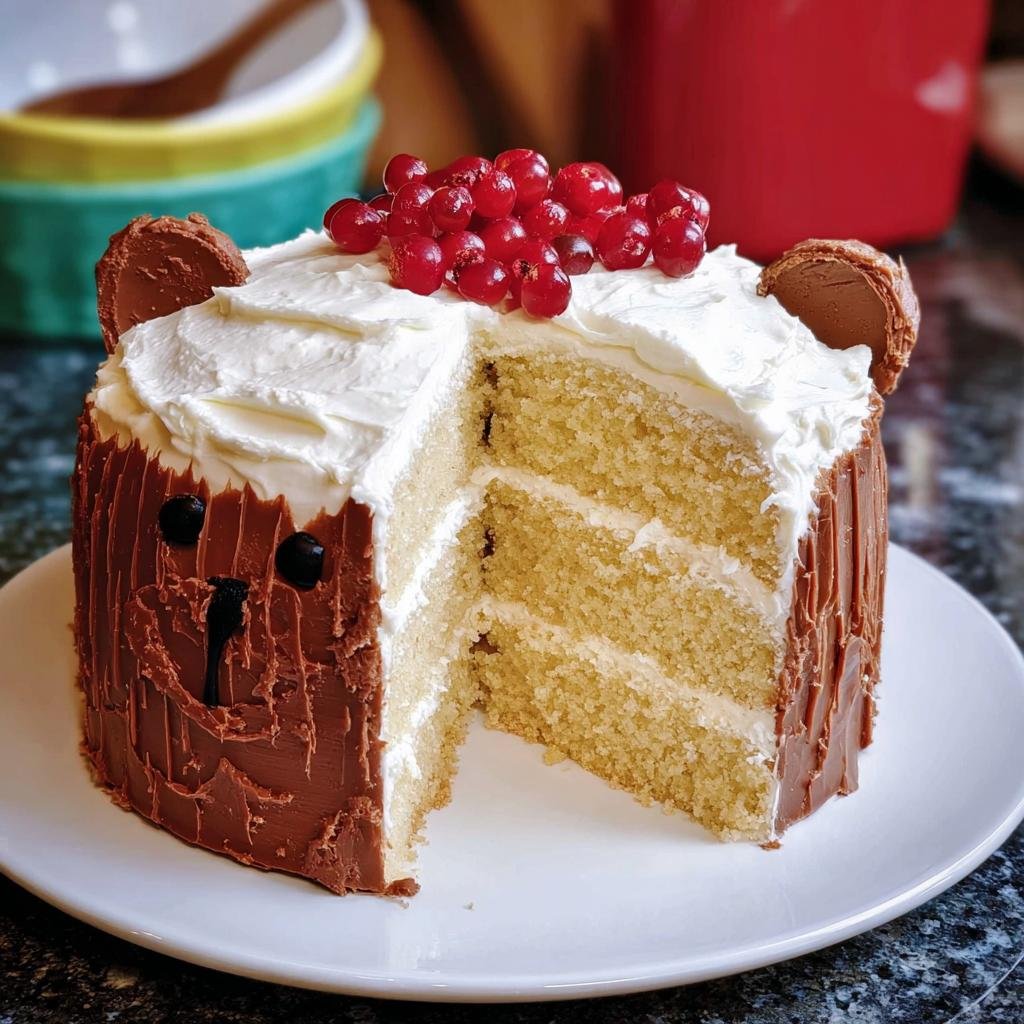
For the top center, create a focal point. If you’re using fresh berries, arrange them artfully in a small cluster or a crescent shape rather than scattering them everywhere. For candies or sprinkles, don’t cover the whole thing! Instead, concentrate them right in the middle, letting the clean white frosting frame your color explosion. This creates a visual anchor point, drawing the eye exactly where you want it. It really pulls the whole look together!
Expert Tips for Perfecting Easy Birthday Cake Decorating Ideas That Make a Statement
Even when keeping things super simple, there are a couple of extra little things I always do to make sure my Easy Birthday Cake Decorating Ideas That Make a Statement turn out flawlessly. Think of these as the pro little nudges that elevate your work without adding stress.
First off, remember what I talked about with the crumb coat? That step is non-negotiable because it keeps your final coat looking totally clean. Don’t skip that 15-minute chill after the first layer hardens up. And when you go in for the final frosting application, you really need to move! Don’t stand there admiring your spatula work for too long, or the cold buttercream will start to seize up, making it drag across the firm base layer.
Also, if you’re having a hard time getting your frosting temperature just right for spreading, sometimes using slightly softer, room-temperature frosting on top of a rock-hard chilled cake works wonders. It glides right over the surface!
If you’re looking for another recipe to try soon that uses a cooling trick to perfect its texture, you have to check out these amazing brown butter chocolate chip cookies. They teach you a lot about controlling batter temperature!
Variations on Easy Birthday Cake Decorating Ideas That Make a Statement
Once you master the smooth base and the simple border, you’re ready to start playing! The beauty of using these foundational techniques is that you can pivot your look totally last minute without stressing. It’s all about swapping out the final toppings and textures.
If you want something rich instead of bright, try shaving dark chocolate right over the top instead of sprinkles. It looks super sophisticated and gives a great crunch. Crushed nuts, like toasted pecans or chopped almonds, also offer an amazing textural contrast against smooth buttercream.
And those piping bags? Don’t just stick to simple dots! If you have a star tip (even a very basic one), use that tinted frosting we made earlier to pipe little stars all around the top border instead of beads. It instantly feels more festive.
Alternative Toppings and Finishes
Sometimes the theme just calls for something different than berries. If you’re making a special occasion cake, you might even want to try a controlled drizzle. I know drips sound scary, but you can get a really neat look with a simple, slightly thin ganache poured quickly over the top edge—it’s another one of those stunning visuals that takes minutes. You can check out how to manage a chocolate drip cake if you want to try that next time!
The main takeaway here is substitution. Use what you actually have on hand! A quick sprinkle of coarse sea salt on a chocolate cake, or some toasted coconut on a tropical one—these easy swaps keep the decorating process simple but make the resulting cake look totally unique to the celebration.
Storage and Serving Tips for Your Decorated Cake
Once you’ve made your cake look absolutely perfect with these Easy Birthday Cake Decorating Ideas That Make a Statement, the next priority is keeping it that way until party time! Since we are using a standard buttercream base, keeping it cool is key to maintaining those crisp lines we worked so hard to achieve.
I always cover the cake loosely with a cake dome or an overturned large bowl if I don’t have a dedicated carrier. You can store it right on the counter for about 24 hours if your kitchen isn’t too warm. If you need it to last longer, though, pop it in the fridge. Just remember to pull it out about 30 minutes before serving because cold cake is always a little hard straight from the fridge.
Frequently Asked Questions About Simple Cake Designs
I know we covered a lot of ground on making fancy cakes look simple, but sometimes questions pop up when you’re actually standing in your kitchen! Don’t worry if you’re still second-guessing yourself on the small stuff. That’s why I saved these common decorating questions for last. If you’re looking for other super quick kitchen solutions, folks often find my guide on quick easy keto recipes really helpful for weeknight cooking too!
Can I use store-bought frosting for these easy decorating methods?
Oh, absolutely! Who has time to make buttercream from scratch every single time? Store-bought frosting works great for these quick visual tricks. Since these methods rely on texture and placement—like using a scraper or roughing up the top edge—the flavor differences are less noticeable than if you were piping delicate rosettes. Just make sure your cake is super cold before you start slathering, no matter what brand of frosting you grab!
What if my cake layers aren’t perfectly level?
This happens to everyone! If you have one side that seems a little higher than the other, you have two great options based on what makes you most comfortable. You could definitely place your cake in the fridge and carefully use a serrated knife to gently shave down the highest spots until it’s flat—just go slow! Or, go my preferred route: just use a slightly thicker layer of that initial crumb coat on the lower side. That thicker coating acts like filler, and it hides any unevenness once you apply your final, smooth coat over the top.
Share Your Easy Birthday Cake Decorating Ideas That Make a Statement
I really hope you feel like you can conquer birthday cakes now without needing a specialty degree! Seriously, go try that fork-drag texture or that simple piped border. I want to see what you create! Drop a photo or tell me your favorite new technique in the comments below—I always love hearing how you put your own spin on things.
Easy Birthday Cake Decorating Ideas That Make a Statement
Ingredients
Equipment
Method
- Apply a thin crumb coat of buttercream to the entire cake using an offset spatula. Chill the cake for 15 minutes until the coat is firm.
- Apply the final, thicker layer of frosting. Use a bench scraper held vertically against the side of the cake to smooth the frosting for a clean finish.
- For a textured look, drag the tines of a fork around the top edge of the cake to create simple ridges.
- If using a color block technique, reserve a small amount of frosting, tint it with food coloring, and use a piping bag to create a border or simple dots around the base of the cake.
- Decorate the top center with your chosen items, such as arranging berries in a simple cluster or scattering sprinkles over the top surface.