

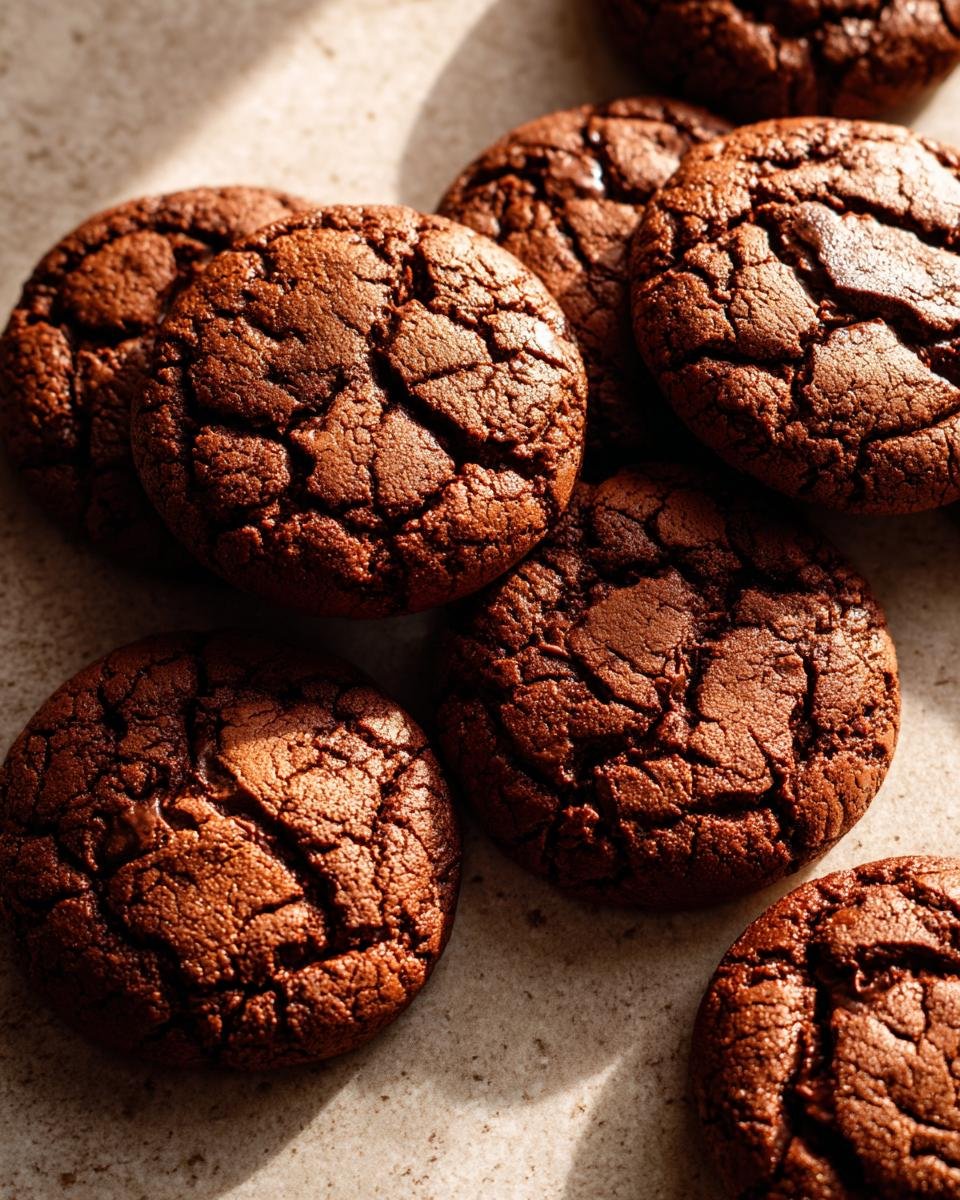
Oh my goodness, if there’s one cookie combo that just screams comfort and pure joy, it’s gotta be chocolate and peanut butter. Seriously, can you even think of anything better? Our Chocolate-Peanut Butter Cookies are like a warm hug from your favorite friend familiar, delicious, and always hits the spot. I remember making tons of these back when my kids were little; the whole house would smell like pure heaven. They’re just so ridiculously easy to whip up, and trust me, nobody can resist them! The best part? They’re perfectly chewy with just the right amount of rich chocolate and creamy peanut butter goodness in every single bite. Get ready to make a batch (or two!) because these babies disappear fast!
Why You’ll Love These Chocolate-Peanut Butter Cookies
Honestly, these aren’t just cookies, they’re pure happiness! Here’s why you’ll be making batch after batch:
- Super Simple to Make: Seriously, you can have dough ready in under 15 minutes. Perfect for when that craving hits!
- That Classic Combo: Rich chocolate plus creamy peanut butter? It’s a no-brainer, always a winner!
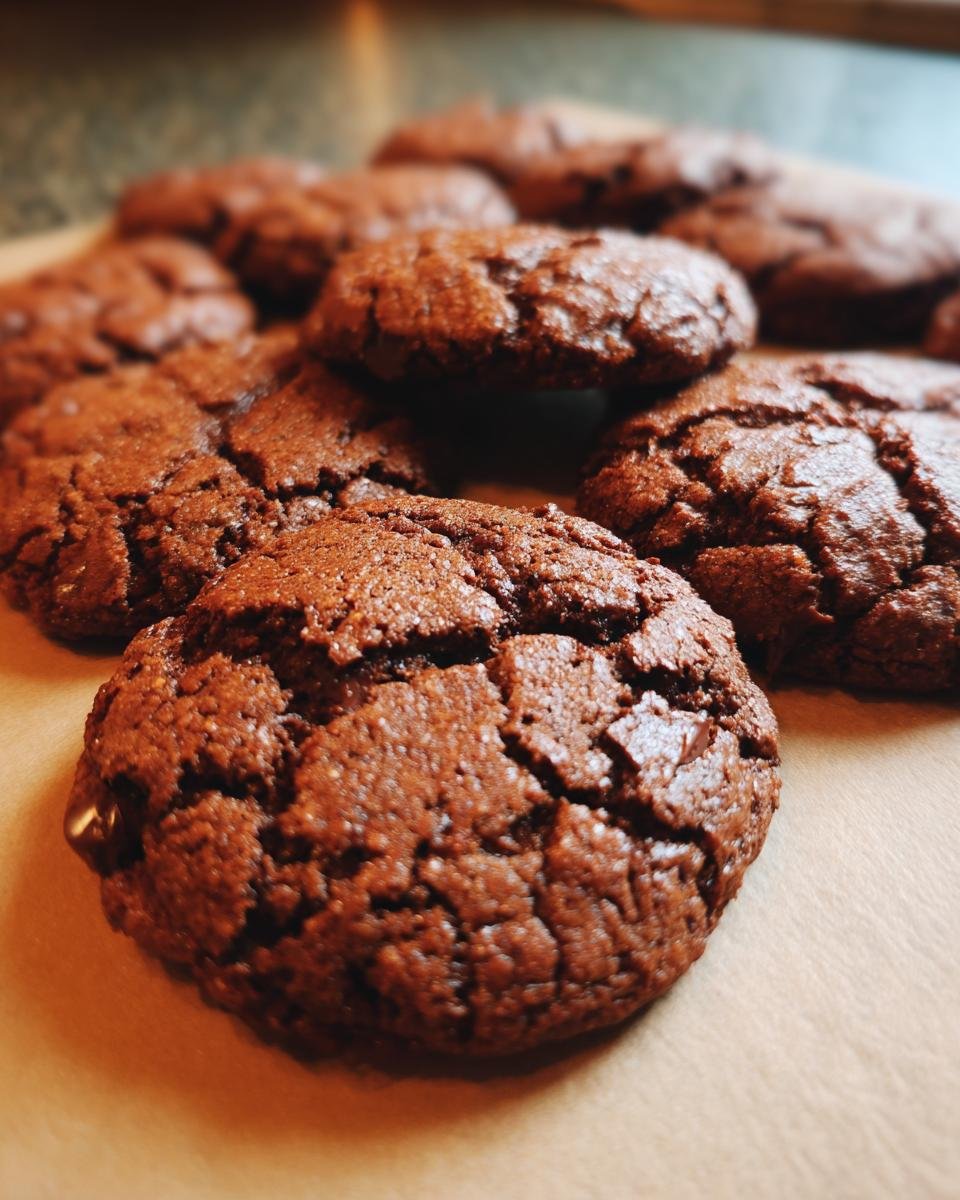
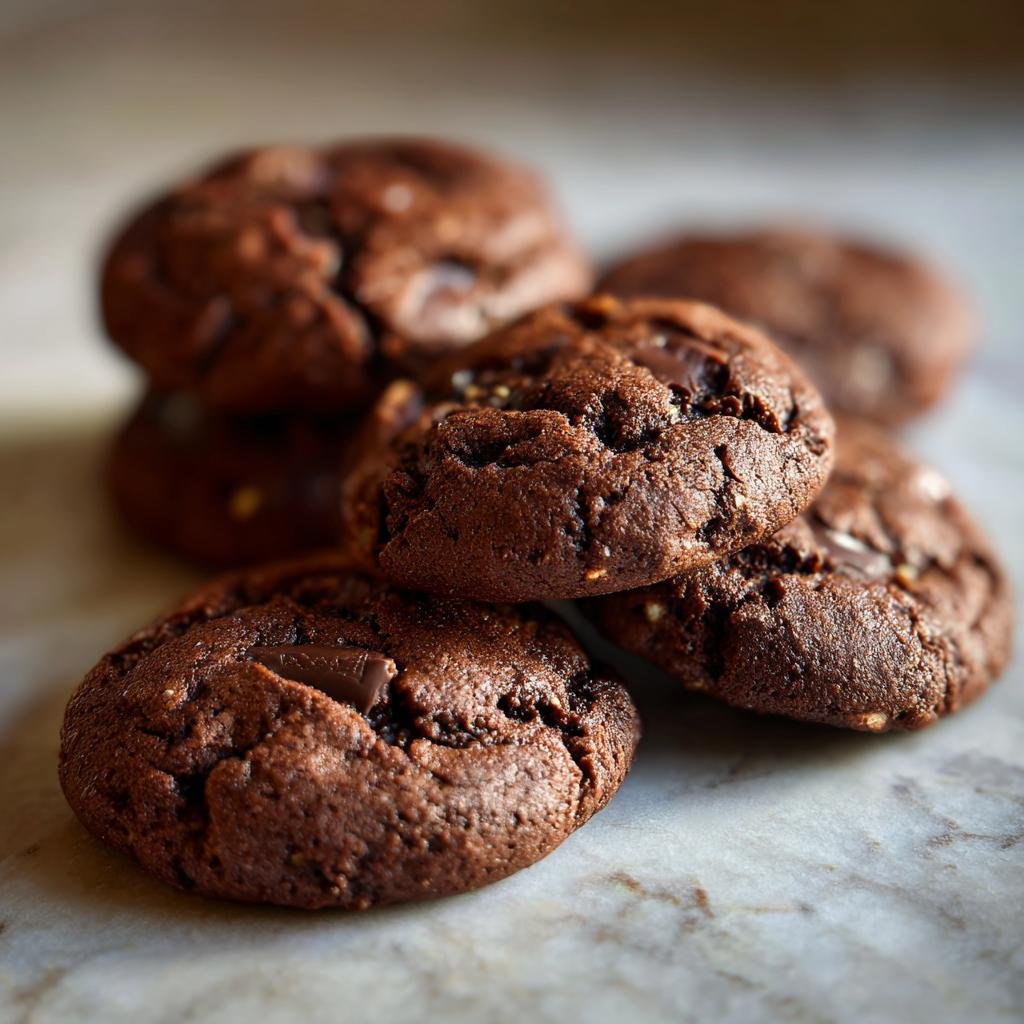
- Perfect Chewy Texture: They have those lovely slightly crisp edges and a wonderfully soft, chewy center that just melts in your mouth.
- Crowd-Pleaser Guaranteed: Kids and adults alike go absolutely bonkers for these. Perfect for parties, bake sales, or just Tuesdays!
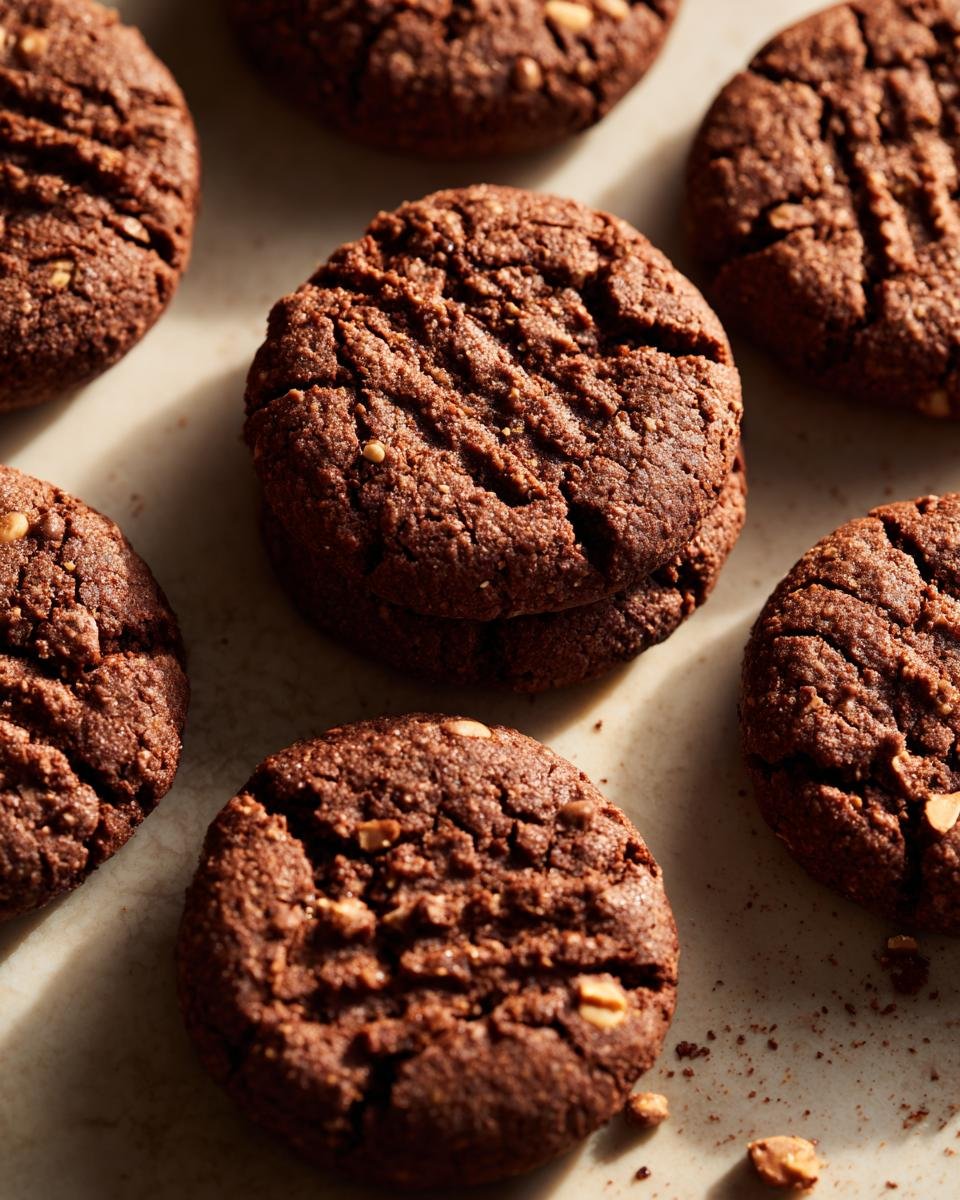
- So Versatile: Want to add nuts? Different chocolate chips? Go for it! They’re forgiving and delicious no matter what.
Gather Your Ingredients for Chocolate-Peanut Butter Cookies
Alright, let’s get down to business! These cookies are pretty straightforward, but having the right ingredients is key. My absolute must-have? Creamy peanut butter – none of that chunky stuff for these guys, trust me! And make sure your butter is softened, not melted. You want it to be easy to squish with a finger, almost like very firm frosting. It makes all the difference in getting that nice, creamy texture when you mix things up. Grab your measuring cups and let’s make some magic happen!
Here’s what you’ll need to have on hand:
- 1 cup (that’s a whole stick!) unsalted butter, softened
- 1 cup creamy peanut butter
- 1 cup granulated sugar
- 1 cup packed brown sugar
- 2 large eggs
- 1 teaspoon vanilla extract
- 3 cups all-purpose flour
- 1 teaspoon baking soda
- 1/2 teaspoon salt
- 1 cup semi-sweet chocolate chips
Ingredient Notes and Substitutions
So, about that peanut butter – if you only have natural peanut butter (the kind where the oil separates), give it a really good stir before measuring. For the sugar, that mix of white and brown sugar is what gives these cookies that perfect balance of sweetness and chewy texture. If you’re out of granulated sugar, you could try using all brown sugar, but your cookies might come out a bit softer and chewier. And for the chocolate chips, semi-sweet is my go-to, but feel free to use milk chocolate or even dark chocolate chunks if that’s what you’ve got!
Step-by-Step Guide to Making Chocolate-Peanut Butter Cookies
Alright, let’s get our bake on! This is where the magic happens. Don’t rush any part of this, especially mixing, and you’ll be rewarded with seriously amazing cookies. First things first, get that oven preheated to 375°F (190°C). This is super important so the cookies bake evenly from the start. And grab a couple of baking sheets, lining them with parchment paper is a lifesaver for cleanup, trust me!
Now, grab your biggest mixing bowl. We’re going to cream together that softened butter and your creamy peanut butter. Beat them until they’re nice and smooth. Think fluffy, almost like a rich frosting – this is your cookie’s foundation! Next up, dump in both the granulated sugar and the packed brown sugar. Keep beating until it’s all combined and looks lovely and light. This step is crucial for getting that wonderful texture in the final cookie.
Time for the eggs! Add them one by one, beating well after each addition. Then, stir in that teaspoon of vanilla extract. Oh, the smell already! In a separate, medium-sized bowl, whisk together your flour, baking soda, and salt. This just makes sure everything is evenly distributed so you don’t get little pockets of baking soda or salt. Slowly, and I mean *slowly*, add this dry mixture to your wet ingredients. Mix until it’s *just* combined. Overmixing is the enemy here – it can make your cookies tough, and nobody wants that!
Okay, the moment you’ve been waiting for: chocolate chips! Fold those babies in gently with a spatula. Make sure they’re distributed nicely throughout the dough. Now, grab a rounded tablespoon of dough for each cookie. Don’t pack it down, just a nice, comforting scoop. Place them on your prepared baking sheets, giving them a little space, about 2 inches apart, because they will spread a bit while baking. Pop them into that preheated oven and bake for about 10 to 12 minutes. You’re looking for the edges to just start turning a light golden brown. The centers might still look a tiny bit soft – that’s exactly what you want! They’ll continue to set up as they cool.
Once they’re out, resist the urge to move them right away. Let them hang out on the hot baking sheets for about 5 minutes. This is where they finish setting up and firm up just enough. Then, carefully transfer them to a wire rack to cool completely. If you can wait that long, that is! You can find some great tips for preventing spread over here and it really makes a difference!
Tips for Perfect Chocolate-Peanut Butter Cookies
Want to guarantee cookie perfection every time? Here are my top three secrets! First, don’t overbake! Pull them when the edges are golden but the center still looks a little soft. They finish cooking on the hot pan. Second, make sure your butter is truly softened, not just warm or melted; this is key for that fluffy creaming process. And finally, don’t overmix the flour into the dough – just mix until you don’t see any dry streaks left. Happy baking!
Essential Equipment for Baking
Alright, let’s talk tools! You don’t need anything super fancy for these amazing cookies. Just grab a couple of mixing bowls – one big one for the dough and a smaller one for your dry stuff. You’ll definitely want some baking sheets, and lining them with parchment paper is my secret weapon for easy cleanup. A whisk for your dry ingredients and a good old spatula for mixing everything together are also total must-haves. Oh, and don’t forget a measuring cup for scooping those cookies onto the sheet!
Storing and Reheating Your Chocolate-Peanut Butter Cookies
Okay, so you’ve made these amazing cookies, congratulations! Now, how do you keep them tasting just as delicious? Store them in an airtight container at room temperature. Seriously, just a regular cookie tin or Tupperware works great! They really hold up well like this for at least 3-4 days, sometimes even longer if you can keep your hands off them! I usually just stack ’em up, but if you’re worried about them sticking, you can pop a bit of parchment paper between the layers. As for reheating, honestly, they’re best fresh, but if you want that straight-out-of-the-oven gooeyness, just pop one in the microwave for about 10-15 seconds. Careful, it gets hot!
Frequently Asked Questions about Chocolate-Peanut Butter Cookies
Can I use crunchy peanut butter instead of creamy?
You absolutely can! Using crunchy peanut butter will give your cookies a bit of texture and a slightly different nutty flavor. Just be aware that the texture will be a little less smooth in the cookie itself, but still totally delicious. Make sure to stir it really well before measuring if you’re using a natural variety.
My cookies spread too much! What did I do wrong?
Oh, the dreaded cookie spread! It usually happens for a couple of reasons. First, make sure your butter was softened but not melted. If it’s too soft, the cookies spread like crazy. Also, chilling the dough for about 30 minutes before baking can help prevent too much spread. Just pop the whole bowl in the fridge! And try not to flatten the dough balls too much before they go in the oven.
Can I freeze the cookie dough?
Yes, you totally can! Just scoop out your dough balls onto a parchment-lined tray and freeze them until solid. Once they’re firm, you can transfer them to a freezer bag or container. When you’re ready to bake, just pop them directly onto a baking sheet (they might need an extra minute or two in the oven since they’re frozen) and bake as directed. It’s the best way to have fresh cookies anytime!
What kind of chocolate chips are best?
I almost always use semi-sweet chocolate chips because I find they balance the sweetness of the peanut butter and sugars perfectly. But honestly, you can use whatever you love! Milk chocolate chips will make them sweeter, and dark chocolate chips will give them a richer, more intense chocolate flavor. Mini chips also work great if that’s what you have!
Estimated Nutritional Information
Just a little heads-up, these numbers are estimates, you know? They can totally change depending on the exact brands of peanut butter and chocolate chips you use, and how big you scoop those cookies. But for a typical cookie made with this recipe, you’re looking at roughly 200-250 calories, about 10-12g of fat, 3-4g of protein, and around 25-30g of carbohydrates. If you’re looking for some healthier baking ideas, these might not be your everyday go-to, but for a treat? Totally worth it!
Chocolate-Peanut Butter Cookies
Ingredients
Equipment
Method
- Preheat your oven to 375°F (190°C). Line baking sheets with parchment paper.
- In a large bowl, cream together the softened butter and peanut butter until smooth.
- Add the granulated sugar and brown sugar to the butter mixture and beat until well combined.
- Beat in the eggs one at a time, then stir in the vanilla extract.
- In a separate bowl, whisk together the flour, baking soda, and salt.
- Gradually add the dry ingredients to the wet ingredients, mixing until just combined. Do not overmix.
- Stir in the chocolate chips.
- Drop rounded tablespoons of dough onto the prepared baking sheets, about 2 inches apart.
- Bake for 10-12 minutes, or until the edges are lightly golden brown. The centers may still look slightly soft.
- Let the cookies cool on the baking sheets for a few minutes before transferring them to a wire rack to cool completely.