
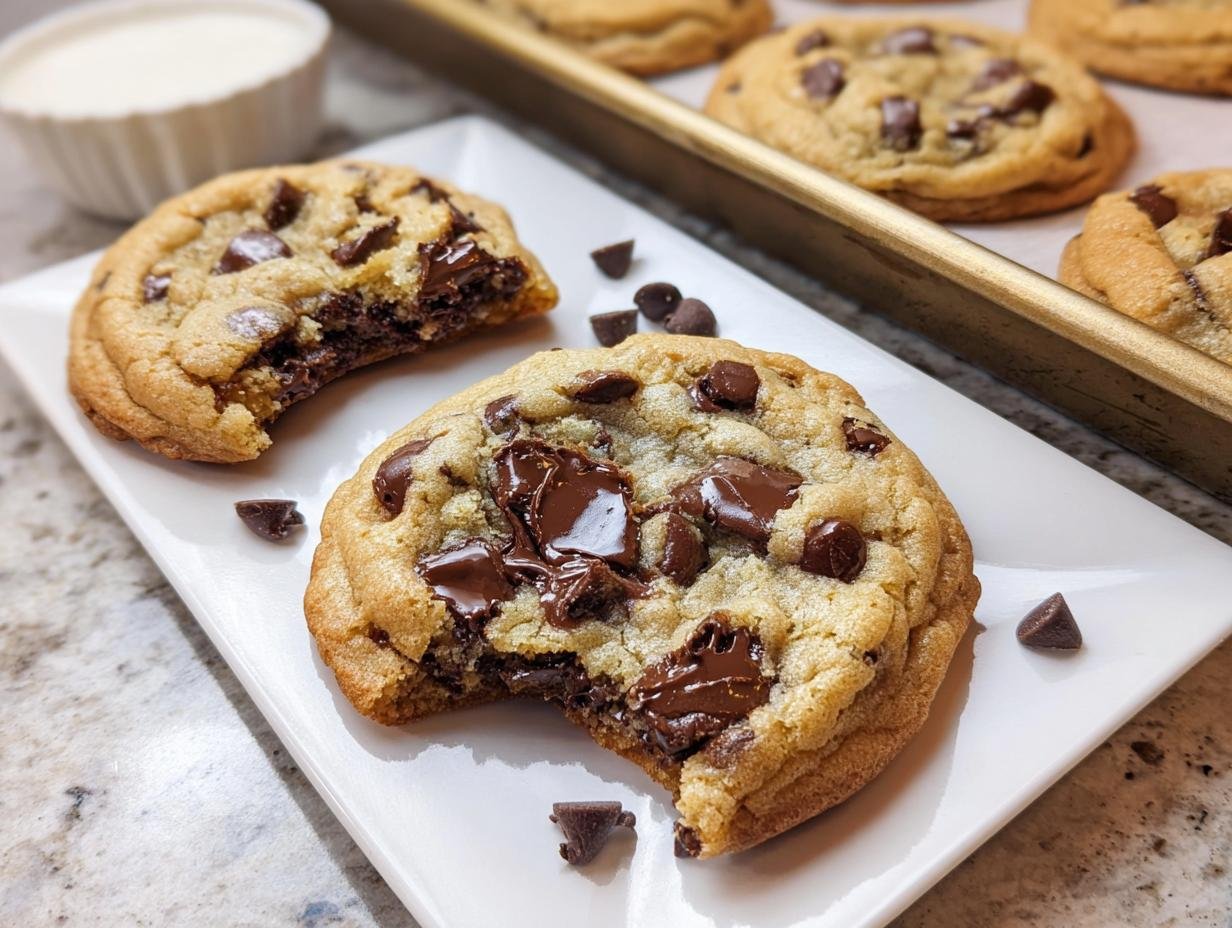
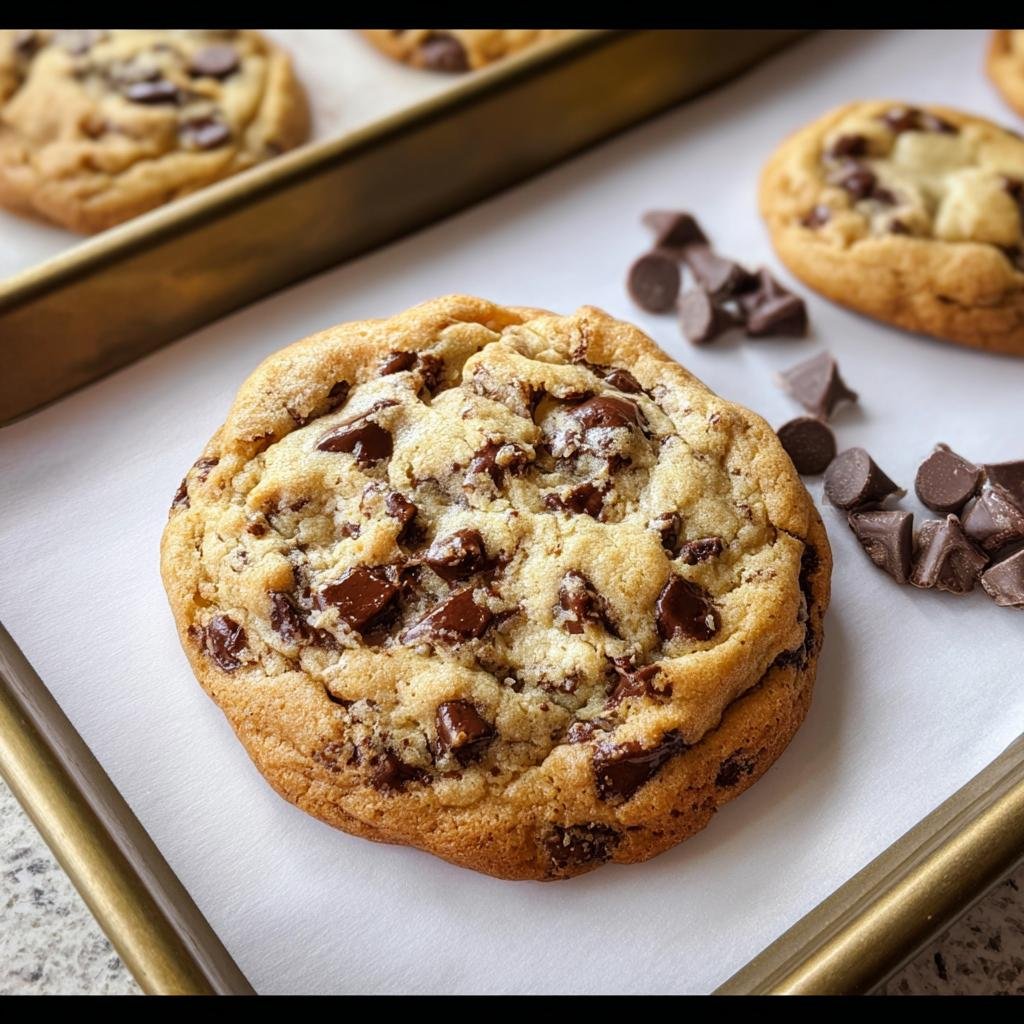
You know that moment when you bite into a cookie from that fancy local bakery downtown? The one that’s impossibly thick, perfectly golden at the edges, and basically melts in your mouth? Well, stop going there, because I’ve cracked the code right here in my kitchen. Getting truly Bakery Style Chocolate Chip Cookies Thick isn’t about some secret ingredient; it’s about patience and technique, specifically involving the dough.
I wasted so many years baking cookies that spread into sad, thin pancakes. Oops! Then I started treating the dough like a fine wine that needed time to mature. Chilling the dough isn’t just a suggestion here; it’s the absolute non-negotiable step that transforms this basic recipe into something extraordinary. After my first overnight chill where I *almost* forgot about the dough, I pulled out the thickest, chewiest cookies I’d ever seen. Trust me on this long chill—it’s the difference between good and legendary.
We’re aiming for perfection, meaning these cookies will be delightfully sturdy for dunking, yet chewy on the inside. This recipe is designed to be quick on the prep end so you can start the clock on the chilling process. Get ready for your new go-to cookie!
Achieving Bakery Style Chocolate Chip Cookies Thick: Why Dough Chilling Matters
I know, I know. The recipe says 20 minutes of prep and 13 minutes of baking, but then I hit you with 24 hours of chilling time. Aren’t you supposed to be planning a quick meal with this? Yes, the hands-on part is super fast—you’re basically just mixing stuff! But those hours in the fridge are where the magic happens that prevents your cookies from spreading into those flat disks of sadness. If you start thinking about your prep time in terms of doing a big batch now so you can reap the rewards later, then this fits perfectly into your week, almost like meal prepping for dessert!
When the dough chills, two wonderful things happen. First, the flour fully hydrates, which stops your dough from spreading too fast when it hits the heat. That’s the key to getting those Bakery Style Chocolate Chip Cookies Thick! Second, the flavors really concentrate. The sugars and vanilla get to mingle and deepen, making every bite taste incredibly rich, almost like you baked them yesterday. It’s worth planning ahead, this is not a last-minute cookie project; it’s a planned masterpiece!
If you get impatient and try to bake it right away, you’ll get a thin cookie, period. For an expert dough handling tip, always use a large cookie scoop—consistency in size is crucial for even baking!
Essential Equipment for Bakery Style Chocolate Chip Cookies Thick
You don’t need a ton of fancy gear, but a few trusty tools really help nail that perfect texture we’re looking for. Having the right equipment makes the mixing go smoothly and ensures those cookies set up beautifully.
- Baking sheets: You’ll need at least two heavy-duty ones so you can bake in batches without crowding the oven.
- Parchment paper: This saves your life and keeps the bottoms from burning or sticking! Totally non-negotiable for easy cleanup.
- Electric mixer: Whether you have a hand mixer or a stand mixer, this is vital for properly creaming the butter and sugars to incorporate that necessary air.
- Large cookie scoop: Seriously, get a big one, around 3 tablespoons. This guarantees those thick rounds that stack nicely and don’t turn into puddles.
Ingredients for Bakery Style Chocolate Chip Cookies Thick
Okay, let’s talk about what goes into these incredible cookies. The success of our thick treats relies heavily on the relationship between the fat and the temperature of the ingredients you start with, which is a huge part of why these are so good for a satisfying, comfort food moment. Don’t rush the butter or the eggs! The butter needs to be definitely soft enough to press a finger into, but cool—maybe around 67°F—so it holds its structure when we cream it. The eggs must be at room temperature; cold eggs shock the batter and ruin that beautiful creamy base we’re working to create.
Grouping Dry Ingredients
We keep these elements simple but measured precisely. Get yourself a medium bowl and whisk these together until they’re happy and incorporated:
- 3 cups all-purpose flour (that’s 380 grams, trust the weight if you can!).
- 1 teaspoon baking soda.
- 1 teaspoon fine sea salt.
Wet Ingredients and Mix-ins for Thick Cookies
This is where we build the structure and the flavor foundation. Remember that cool butter we talked about?
- 2 sticks unsalted butter, at that cool room temperature (227 grams).
- 1/2 cup granulated sugar (100 grams).
- 1 1/4 cups lightly packed light brown sugar (247 grams). Be generous with that packing!
- 2 teaspoons vanilla.
- 2 large eggs, which absolutely must be at room temperature.
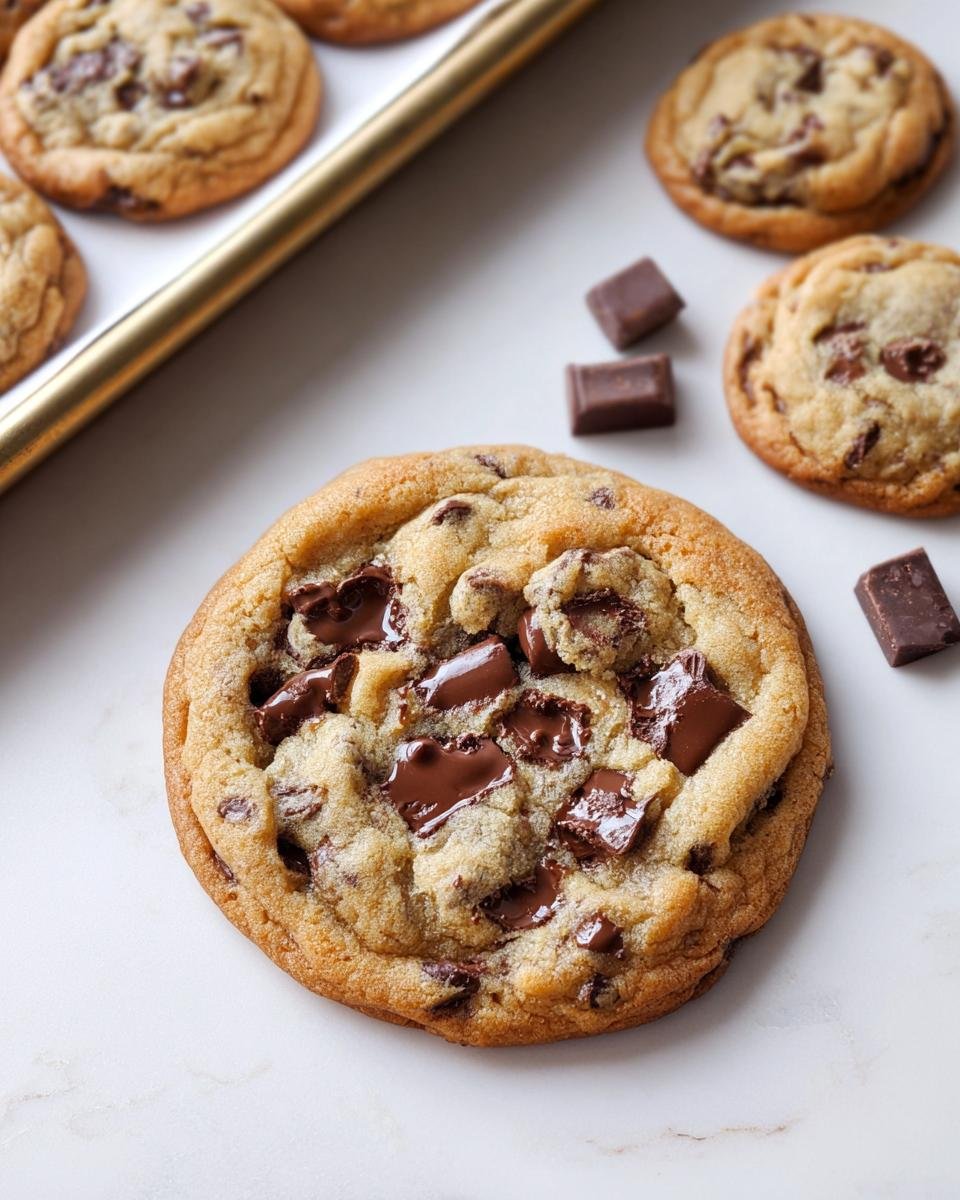
- 2 cups semisweet chocolate chips (a generous 340 grams!).
Step-by-Step Instructions for Bakery Style Chocolate Chip Cookies Thick
Alright, let’s put this all together! Preheat your oven to 350°F—that’s a standard mid-range temperature, perfect for baking things thick. Get your baking sheets ready and make sure you line them neatly with parchment paper. Don’t skip that prep step; you’ll thank me later when you go to lift those beautiful, tall cookies off!
First things first, combine your dry ingredients—the flour, baking soda, and salt—in a medium bowl. Give them a good whisk just to make sure everything is evenly distributed. Set that aside for a moment. We need to build the base for our texture.
Mixing the Dough for Optimal Texture
Now grab your electric mixer. This is where we whip the butter, granulated sugar, and that gorgeous light brown sugar until it’s genuinely creamy. It takes about two full minutes, and you have to stop mixing and scrape down the sides and the bottom of the bowl—seriously, everything sticks down there! Next, add your vanilla and your room-temperature eggs, beating just until they blend in. Then, and this is key, gradually beat in the flour mixture. If you dump it all in at once, you’ll lose all that air we just beat in! Once most of the flour is incorporated, stir in those two cups of chocolate chips by hand. You want them mixed, not pulverized!
The Critical Step: Chilling Dough for Bakery Style Chocolate Chip Cookies Thick
This is the moment of truth before the oven. You need to scoop that dough into uniform balls. I insist on using a large cookie scoop—aim for about 3-tablespoon sized portions—and place them neatly on your prepared sheets.
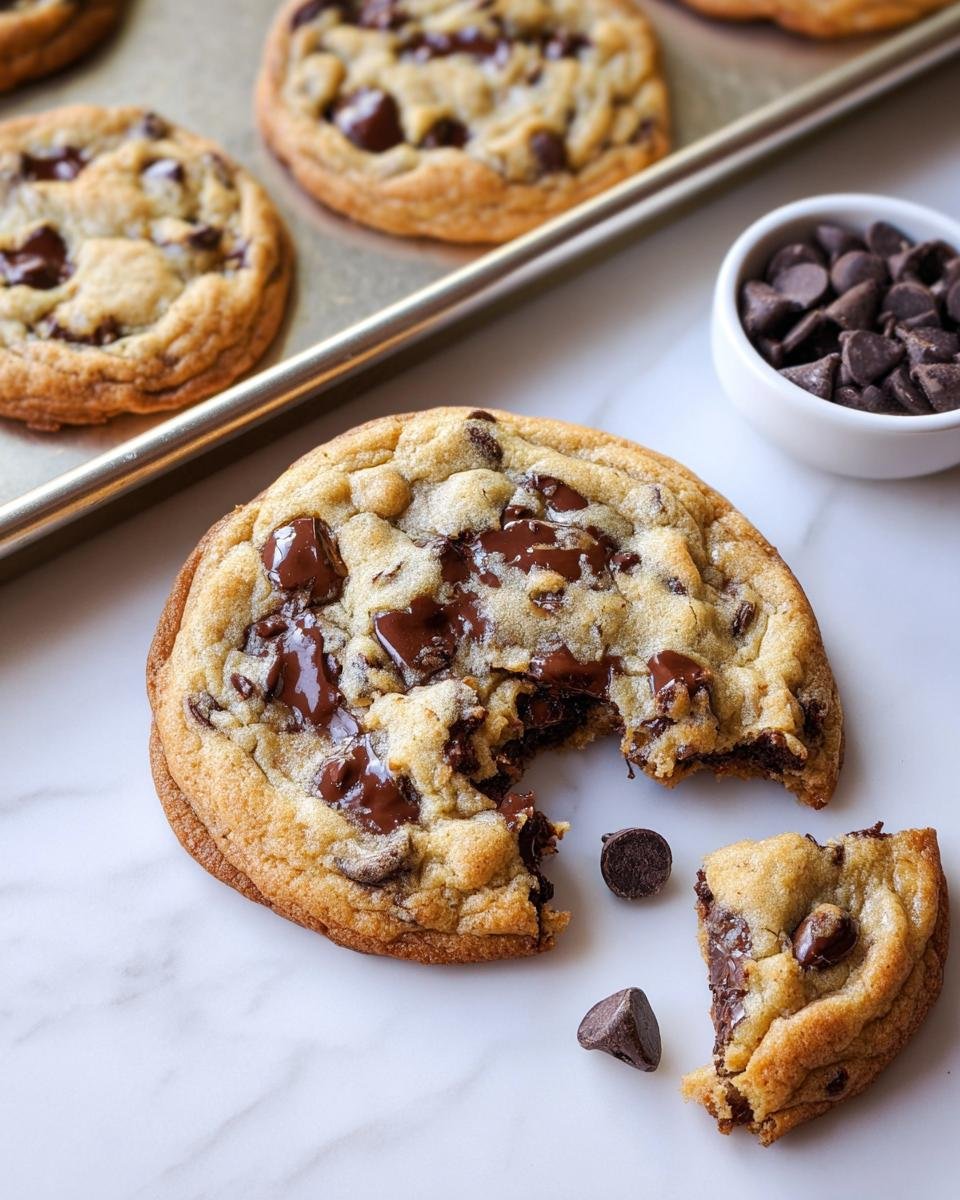
For truly magnificent, thick cookies that live up to the name of Bakery Style Chocolate Chip Cookies Thick, you simply must chill the dough. Pop those scoops into an airtight container and stick them in the fridge for a minimum of 24 hours. If you can hold out, 48 hours is even better! Why? Because the chilling allows the starches to absorb the liquid fully, preventing spread. When you’re ready to bake, take them straight from the fridge; don’t let them warm up first! This thermal shock helps set the cookie structure immediately upon entering the heat. Bake these treasures for about 11 to 13 minutes. You want them looking golden brown. Let them cool on the pan for five minutes—they are tender right out of the oven—before moving them to a wire rack to finish cooling down.
If you want to use this dough for a quick baking session later, using our chilled dough method means you can easily grab a few balls straight from the fridge for a fast dessert when you’re working through your weekly plan. You can check out tips for planning ahead here: meal prep recipes!
Tips for Perfect Bakery Style Chocolate Chip Cookies Thick
Now that you’ve done the hard work of chilling, let’s make sure the actual baking experience is flawless so you get those beautiful, thick results every single time. It’s all about those final little touches!
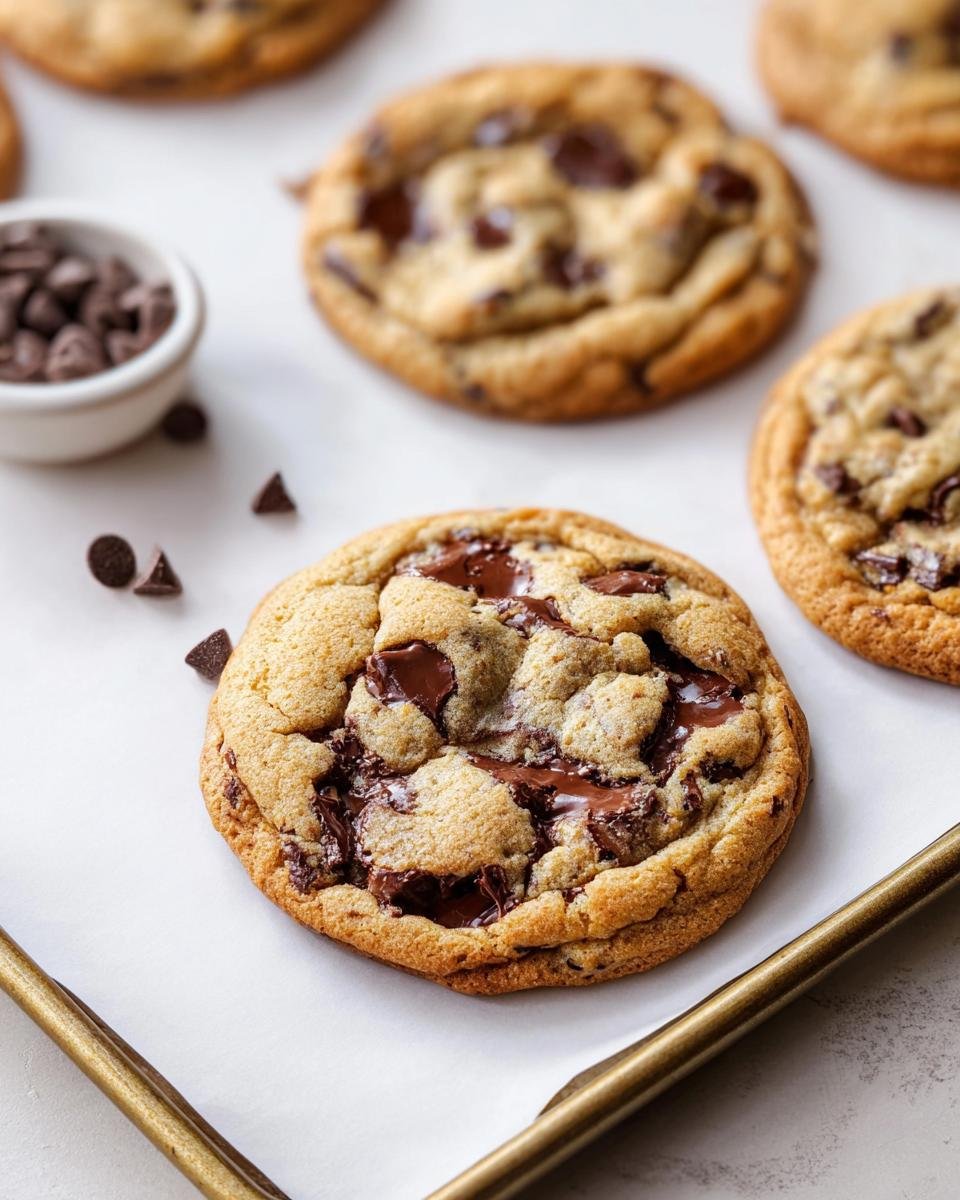
First off, resist the urge to flatten your dough balls before they go in. They should look quite dome-shaped from the scoop. If you smooth them out, that’s an express ticket to thin-cookie town. Also, use heavy baking sheets if you have them, or use two sheets stacked together—this insulates the bottom slightly and prevents them from getting too dark before the middle is cooked through. That’s a great trick for getting a chewier edge!
Another thing: don’t overbake, seriously! That 13-minute mark is just a guideline. You want to pull them when the edges look firm and golden, but the very center still looks slightly puffy and underdone. They keep cooking on the pan, and that carried-over heat is what locks in the chewy center. They should just scream “bakery” when you eat them!
Ingredient Notes and Substitutions for Your Cookies
You might be looking at the sugar measurements and thinking, “Wow, way more brown sugar than white!” You are absolutely right, and that’s intentional! The blend of sugars is critical for these cookies. The granulated sugar helps the edges get a tiny bit crisp, but the light brown sugar is our texture champion here.
Brown sugar, with its molasses content, does two amazing things: it guarantees moisture and it creates that wonderful chewy texture that sinks right into the centers of your Bakery Style Chocolate Chip Cookies Thick. If you tried to make this with all white sugar, the cookie would bake up more cakey or crisp, and we definitely don’t want that uniform thinness!
What about the butter? While the recipe calls for unsalted butter, I know sometimes you just have salted sticks staring at you from the fridge. If you absolutely must substitute, it’s fine, just reduce the amount of added sea salt by about 1/4 teaspoon. Butter provides unparalleled richness and sets the density, so try not to swap it for margarine if you can help it—it just doesn’t cream the same way!
I always advise against swapping out the flour type here, too. We are using all-purpose flour because it has the right amount of protein to support the big, thick cookie during the bake without leading to too much toughness, which is important when baking something this substantial.
Storing and Reheating Your Bakery Style Chocolate Chip Cookies Thick
Now that you’ve successfully battled the urge to eat every single cookie while they were cooling, you need to know how to keep them perfect! Since these are super high-quality cookies, they don’t need special preservation magic, but you want to keep that perfect chewiness locked in, right?
The core of the storage instructions is simple: airtight containers are your best friend. I find that glass containers work best, but any sealed container will do the trick. You can store these beauties at room temperature for up to three days. If you manage to make them last past three days—which is rare in my house—they’ll still be okay, just maybe slightly less chewy near the edges.
I always make a big batch because these are fantastic for making ahead during a weekend baking session. You can even freeze the unbaked, scooped dough balls! Just lay the dough balls on a parchment-lined tray, freeze until solid, then transfer them to a heavy-duty freezer bag. When the craving hits, you don’t even have to thaw them; just add 2–3 additional minutes to the baking time.
When you want to eat one that’s been sitting out for a day or two, you have to bring it back to life. Forget the microwave; it makes cookies weirdly cakey. The best way to restore that fresh-from-the-oven texture is a quick trip to the oven. Just warm them on a baking sheet at about 300°F for about five minutes. They warm up beautifully, the chocolate gets melty again, and bam—you have the most perfect, thick, chewy cookie imaginable!

Serving Suggestions for Bakery Style Chocolate Chip Cookies Thick
What good is the best cookie in the world if you don’t enjoy it the absolute best way possible? These thick bad boys are amazing just stacked on a plate for a quick snack, but honestly, they shine when they are paired with something cold and creamy. They’re so substantial, they turn dessert time into a real event!
Forget flimsy crackers; these deserve a tall glass of cold milk for dipping. That contrast between the rich chocolate and the cold milk is just unbeatable. If you’re looking for a more decadent treat, grab a scoop of vanilla bean ice cream—or maybe salty caramel—and make an ice cream sandwich that will really stick to your ribs. It’s a wonderful way to cap off one of those simple, wholesome family meals we all strive for during a busy week. Seriously, these cookies are worth the hype!
Frequently Asked Questions About Thick Cookies
When you’re striving for that bakery-level thickness, people always have questions! It’s great that you’re being so thoughtful about the details, because that’s what separates a good cookie from a truly phenomenal one. Here are the things I get asked about the most when folks try to make their own Bakery Style Chocolate Chip Cookies Thick.
Can I skip the chilling time for these cookies?
Oh, honey, I really, really hope you don’t! Look, you *can* skip it if you’re in a desperate rush, but what you’ll end up with is a perfectly fine, tasty chocolate chip cookie, not the thick, chewy masterpiece we are aiming for. The flavor stays a little flat, and more importantly, these cookies will spread out a lot more in the oven. If you want that height and depth of flavor, you have to commit to that chill time.
How do I make sure my Bakery Style Chocolate Chip Cookies Thick spread less?
The chilling handles most of the spreading issue, but what if the oven heat is too aggressive? Make sure your oven is perfectly calibrated. If you suspect your oven runs hot, drop the temperature down to 325°F and bake them for a few minutes longer. A lower, slower bake gives those starches more time to set up before the butter fully melts and spreads. Also, are you measuring your flour correctly—are you spooning it lightly into the cup instead of scooping the cup directly into the flour bag? Too much flour causes density that can sometimes still lead to spreading weirdly!
What if I only have cold eggs?
This happens to me all the time, especially when I decide at 10 PM that I need cookies immediately! You absolutely do not want to add cold eggs to your creamed butter mixture. It will cause the butter to seize up; you’ll see tiny little lumps of butter reappear, and it destroys the smooth, creamy air pockets we worked so hard to create in the creaming step. If you’re in a pinch, here’s my trick:
- Place your still-in-the-shell eggs into a small bowl.
- Cover them completely with hot tap water (not boiling, just super hot).
- Let them sit for precisely five minutes.
Five minutes is usually just enough time to bring the temperature up to where the eggs mix smoothly into the dough without shocking the butter. You can find some great ideas for getting dinner on the table fast while the eggs warm up, check out these quick 30-minute healthy dinner recipes!
Share Your Bakery Style Chocolate Chip Cookies Thick Creations
I’ve shared all my hard-won secrets for making cookies that stay thick, stay chewy, and honestly taste 100 times better than what you buy in a plastic bin at the grocery store. Now it’s your turn to take the reins!
Please, once you’ve gone through the crucial chilling process and pulled those gorgeous, tall cookies out of the oven, come back here and let me know how it went. Did the 48-hour chill make a difference for you? Did they stay exactly the height you were hoping for? Leave a rating right here on the recipe card!
I absolutely love seeing your creations and hearing about how these cookies have become a new favorite in your own kitchen—maybe they’ll even become part of your routine for those nights when you need something quick and satisfying after a long day, like these posts on quick healthy meals. Drop a comment below, share your favorite way to eat them—warm with sea salt, or cold the next morning—and let’s keep this amazing cookie conversation going!
Bakery Style Chocolate Chip Cookies Thick
Ingredients
Equipment
Method
- Preheat oven to 350ºF. Line baking sheets with parchment paper.
- In a medium bowl, combine the flour, baking soda, and salt.
- In the bowl of an electric mixer, beat the butter, granulated sugar, and brown sugar until creamy, about 2 minutes. Scrape down the sides and bottom of the mixing bowl. Add the vanilla and eggs and beat until combined, scraping the bowl down as needed. Gradually beat in the flour mixture. Stir in the chocolate chips.
- Divide the dough into 3-tablespoon sized balls using a large cookie scoop and drop onto prepared baking sheets.
- If time permits, place the dough scoops into an airtight container and refrigerate for at least 24 hours but no more than 72 hours. Bake from the fridge.
- Bake for 11-13 minutes, or until golden brown. Cool for 5 minutes before removing to wire racks to cool completely.