
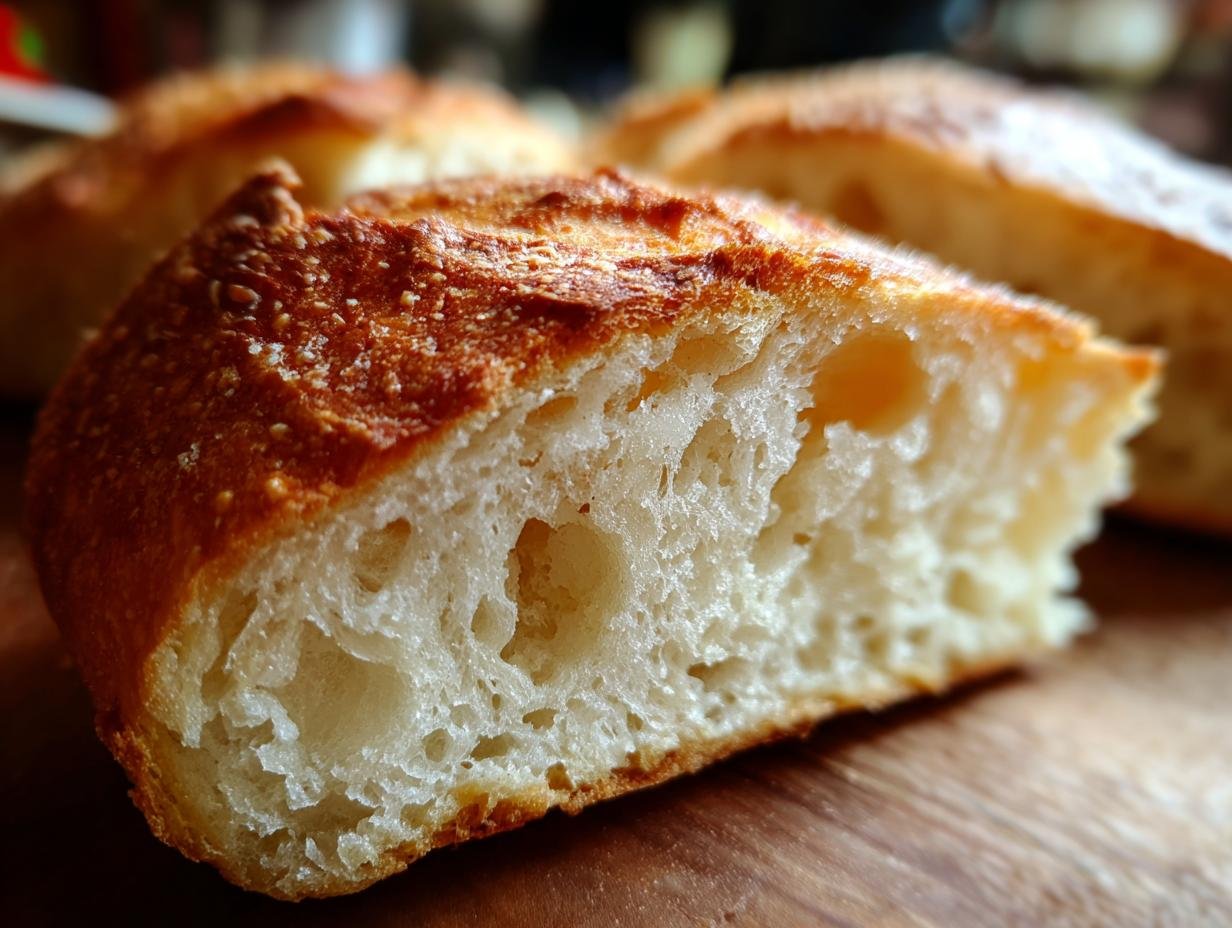
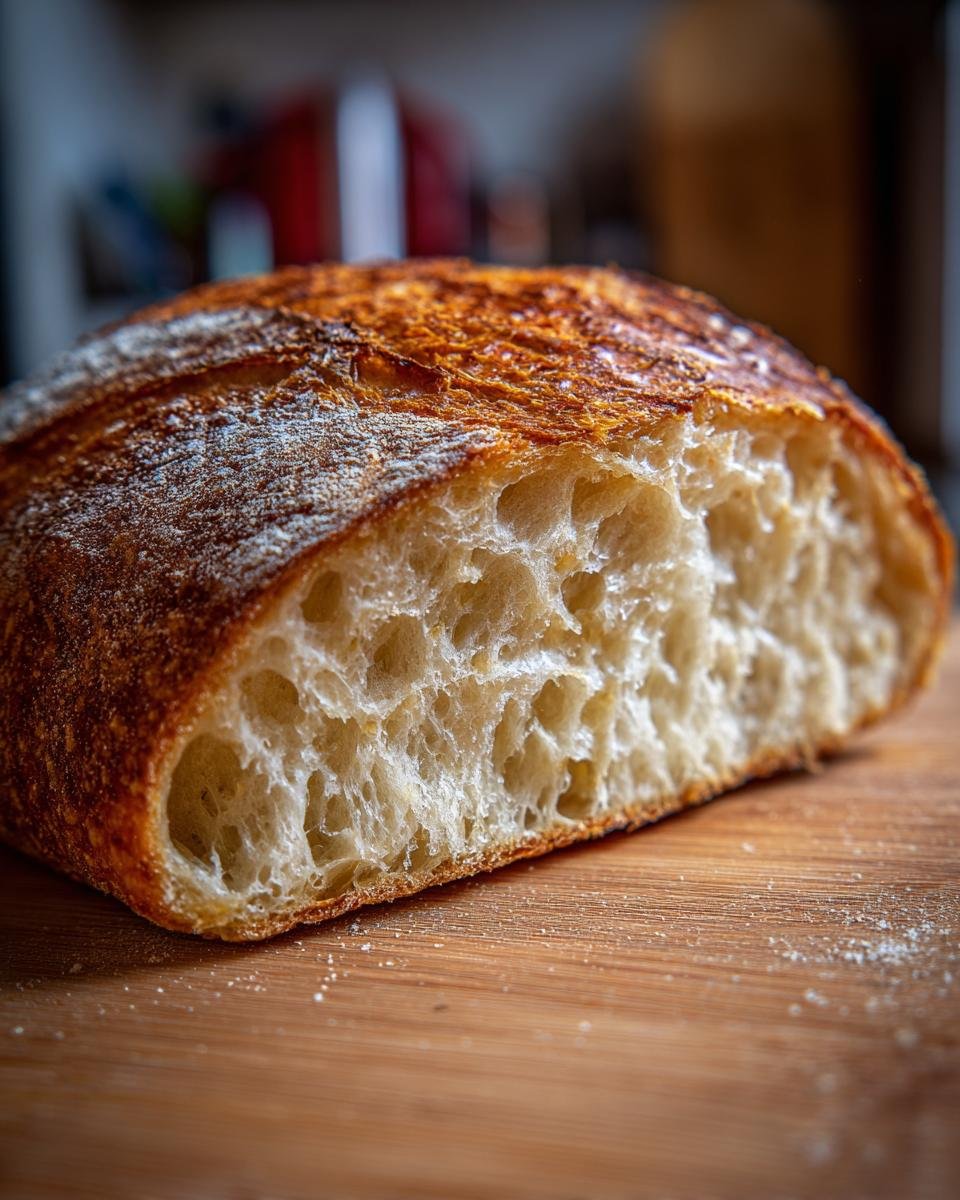
There’s just something about the smell of fresh bread baking, isn’t there? It fills your whole kitchen with this amazing, comforting aroma that just screams “home.” This recipe for A Fresh Italian Bread is my absolute go to when I need that feeling. It’s surprisingly simple and uses just a few basic ingredients you probably already have. Honestly, the hardest part is waiting for it to bake and cool down because all you want to do is tear into it!
Why You’ll Love This A Fresh Italian Bread
Seriously, why wouldn’t you want to bake this? It’s:
- Super Easy: You don’t need any fancy bread-making skills to get a fantastic loaf.
- Deliciously Simple: That perfect crispy crust and soft, chewy inside? Pure magic.
- So Versatile: It’s perfect for dipping in olive oil, making sandwiches, or just enjoying on its own.
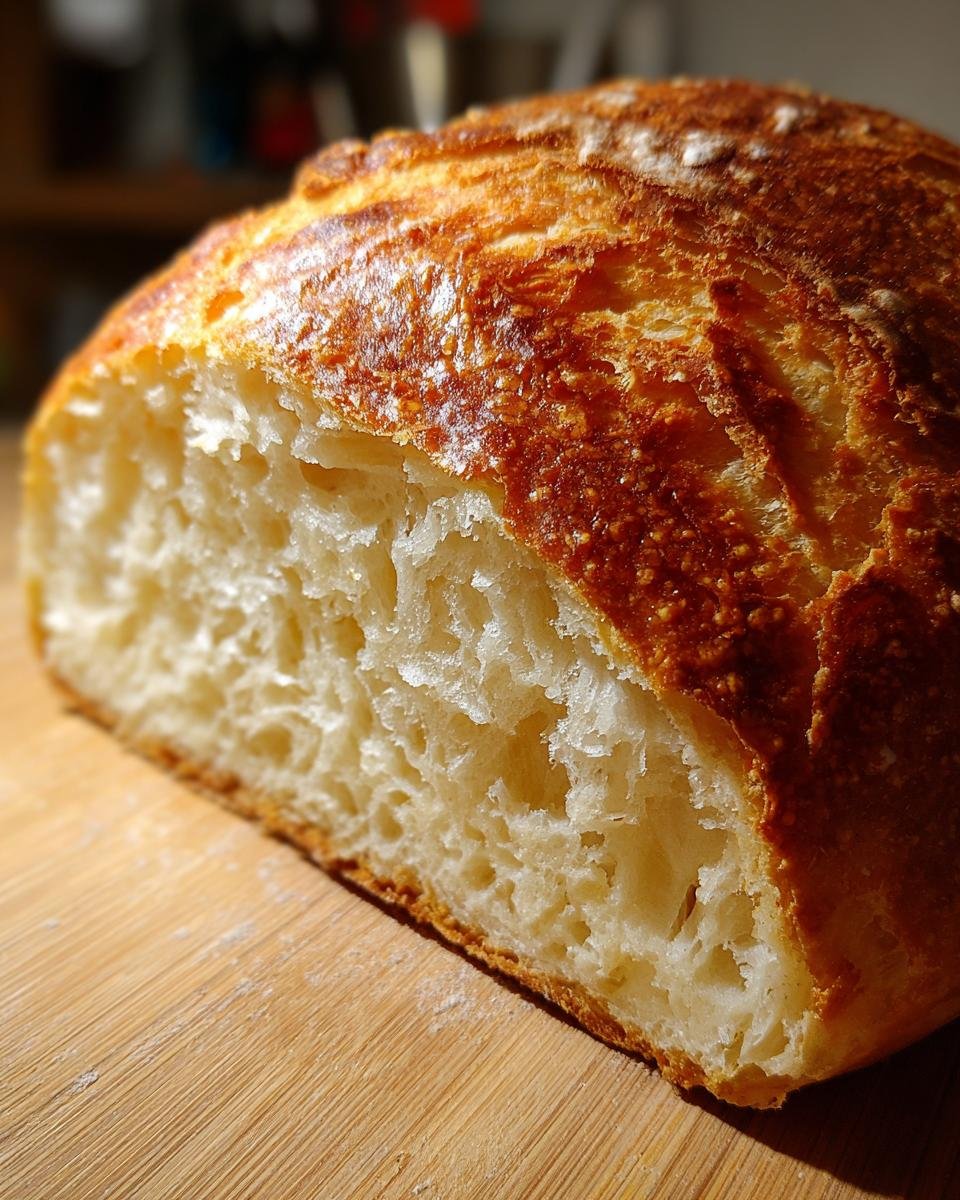
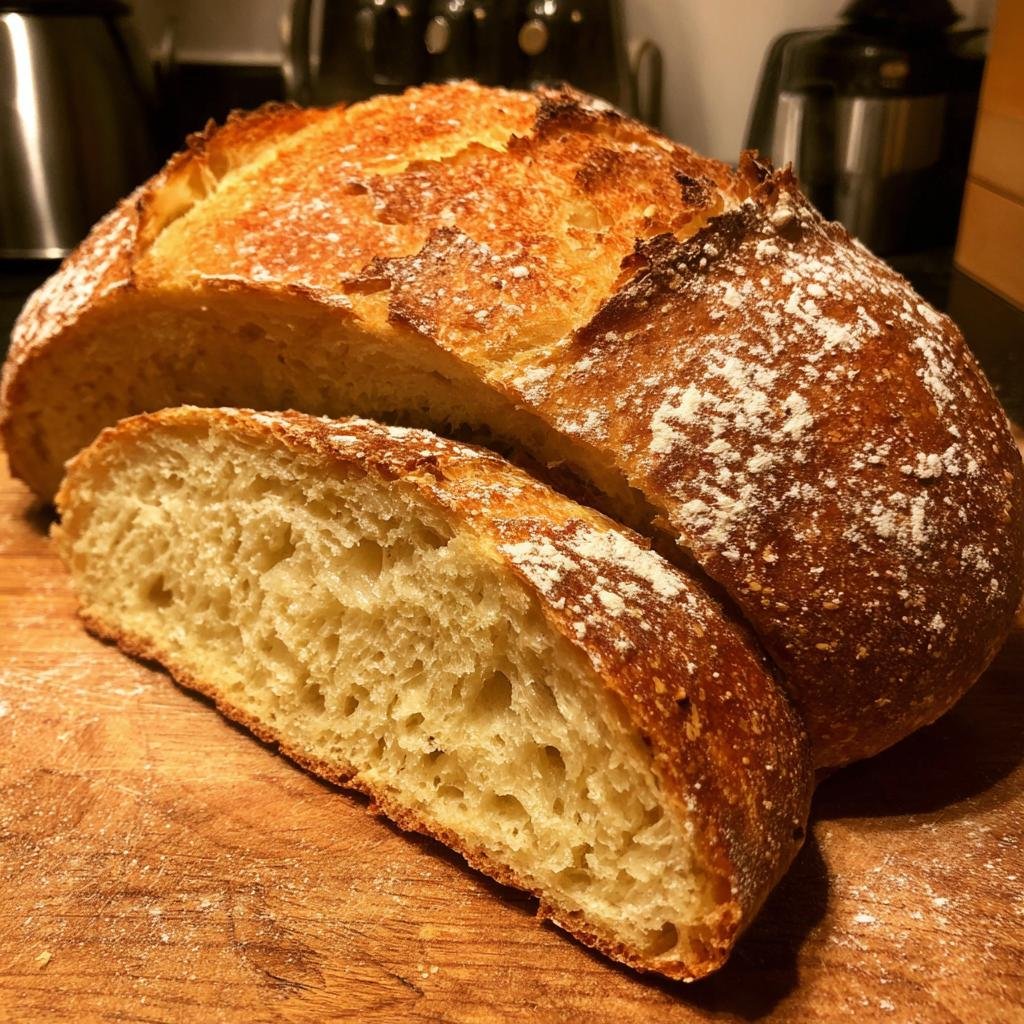
- So Rewarding: There’s nothing quite like pulling a golden-brown, homemade loaf out of your own oven!
Ingredients for A Fresh Italian Bread
Okay, let’s talk about what you’ll need to make this wonderful loaf. It really is just a handful of things, which is part of why I love it so much! Don’t sweat it if you don’t have something exact; we’ll chat about swaps later.
- 3 cups all-purpose flour, plus more for dusting your hands and the counter – you want just enough to keep things from sticking, not so much that it makes the dough tough.
- 1 teaspoon salt – this is crucial for flavor, don’t skip it!
- 1 packet active dry yeast – make sure it’s active dry and not instant; we need to wake this little guy up!
- 1 cup warm water – you want it around 105-115 degrees Fahrenheit. Think warm bathwater, not hot tap water. Too hot and you’ll kill the yeast, too cold and it won’t get going.
- 2 tablespoons olive oil, plus a little extra for greasing the bowl – good quality olive oil really does make a difference here, just a little bit for that lovely hint of flavor and to help keep the dough soft.
Essential Equipment for Baking A Fresh Italian Bread
You really don’t need much to get this amazing loaf going, which is half the fun! Just a few basics from your kitchen will do the trick. Make sure you have:
- A nice, large mixing bowl for getting everything all together.
- A standard baking sheet to bake your beautiful loaf on.
That’s truly it! Simple, right? Don’t forget a measuring cup and spoons, of course, those usually hang out nearby! And hey, if you ever want to know more about me and my kitchen adventures, you can pop over here!
Step-by-Step Guide to Making A Fresh Italian Bread
Alright, let’s get our hands floury and make some magic happen! Making this bread is a process, but it’s such a rewarding one. You’ll feel like a baking pro in no time. Just follow these simple steps, and you’ll have a gorgeous loaf ready to go. If you’re looking for other bread adventures, you might love my yogurt bread or my cheddar and herb soda bread!
Mixing the Dough for Your A Fresh Italian Bread
First things first, grab your big mixing bowl. Toss in your flour and salt and give them a quick stir. Now, in a separate little bowl, dissolve that packet of yeast in your warm water. Let it sit for about five minutes – you should see it get all foamy and bubbly. That tells you your yeast is alive and ready to party! Pour that foamy yeast mixture and the olive oil into the big bowl with the flour. Mix it all up until it starts looking a bit shaggy, like it’s just coming together. Don’t worry if it’s not perfectly smooth yet!
Kneading and First Rise
Now it’s time to get your hands in there! Turn that shaggy dough out onto a lightly floured surface. You’re going to knead it for about 5 to 7 minutes. What you’re looking for is a dough that’s smooth and feels a little elastic, almost like playdough. Once it feels good, lightly grease that big bowl you used earlier with a bit more olive oil. Pop the dough ball in there, turning it over once to coat it lightly. Cover the bowl tightly with plastic wrap. Find a nice, warm spot for it to hang out for about an hour. When it’s ready, it will have puffed up and doubled in size – it’s exciting to see!
Shaping and Baking Your A Fresh Italian Bread
Okay, the dough has had its beauty rest! Gently punch it down – it’s so satisfying! – and then shape it into whatever loaf shape you like. A simple oval or rectangle works perfectly. While your dough was rising, you should have popped a baking sheet into your oven and preheated it to 400°F (200°C). This hot sheet is our secret weapon for a crispy bottom crust! Carefully place your shaped loaf onto that super hot baking sheet. It’ll bake for about 25 to 30 minutes. You’re looking for a beautiful golden-brown color all over. If you have a thermometer, the inside should read between 200-210°F (93-99°C).
Cooling and Serving
Once your bread is baked to perfection, the hardest part is over! Take it out of the oven and carefully transfer it to a wire rack. This is super important – letting it cool on a rack lets air circulate all around the loaf, which helps keep that gorgeous crust from getting soggy. Wait until it’s at least warm, or ideally completely cool, before you slice into it. Trust me, slicing hot bread can make it a bit gummy inside, and we want that perfect texture!
Tips for Perfect A Fresh Italian Bread
Even though this recipe is pretty straightforward, a few little tricks can take your A Fresh Italian Bread from good to absolutely spectacular. It’s all about those small details that make a big difference! If you’re feeling adventurous after this one, you might want to try my garlic keto flatbread for something a bit different!
- Proof Your Yeast: Seriously, don’t skip that step of letting the yeast foam up in the warm water. If it doesn’t get bubbly, your yeast is dead, and you’ll end up with a dense brick instead of a fluffy loaf. Start over with fresh yeast!
- Don’t Over-Flour When Kneading: I know it’s tempting to dump a ton of flour onto your surface to stop sticking, but resist! A little dusting is all you need. Too much flour makes the bread tough. If it feels sticky but manageable, just keep kneading; it’ll get smoother.
- Hot Baking Sheet is Key: That trick of preheating the baking sheet in the oven? It’s a game-changer for getting a beautifully crisp bottom crust. It gives the dough an instant burst of heat when it hits the pan, helping it rise and develop that perfect texture. Be careful when you place the dough on it, though!
Ingredient Notes and Substitutions
So, about those ingredients! This recipe is pretty forgiving, but a few things are worth chatting about. If you can’t find active dry yeast, instant yeast is usually a decent swap, though you might not need to let it foam up first – just mix it right in with the dry ingredients. As for flour, all-purpose is great here, but if you’re feeling fancy, a bread flour would give you an even chewier crumb. Olive oil makes this bread sing, but if you’re in a pinch, any neutral vegetable oil will work. It won’t have quite the same depth of flavor, but it’ll still be delicious!
Frequently Asked Questions about A Fresh Italian Bread
Got questions about whipping up this amazing loaf? You’re not alone! Baking bread can bring up all sorts of curiosities, but don’t worry, I’ve got you covered.
Can I make this bread ahead of time?
Oh yeah! You can totally make the dough ahead of time. After the first rise (step 4), just pop the covered bowl in the fridge. It can hang out there for up to 24 hours. When you’re ready to bake, just take it out of the fridge, let it sit on the counter for about 30 minutes to come to room temp a little, shape it, and then bake as usual. It might need a tiny bit longer in the oven. If you’re thinking about other baked goods, check out my cottage cheese muffins or muffins with Greek yogurt – they’re also great make-ahead options!
What can I use if I don’t have active dry yeast?
No active dry yeast? No problem! You can usually substitute instant yeast. The main difference is that instant yeast doesn’t need to be ‘proofed’ (foamed up) in warm water first. You can typically just mix it straight into your dry ingredients. Just make sure it’s fresh! If you’re not sure about your yeast, it’s always safest to do the little bubbly test first.
How do I store homemade Italian bread?
Once your gorgeous loaf has cooled completely (seriously, it’s tough but worth it!), you can store it at room temperature. I like to wrap it loosely in a clean kitchen towel, or you can pop it into a paper bag. This keeps the crust from getting too soggy. It’s best enjoyed within a day or two when it’s nice and fresh. If you happen to have any leftover slices after that, they make fantastic croutons or breadcrumbs!
Nutritional Information
Alright, let’s talk numbers! This A Fresh Italian Bread is a pretty basic recipe, so the nutritional info isn’t too wild. For about a slice (and remember, how big you slice it makes a difference!), you’re probably looking at roughly 100-120 calories, with around 2-3 grams of fat, maybe 15-18 grams of carbs, and about 2-3 grams of protein. Of course, this is just an estimate! The exact amounts can totally change depending on the brands of flour and olive oil you use, and, well, how thick you slice it! Always good to keep that in mind. If you’re tracking things closely, or looking for even lighter options, you might want to check out some of the ideas over in my recipes for weight loss section!
Share Your A Fresh Italian Bread Creations!
Alright bakers, I’ve shared my secrets for this fantastic A Fresh Italian Bread, and now it’s your turn! I absolutely LOVE seeing what you all create in your kitchens. Did it turn out golden brown and beautiful? Did you serve it with pasta, or maybe make the most epic sandwich ever? Drop a comment below and let me know how it went! And if you’re a picture sharer (I know I am!), tag me on social media – I can’t wait to see your masterpieces! Curious to know more about my kitchen adventures? You can always learn more about me here!
Ingredients
Equipment
Method
- In a large bowl, combine the flour and salt. In a separate small bowl, dissolve the yeast in the warm water. Let it sit for 5 minutes until foamy.
- Add the yeast mixture and olive oil to the flour mixture. Mix until a shaggy dough forms.
- Turn the dough out onto a lightly floured surface and knead for 5-7 minutes until smooth and elastic.
- Lightly grease the large bowl with olive oil. Place the dough in the bowl, turning to coat. Cover with plastic wrap and let rise in a warm place for 1 hour, or until doubled in size.
- Preheat your oven to 400F (200C). Place a baking sheet in the oven while it preheats.
- Punch down the dough and shape it into a loaf. Carefully place the loaf onto the preheated baking sheet.
- Bake for 25-30 minutes, or until golden brown and the internal temperature reaches 200-210F (93-99C).
- Let the bread cool on a wire rack before slicing.