
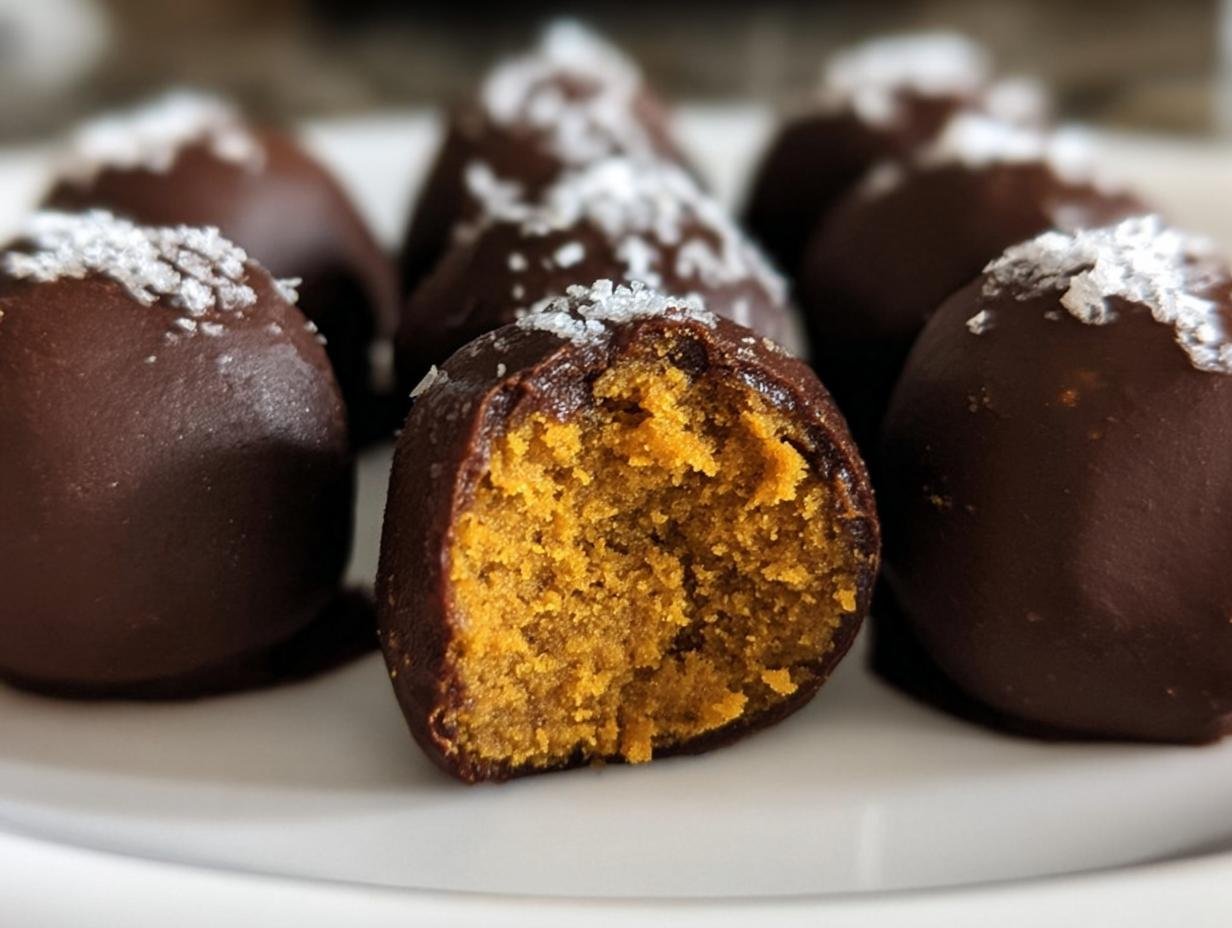
Oh, fall! My absolute favorite time of year. The crisp air, the colorful leaves, and of course, ALL the pumpkin spice everything! But sometimes, all those delicious fall treats come with a hefty dose of sugar and ingredients I’d rather avoid. That’s exactly why I’m SO excited to share my recipe for these amazing Healthy Pumpkin Truffles with you. Trust me, they’re a game-changer! They’re incredibly easy to whip up (seriously, no baking involved!), naturally sweetened, and taste like fall in a tiny, perfect bite. As someone who’s always tweaking recipes to be a little kinder to the body without sacrificing flavor, these truffles are pure magic. They’ve become my go-to when that pumpkin craving hits hard!
## Why You’ll Love These Healthy Pumpkin Truffles
Seriously, these little bites are a dream come true! Here’s why you’ll be making them again and again:
- So Easy, So Quick: We’re talking about a no-bake situation here! You just toss everything in a food processor, roll, and chill. Perfect for busy days.
- Guilt-Free Deliciousness: Made with wholesome ingredients like pumpkin and almond flour, these are so much better for you than your average candy. They satisfy that sweet craving without overdoing it.
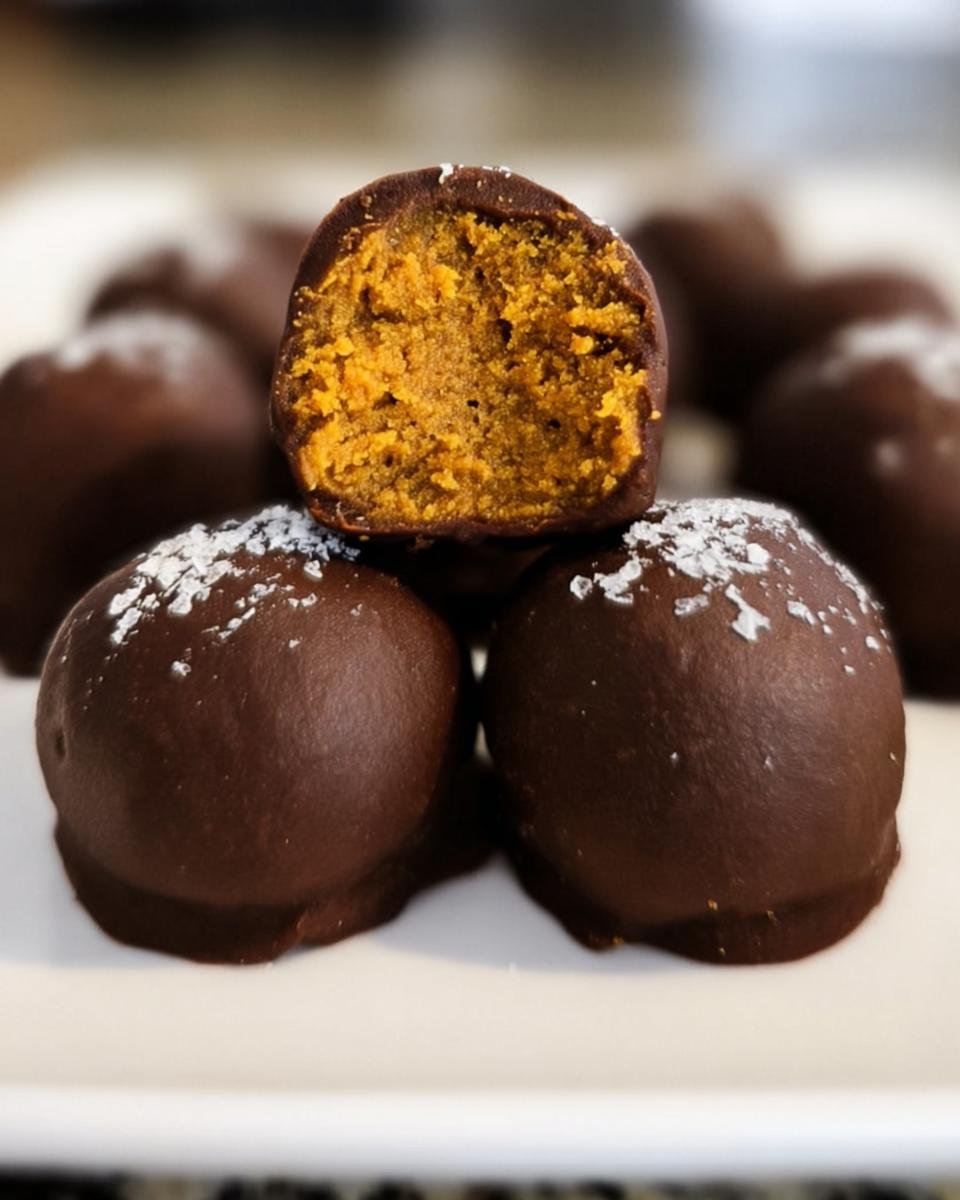
- Pure Fall Flavor: The warm spices and subtle sweetness are just spot-on for autumn. They taste like a cozy hug!
- Dietary Friendly: They’re naturally vegan and gluten-free, which makes them a fantastic treat for sharing with *everyone*, no matter their dietary needs. Plus, they’re dairy-free!
Ingredients for Healthy Pumpkin Truffles
Alright, let’s talk about what goes into these little flavor bombs! You might already have most of this stuff in your pantry, which is another reason I love them so much. It’s all pretty simple, wholesome goodness.
For the Truffles:
- 1 cup pumpkin puree (make sure it’s just plain pumpkin puree, not the pie filling!)
- 1/2 cup almond flour
- 1/4 cup maple syrup (this is where the natural sweetness comes from!)
- 2 tablespoons coconut oil, melted
- 1 teaspoon pumpkin pie spice (or make your own blend!)
- 1/2 teaspoon vanilla extract
For the Coating (Optional, but oh-so-good!):
- 1/2 cup dark chocolate chips
- 1 tablespoon coconut oil (melted)
See? Nothing too fancy, but oh-so-effective!
Equipment Needed for Healthy Pumpkin Truffles
You don’t need a whole kitchen arsenal for these goodies! We’re keeping it super simple. You’ll definitely want a sturdy food processor to get that smooth truffle base. Then, grab a baking sheet and line it with parchment paper – this is a lifesaver for easy cleanup and making sure your truffles don’t stick. Oh, and a good old spoon or a small cookie scoop will be perfect for shaping them. That’s really it! You can read more about my kitchen adventures here!
Step-by-Step Guide to Making Healthy Pumpkin Truffles
Okay, get ready, because this is the fun part! Making these healthy pumpkin truffles is honestly a breeze, but the results feel so fancy. You’ll be amazed at how simple it is to get these yummy treats ready. Just follow these easy steps, and you’ll have delicious little bites of fall ready in no time. It’s so satisfying to make something this good for you right in your own kitchen! If you love easy treats, you should totally check out my keto chocolate mousse recipe too – another winner!
Preparing the Truffle Mixture
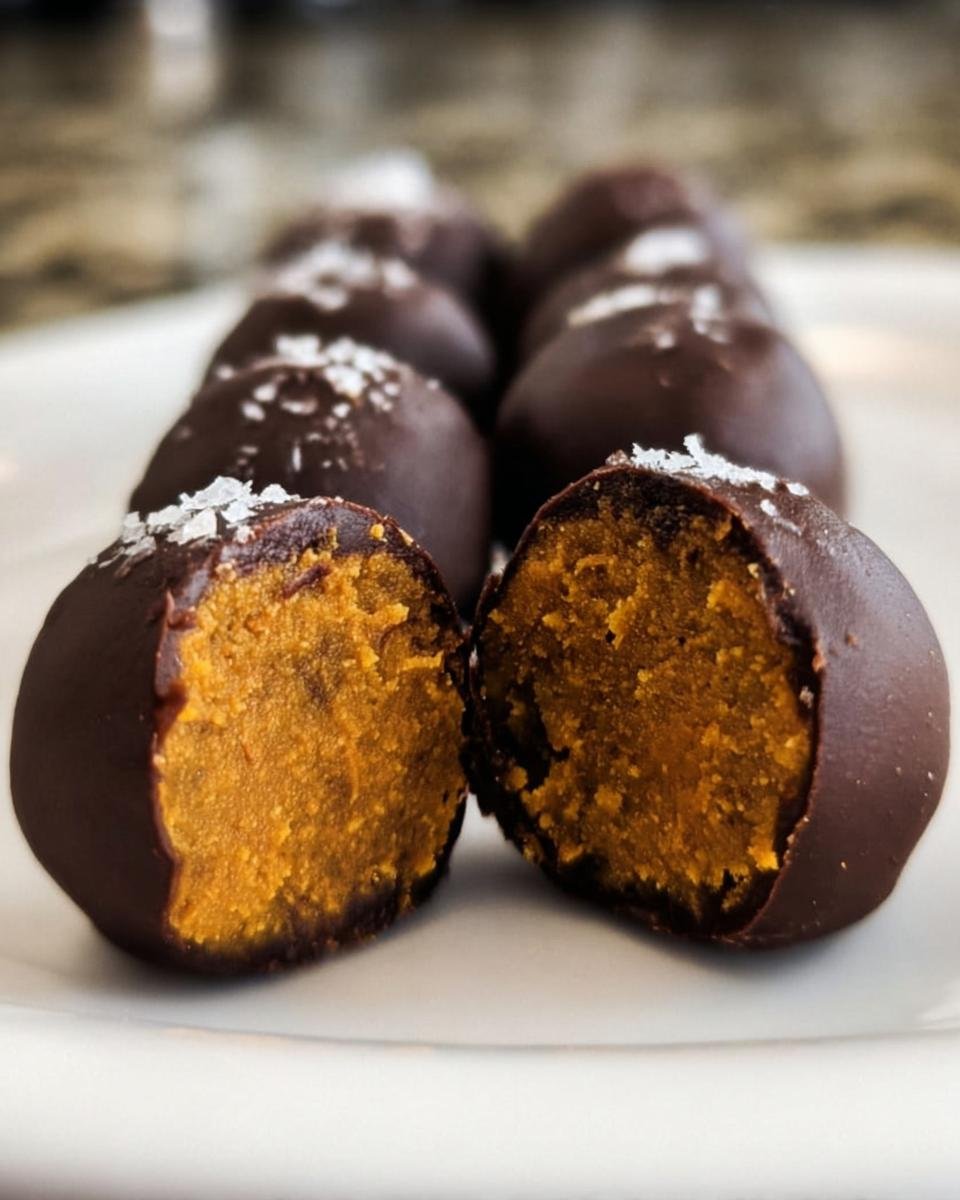
First things first, grab your food processor. We’re going to toss in all those yummy truffle ingredients: the pumpkin puree (remember, just plain puree!), the almond flour, that lovely maple syrup, the melted coconut oil, our pumpkin pie spice, and the vanilla extract. Pop the lid on tight and let it whir! You want to process it until everything is super smooth and well combined. It should look like a thick, luscious batter – perfect for rolling!
Shaping and Chilling Your Healthy Pumpkin Truffles
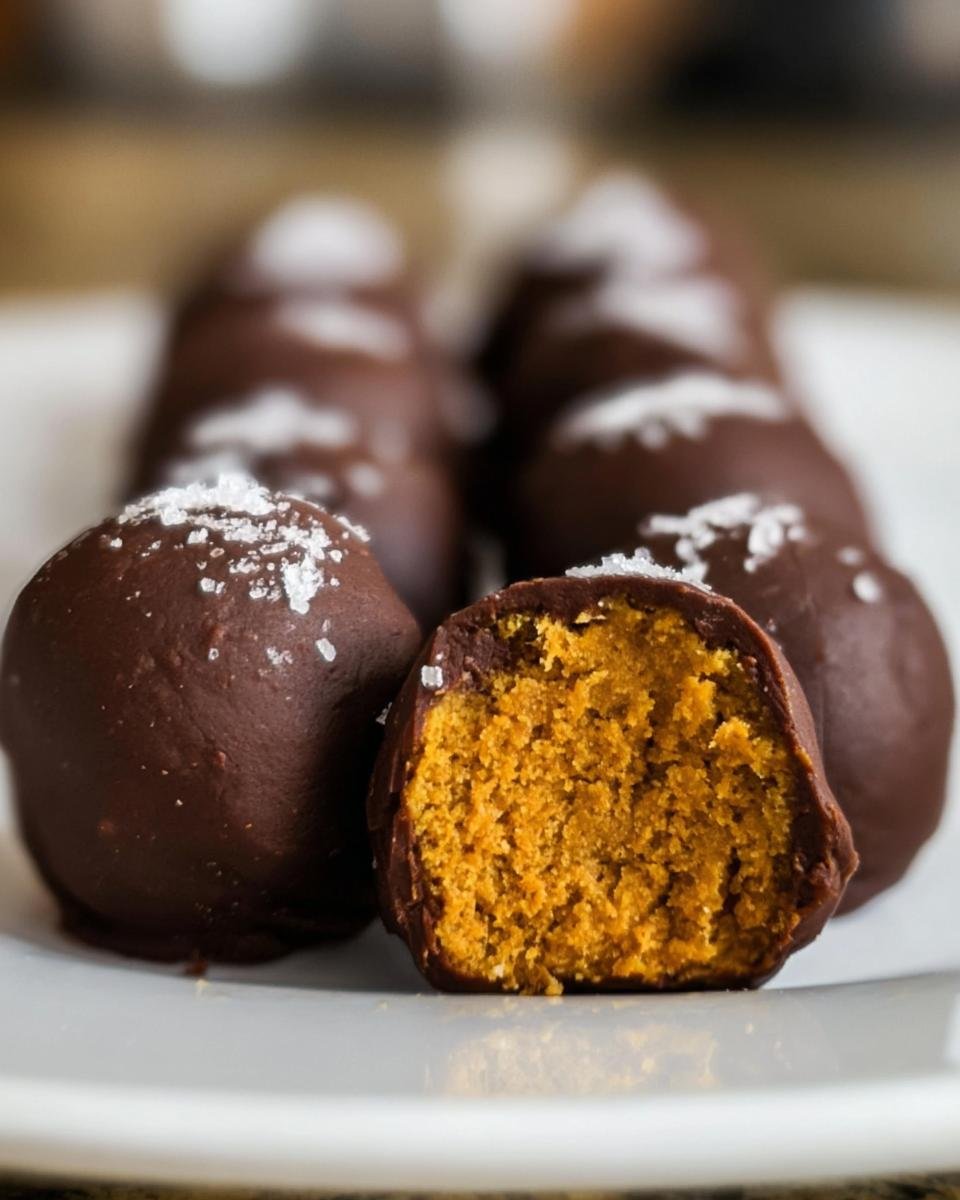
Now for the shaping! Line a baking sheet with parchment paper so nothing sticks. This is where the magic happens. Take about a tablespoon of the mixture at a time and roll it between your palms to form little balls, roughly one inch in diameter. Be gentle! Place these cute little balls onto your prepared baking sheet. Pop the whole sheet into the fridge for at least 30 minutes. This chilling step is super important; it helps them firm up so they don’t fall apart when you coat them. Trust me, it’s worth the little wait!
Optional Chocolate Coating for Your Healthy Pumpkin Truffles
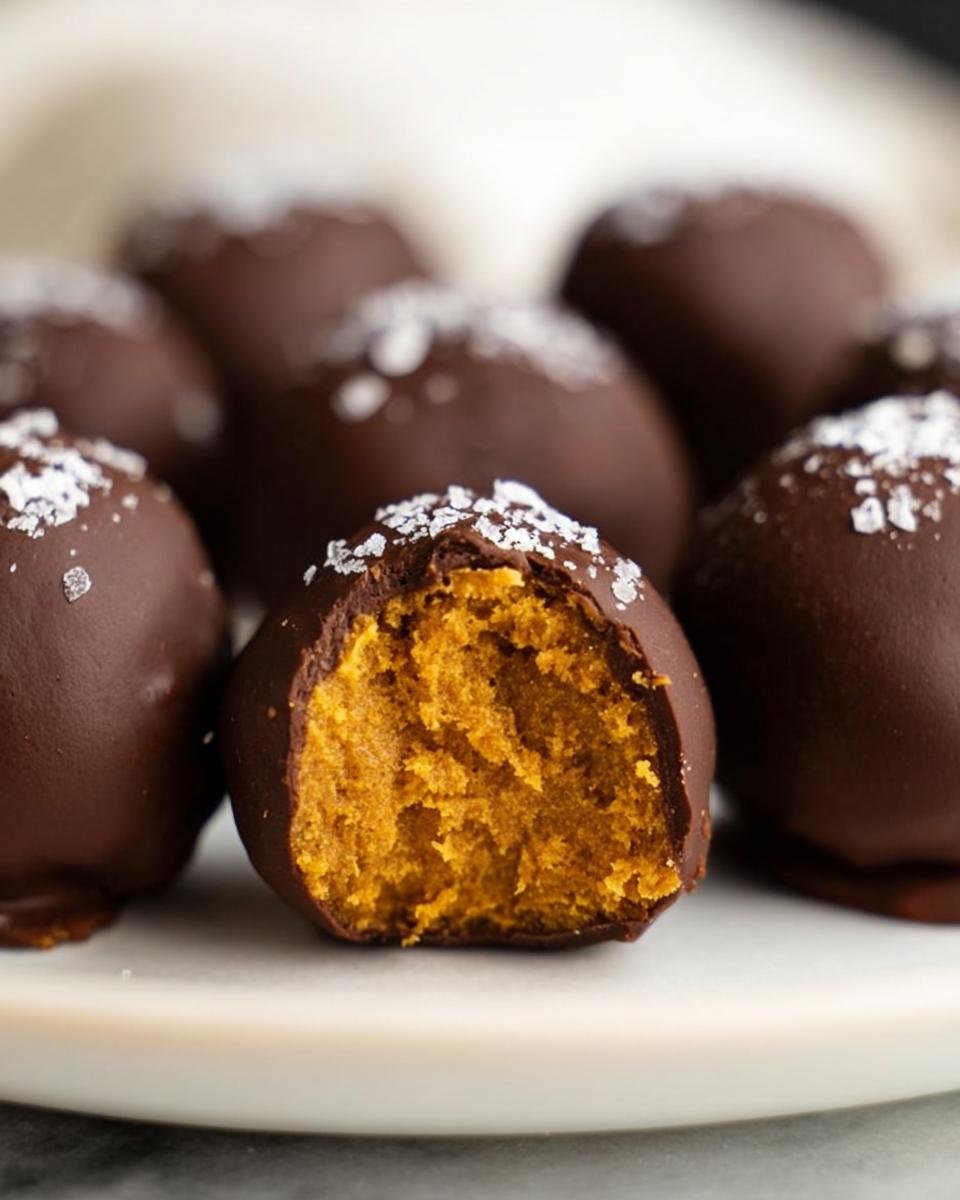
If you’re going for that classic truffle look (and who wouldn’t?), it’s time for the chocolate! While your truffles are chilling, melt the dark chocolate chips together with that extra tablespoon of coconut oil. You can do this in the microwave in short bursts, stirring in between, or carefully over a double boiler. Once it’s smooth and glossy, carefully dip each chilled truffle into the melted chocolate. You can use a fork to help lift them out and let any excess drip off. Place them back on the parchment-lined baking sheet. Pop these back in the fridge one last time until that gorgeous chocolate coating hardens up. Then *BAM* – perfect healthy pumpkin truffles!
Tips for Perfect Healthy Pumpkin Truffles
You know, even with simple recipes like these healthy pumpkin truffles, a few little tricks can make all the difference! I’ve learned a thing or two over the years of tweaking and testing, especially when it comes to getting that perfect texture and flavor. So, here are my top tips to make sure your truffles turn out absolutely divine every single time. You’ll be a truffle pro in no time!
One BIG thing is using good quality pumpkin puree. Make sure it’s 100% pure pumpkin, not that sugary pie filling stuff – it’ll throw off the sweetness and texture completely. And don’t skimp on the chilling time! It might be tempting to skip it, but that firming-up period is crucial for easy rolling and coating. I learned this the hard way after a messy kitchen incident! If you’re looking for more crispy, savory goodness, you should totally check out my crispy vegan chickpeas recipe!
Ingredient Notes and Substitutions for Healthy Pumpkin Truffles
Okay, let’s chat about these ingredients for a sec! The recipe calls for pure pumpkin puree, and it’s really important you grab that one and NOT pumpkin pie filling. The filling has extra sugar and spices that would totally mess with the flavor and texture we’re going for here. Trust me on this one!
Now, if maple syrup isn’t your jam, or you’re out, you can totally swap it for agave nectar or even a little bit of date syrup. Just be mindful that other sweeteners might change the flavor profile slightly, but it’ll still be yummy! For the almond flour, if you need a different nut-free option, you could try oat flour or even a gluten-free all-purpose blend. Just know that the texture might change a tiny bit. I have tons of dairy-free recipe ideas if you’re looking for more inspiration!
Storing Your Healthy Pumpkin Truffles
Once these delicious little healthy pumpkin truffles are all ready to go, you’ll want to keep them fresh! The best way to store them is in an airtight container in the refrigerator. They’ll stay perfectly yummy for about a week. Just pop them in the fridge whenever you’re not reaching for one… though honestly, they rarely last that long!
Frequently Asked Questions About Healthy Pumpkin Truffles
Got questions about these addictive little bites? I’ve got answers! It’s totally normal to wonder about a few things when you’re making something new, especially when you want it to be just right. These are some things I get asked a lot, and hopefully, they’ll help you nail these healthy pumpkin truffles perfectly. If you’re looking for more ways to eat smart, check out my weight loss tips!
Can I make these Healthy Pumpkin Truffles without chocolate coating?
Absolutely! These healthy pumpkin truffles are genuinely delicious all on their own, even without the chocolate dip. They’ve got that wonderful pure pumpkin flavor with all the yummy spices. If you want a little extra something, try rolling them in some unsweetened shredded coconut, chopped nuts (like pecans or walnuts!), or even a sprinkle of cinnamon sugar. They’re so versatile!
How long do Healthy Pumpkin Truffles last?
For the best freshness and texture, I always recommend storing these beauties in an airtight container in the refrigerator. They’ll stay good for about a week, sometimes a little longer. Honestly though, if you’re like me, they disappear way faster than that!
Are these Healthy Pumpkin Truffles vegan?
Yes, they are! This recipe is completely vegan as written. We’re using maple syrup for sweetness and plant-based ingredients throughout. If you opt for the chocolate coating, just make sure you’re using dairy-free dark chocolate chips. It’s so great to have a dessert that fits so many needs!
Estimated Nutritional Information for Healthy Pumpkin Truffles
You know, when I’m making treats like these healthy pumpkin truffles, I always like to have a rough idea of what I’m putting into my body. So, here’s an *estimated* nutritional breakdown for each little truffle. Keep in mind that these numbers can tweak a bit depending on the exact ingredients you use and how big you roll your truffles. For one truffle (without the chocolate coating!), you’re looking at roughly 100 calories, about 10g of carbs, 2g of protein, and around 6g of fat. They’re pretty light and satisfy that sweet craving without going overboard! If you’re looking for more ideas on eating smart, you should totally check out my calorie-smart recipes!
Share Your Healthy Pumpkin Truffles Creations!
I really hope you love making these healthy pumpkin truffles as much as I do! Remember, sharing your cooking adventures makes it even more fun. If you whip up a batch, please leave a comment below and let me know how they turned out. Don’t forget to rate the recipe, and if you snap some pics, tag me on social media! I can’t wait to see your amazing creations. If you’re curious about my own kitchen journey, you can read all about it here!