
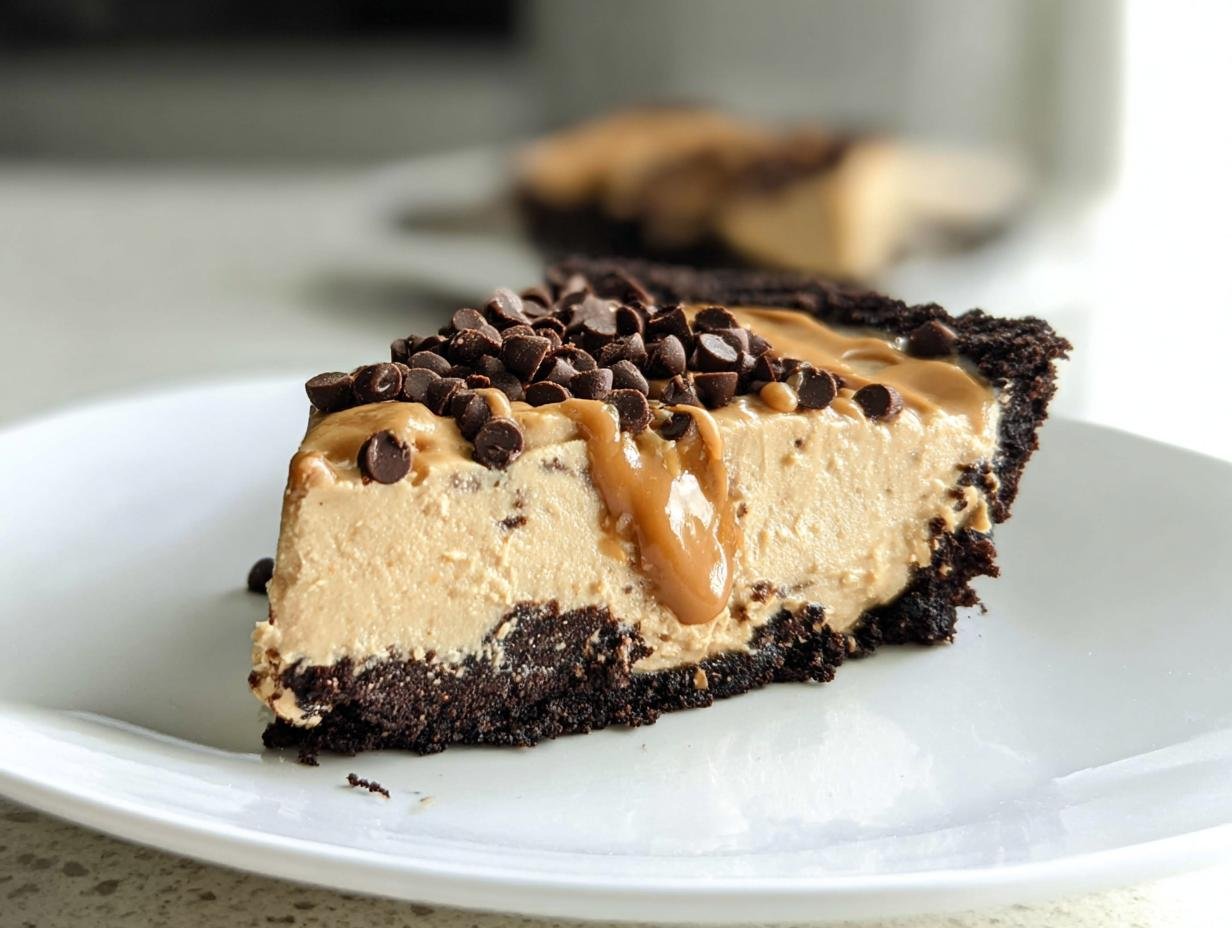
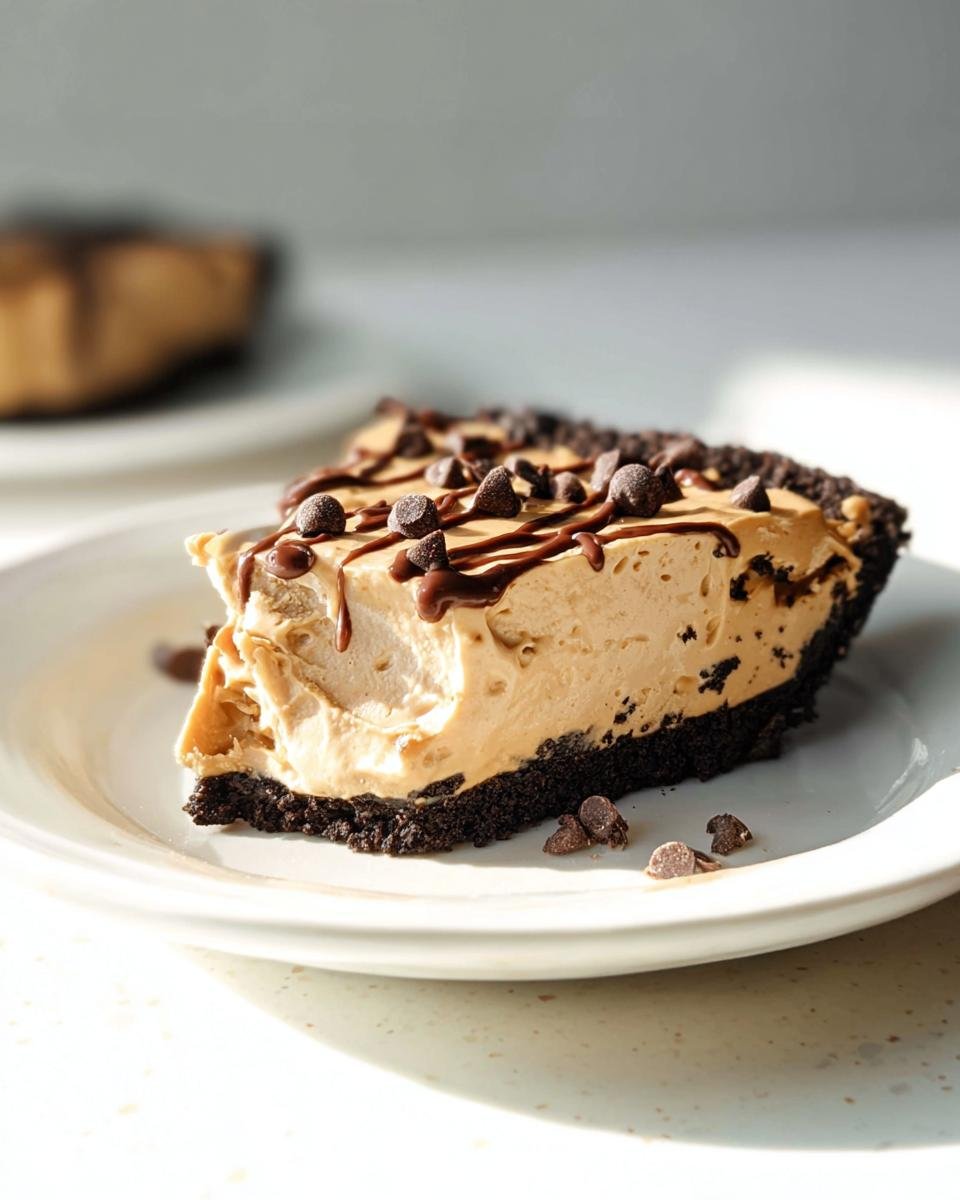
Oh man, have you ever had one of those days where you just absolutely need something sweet, rich, and completely satisfying, but you look at the clock and realize dinner was ages ago? I live for those moments now, and that’s why this Easy Peanut Butter Pie Recipe is my absolute lifeline! Seriously, 15 minutes of work gets you the most glorious, family-friendly pie you can imagine. We’re talking no-bake, rich chocolate crust, a fluffy peanut butter filling, and it’s totally vegetarian. Trust me, keeping a slice or two in the fridge means you’re always ready for a spontaneous weeknight treat!
Why This Easy Peanut Butter Pie Recipe Works for Everyone
When I pull this out, I want everyone in the house—from the pickiest kid to my partner who thinks everything needs milk and honey—to be happy. And this Easy Peanut Butter Pie Recipe always delivers! The absolute best part is that it’s totally hands-off once it hits the fridge. You don’t need to preheat the oven, you don’t need to worry about steam burns, and you definitely don’t need to stick around waiting for it to bake. It’s pure, unadulterated ease!
I actually keep the ingredients on hand because sometimes I need a complete dessert solution fast. It’s one of those magical recipes that looks way fancier than the effort it takes, which is always a win in my book.
Quick Dessert Timeframe Breakdown
Let’s talk minutes! This pie takes a grand total of 15 minutes to assemble. Yes, fifteen! We’re talking about mixing a crust, whipping up a filling, and pressing it into the pan. Since there’s zero cook time, you are only waiting for the chill time. This makes it the ultimate quick dessert when unexpected guests pop over or when you need something ready for dessert after a busy night. If we’re pressed for time after making something like my favorite weeknight meals, this pie saves the day.
Family-Friendly and Vegetarian Appeal
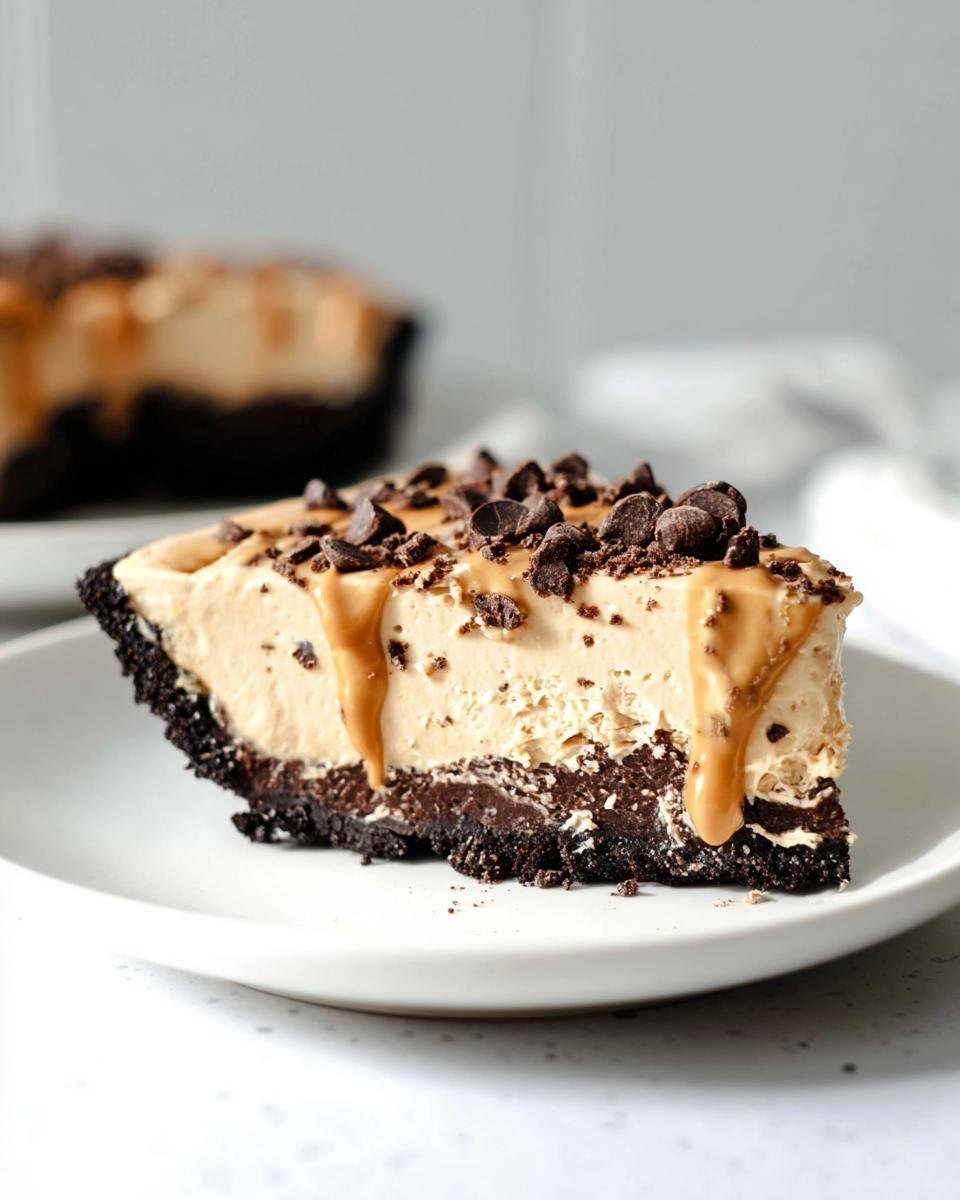
The flavor combo of rich chocolate and salty peanut butter is just classic Americana, right? It hits every sweet spot. Plus, it’s completely vegetarian! That means my friend Sarah, who avoids gelatin, can dive right in without checking labels—which I really appreciate. Because it uses standard, comforting ingredients, it’s always a hit with kids, and it never fails to impress during potlucks. It’s just pure, crowd-pleasing comfort food in pie form.
Gathering Ingredients for Your Easy Peanut Butter Pie Recipe
Okay, the beauty of this no-bake recipe is that you probably have half this stuff hiding in your pantry already! But listen to me closely here: ingredient quality and type really matter when you’re not baking it hot. We need things to set up perfectly in the fridge, so the type of peanut butter you choose is everything. I’ve learned the hard way that this is *not* the time for those weird, oily natural jars. We need structure!
This recipe is designed to be straightforward, using only a handful of items to create that perfect, creamy texture everyone raves about. Gather your tools and let’s check off the list!
Chocolate Cookie Crust Components
First up is the base—the layer that gets us the chocolate fix right away. For the crust, you’ll need:
- One and a half cups of chocolate cookie crumbs. I always use the ones that come with the white filling, you know, like Oreos! Just crush them up.
- Six tablespoons of unsalted butter. Make sure this is melted down completely before you add it to those crumbs.
Creamy No-Bake Filling Ingredients
This is the star of the show, where we build up that fluffy body. Check your supplies for these essentials:
- One full cup of creamy peanut butter. I stress *creamy* and the standard kind—Skippy or Jif will work great. The natural, stir-it-yourself type is too oily and won’t let the pie set right for this quick dessert!
- Eight ounces of cream cheese. You absolutely must have this softened to room temperature first.
- One cup of powdered sugar. Sift it if you want to be fancy, but honestly, just toss it in.
- One container (eight ounces) of frozen whipped topping, thawed. Think Cool Whip here; we need that stability for our no-bake structure.
Optional Chocolate Topping for the Easy Peanut Butter Pie Recipe
If you’re feeling extra decadent—which, let’s be honest, we always are when making dessert—you can top it off. This just amps up the chocolate factor!
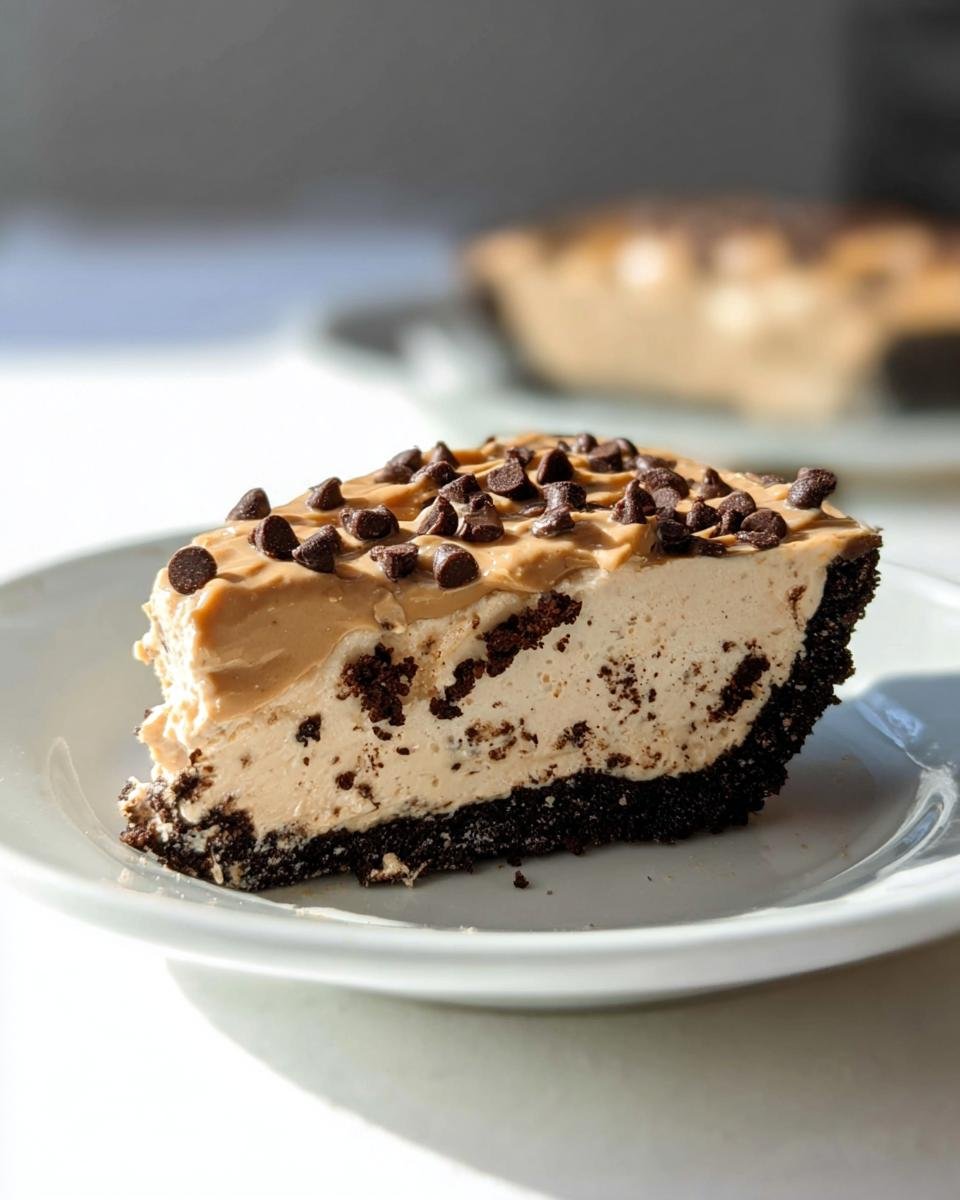
- Half a cup of miniature chocolate chips. Sprinkle them across the top right before the final chill.
Step-by-Step Instructions for the No-Bake Easy Peanut Butter Pie Recipe
Alright, let’s get mixing! Since this is a quick dessert, we want to move fast but keep our hands gentle where it counts. I always use my big metal bowl for the crust and a separate, large bowl for the filling so I don’t lose any air when I start combining things later. The whole assembly process flies by, I promise. Just make sure your cream cheese is truly soft before you start, or your mixer is going to struggle!
Preparing the Chocolate Cookie Crust
First things first, we make the chocolate magic happen. You’ll want a bowl for your crust ingredients. Combine those chocolate cookie crumbs and the melted butter. I usually just use a fork to stir it, but you want every crumb to look damp and sandy, not dry. Once it’s mixed well, pour it right into your 9-inch pie plate. Now, this is important for the family-friendly appeal—you need to press it down hard!
I use the flat bottom of a drinking glass or a measuring cup to really compact it into the bottom and up the sides. You want a solid base so your no-bake filling doesn’t just crumble when you cut into it later. Get it nice and firm, then set that plate aside while we whip up the filling.
Mixing the Peanut Butter Filling Base
Time for the electric mixer! In that other big bowl, dump in your softened cream cheese and that full cup of creamy peanut butter. Turn that mixer on medium and beat them together until they look completely uniform. I mean it, you shouldn’t see any streaks of white cheese peeking out. This part brings everything together structurally, so take a minute to make sure it’s super smooth. If you’re having trouble, stop and scrape down the sides!
Once it’s smooth as silk, you can add in your powdered sugar. Beat that in slowly at first so you don’t create a sugar cloud in your kitchen—I learned that lesson years ago when I was testing out a different chocolate peanut butter recipe! Mix until it’s just combined.
Folding in the Whipped Topping
Here’s where we add the air to turn this dense mix into something light and fluffy—the secret to keeping this pie from feeling like a brick! Take your thawed whipped topping and add about a third of it to the peanut butter mixture. Use a rubber spatula for this part, not the mixer! Gently fold it in until it’s mostly incorporated.
Then, add the rest of the topping and continue folding. You want to keep the airiness of the topping, so stop mixing as soon as you don’t see any more white swirls. Overmixing here will deflate everything, and we want a tall, proud pie!
Chilling the Family-Friendly Pie
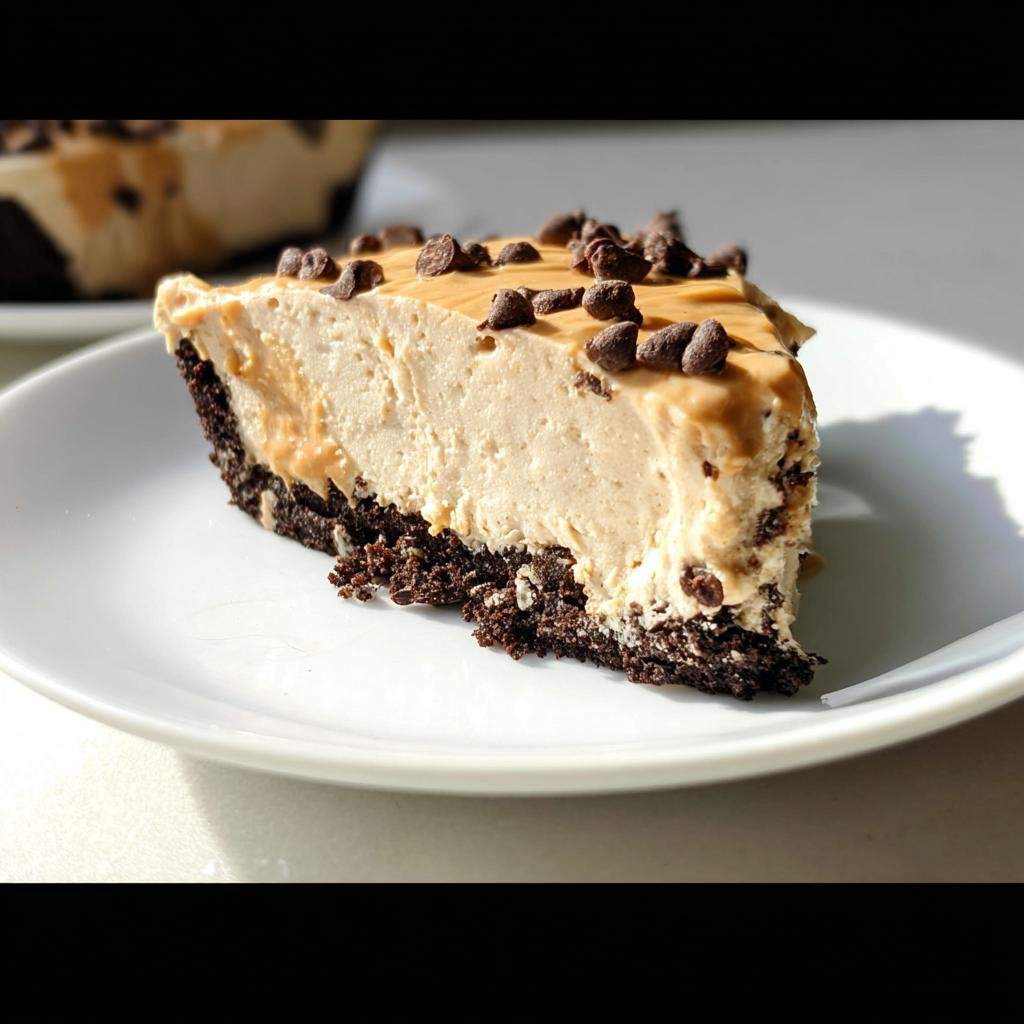
Spoon that glorious, fluffy filling into your prepared chocolate crust. Spread it out evenly right to the edges. If you’re using those optional chocolate chips, sprinkle them on top now! Now comes the hardest part of this Easy Peanut Butter Pie Recipe: waiting.
This pie needs at least 4 hours in the refrigerator to firm up properly so you can get beautiful slices. Four hours minimum! If you are serving this after dinner that night, you really need to get it made first thing in the morning. If you chill it less than that, the filling will just ooze out when you try to slice it, and nobody likes a runny pie!
Tips for Success with Your Easy Peanut Butter Pie Recipe
Listen, since this pie relies on chilling instead of heat to set up, a couple of small details can make the difference between a perfect slice and a beautiful mess on the counter. I’ve made too many wobbly pies to not share these cheat codes with you! Follow these tips, and you’ll have a stunning, firm dessert every single time.
Ensuring a Firm No-Bake Filling
The biggest factor for a firm filling is temperature management. Make sure that cream cheese is truly soft—if it’s cold, it won’t blend smoothly with the peanut butter, which leaves little hard chunks behind. Also, when you fold in that thawed whipped topping, go slow! If you beat it with the electric mixer, you knock all the air out, and suddenly your fluffy filling turns into a dense peanut butter brick. Gentle folding is the key to a light, sliceable filling.
Crust Packing Technique
Don’t just sprinkle the crumb mixture in there and call it a day. That crust needs to be rock solid because it’s holding up all that creamy weight! Once you press the crumb and butter mix into the pie plate, grab something flat on the bottom—a dry measuring cup or a small glass works perfectly for me. Really press that mixture firmly into the dish, especially pressing it up the sides. If the crust is loose, when you go to serve that first slice, the whole side wall is going to cave in. We want clean slices here!
Variations for This Quick Dessert
Even though this recipe is fantastic as is, sometimes I get stuck in a rut, and I want to shake things up without sacrificing that lightning-fast assembly time. Since we are keeping this **Easy Peanut Butter Pie Recipe** completely no-bake, we have to be careful that any swaps still let the pie set up firmly in the fridge. Luckily, there are a few super simple ways to change the flavor profile without messing up the structure!
Alternative Crust Ideas
If you aren’t totally committed to the dark chocolate base—though I highly recommend it—you can swap it out easily. Graham cracker crumbs work beautifully! Just use the same amount of crumbs and the same 6 tablespoons of melted butter. Another winner is vanilla wafer crumbs. Those give the pie a slightly softer, almost sandy texture which is yummy too. It’s amazing what a different base can do!
Flavor Twists for the Peanut Butter Filling
Want to kick up the complexity of the filling just a notch? It’s so easy. Before you fold in that whipped topping, try mixing in just one teaspoon of pure vanilla extract. Wow, it really makes the peanut butter flavor pop! If you want to emphasize that salty-sweet thing, add about a quarter teaspoon of fine sea salt right in with your powdered sugar.
It sounds small, but that little touch of salt balances the heavy sweetness perfectly. I even once tried adding just a dash of cinnamon—similar to what I use when I make my favorite chewy cookies—and it was a surprisingly earthy addition!
Storage and Serving Suggestions for Easy Peanut Butter Pie
We’ve done the work creating this fantastic, family-friendly pie, so let’s make sure we serve it right and store it properly! Since this is a no-bake dessert, we rely completely on that chill time, which means serving it correctly is key to that perfect slice. Honestly, just looking at it waiting in the fridge—that firm, luscious filling topped with chocolate—is half the fun!
Serving the Vegetarian Pie Perfectly
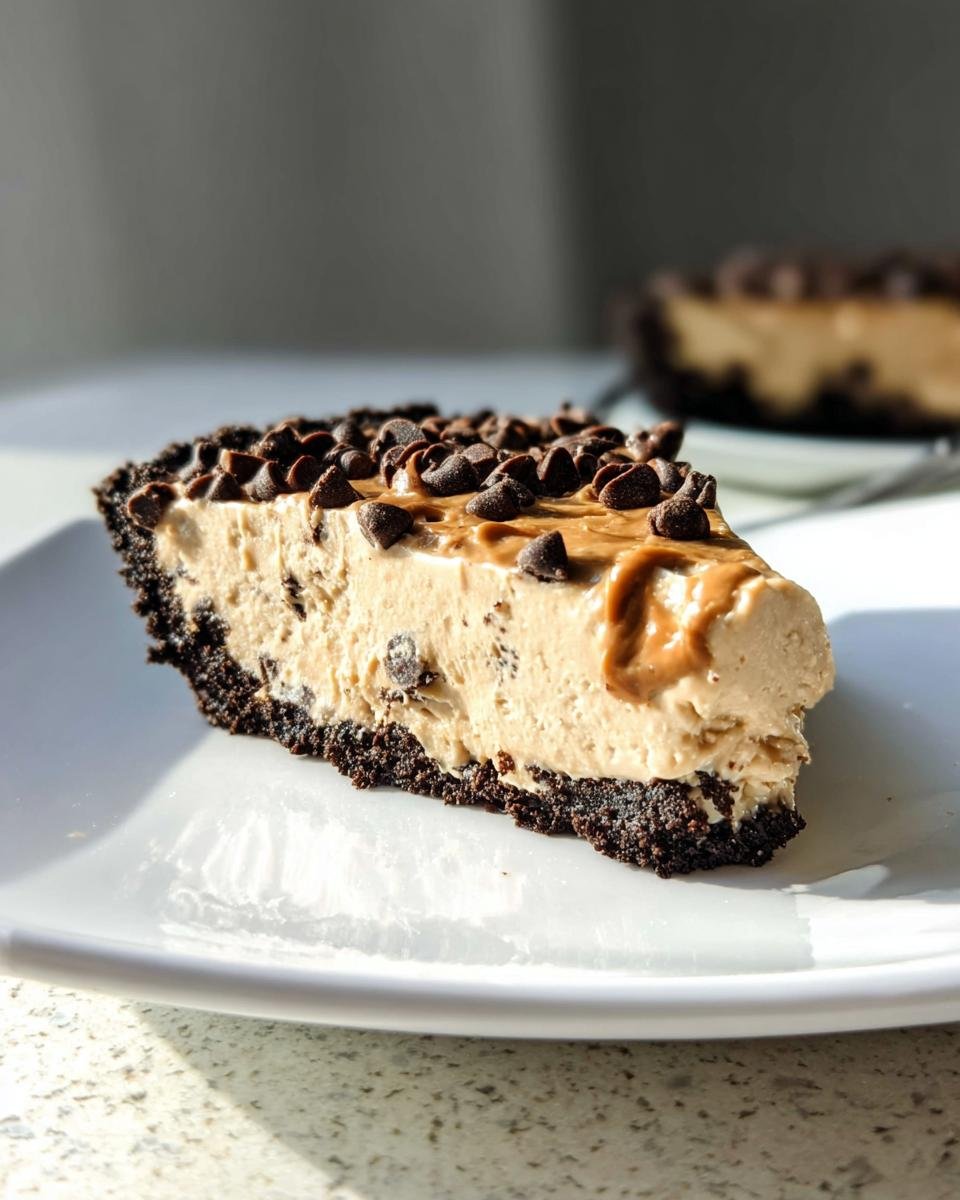
Cutting this pie requires patience, which is tricky when it smells this good! Once you’ve chilled it for those full four hours, the filling should be firm enough that it won’t squish out when you press down. The trick to getting those beautiful slices everyone wants is to use a sharp knife dipped in hot water. Wipe the knife clean and dry it between every single slice.
It sounds fussy, but seriously, the hot, clean knife glides right through, leaving you with that beautiful, clean chocolate and peanut butter layer separation. Don’t try to serve it straight from the fridge on a freezing cold day, though; letting it sit on the counter for just five minutes softens the filling just enough to make it easier to cut perfectly.
Storing Leftovers of This Easy Peanut Butter Pie Recipe
If you happen to have any leftovers of this quick dessert—which I doubt you will, but we can hope!—it keeps really well in the refrigerator. You need to cover the pie plate tightly with plastic wrap. Try not to let the plastic touch the top if you used chips, or they’ll stick; a tented wrap works best. It stays fresh and delicious for up to four days!
If you know you won’t get through it that fast, you can absolutely freeze it, which is great for making ahead! Wrap it super securely and freeze for up to two months. When you want a slice, just thaw it in the fridge overnight before serving. It’s a perfect make-ahead solution!
Frequently Asked Questions About This No-Bake Dessert
I always get so many questions when people try this recipe for the first time, usually because they are just so surprised at how rich and sturdy this pie is, especially since it’s totally no-bake! Here are some of the things folks ask me most often when they are planning to whip up this quick dessert for their family.
Can I use natural peanut butter in this Easy Peanut Butter Pie Recipe?
Oh, please don’t! I always have to stress this point because it makes or breaks the structure of this pie. You really need to use the standard, creamy peanut butter—the kind that stays uniform at room temperature, like Jif or Skippy. Natural peanut butter has too much oil separation, and if you try to mix it in, your filling will end up soupy instead of firm and sliceable. We need that creamy stabilizer for this vegetarian dream!
How long does the pie need to chill to set?
This is crucial for getting those beautiful, clean slices we talked about. You absolutely have to let this pie chill for a minimum of 4 hours. Seriously, set a timer! If you try to sneak a piece out at the two-hour mark, it will collapse into a glorious puddle on your plate. The heavy cream cheese and whipped topping need that firm, cold time to lock everything into place perfectly. Resist the temptation!
Can I freeze this family-friendly pie?
Yes, you totally can! Freezing is actually a neat trick if you want it even firmer than chilling provides. You can pop the whole pie, once it’s set, into the freezer for about an hour. That gives it an almost ice-cream-like texture, which is amazing, especially if the kitchen is warm. If you freeze it longer, say a couple of weeks, just let it thaw in the fridge overnight first. You can see more tips on planning ahead for desserts like this on my pie recipe page!
Estimated Nutritional Data for the Easy Peanut Butter Pie Recipe
Now, I’m going to be totally honest with you: I don’t spend a lot of time running my Quick Dessert creations through complicated nutritional software because, frankly, when pie this good shows up, who cares? Ha! But I know some of you are trying to track things, and I want to be responsible home cooks, right? Since this is a no-bake pie made with a lot of sugar and fat (because deliciousness!), the numbers are going to be what they are.
What I can tell you is that these numbers are just rough estimates based on using standard, full-sugar ingredients, like conventional peanut butter and regular chocolate sandwich cookies. If you swap out ingredients—say, using a lighter whipped topping or sugar-free cookies—your totals will change dramatically. Trust me, when I make this for a family gathering, I just assume it contains a lot of joy and calories!
For a single slice (that’s 1/8th of the pie) using the standard ingredients listed, you are generally looking at:
- Calories: Likely in the high 400s to low 500s.
- Fat: Significant, due to the butter, cream cheese, and peanut butter base.
- Carbohydrates and Sugar: Definitely high here!
If you’re tracking macros closely, you might want to use an online calculator and input the exact brands you use, especially since the consistency of the whipped topping really affects the final protein and fat counts. But for me, it’s just a delicious, family-friendly treat saved for special occasions!
Share Your Quick Dessert Creations
I’ve shared all my secrets for getting this Easy Peanut Butter Pie Recipe just right—from dealing with the right kind of peanut butter to getting that no-bake filling perfectly firm. But honestly, the best part of baking is seeing it come to life in your kitchen! I’d absolutely love to hear how this quick dessert worked for your family.
Did you stick with the chocolate crust, or did you try the vanilla wafer swap? Did the kids devour it before you could even get a slice? Don’t be shy! Tell me all about it in the comments below. I truly read every single note you leave me, and it helps me know what variations other bakers are loving.
If you’ve made this pie, please take a second to give it a quick rating! And if you snapped a picture of your beautiful, sliceable dessert, tag me on social media. Seeing your family enjoying this vegetarian, chocolatey treat is what keeps me in the kitchen! Happy baking—or, well, happy *no-baking*!
Easy No-Bake Peanut Butter Pie
Ingredients
Equipment
Method
- Prepare the crust: Mix the chocolate cookie crumbs and melted butter in a bowl until the crumbs are evenly moistened. Press this mixture firmly into the bottom and up the sides of a 9-inch pie plate.
- Make the filling: In a large bowl, use an electric mixer to beat the peanut butter and softened cream cheese together until smooth.
- Gradually beat in the powdered sugar until fully combined.
- Gently fold in the thawed whipped topping until no streaks remain. Do not overmix.
- Spoon the filling into the prepared crust and spread it evenly.
- If using, sprinkle the miniature chocolate chips over the top of the pie.
- Chill the pie in the refrigerator for at least 4 hours, or until firm, before slicing and serving.