
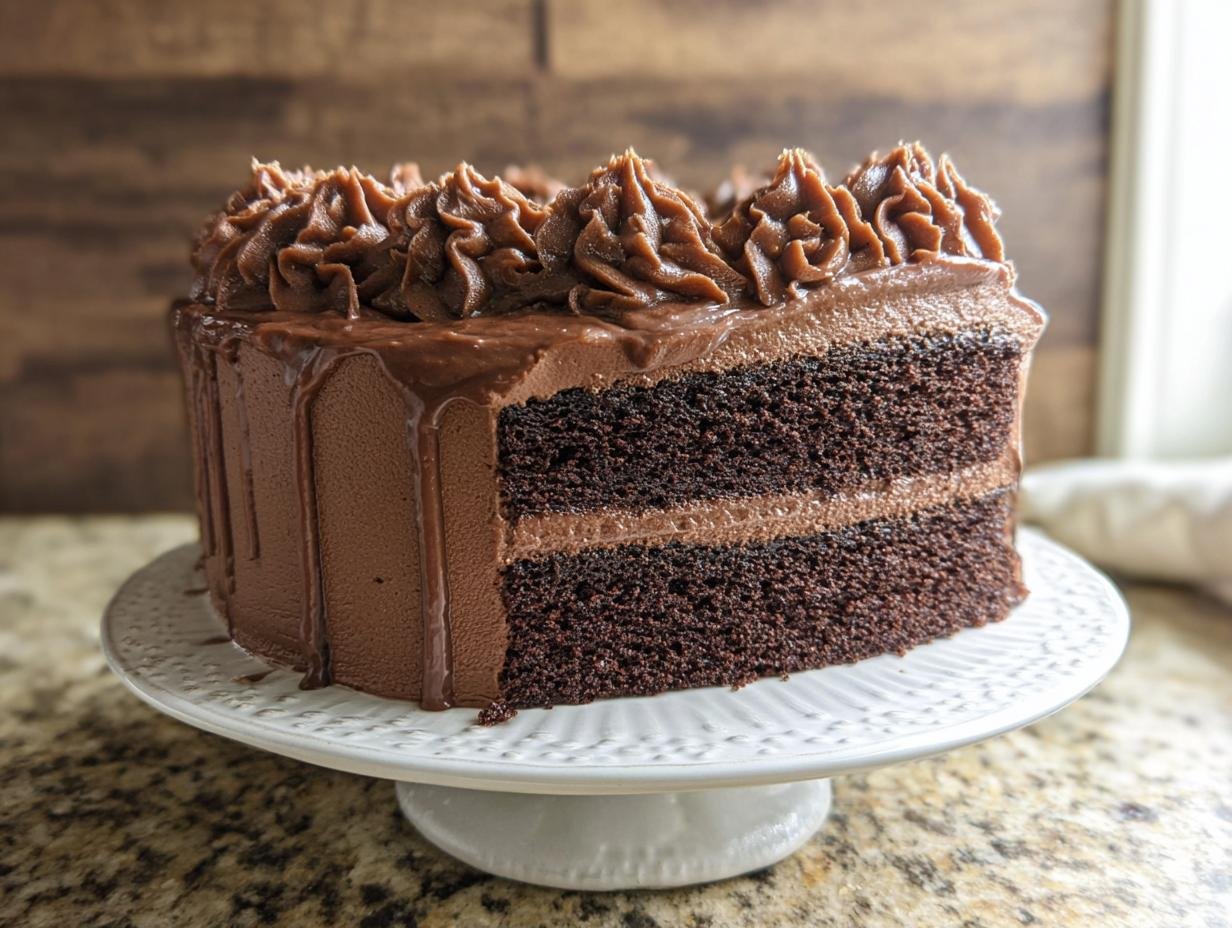
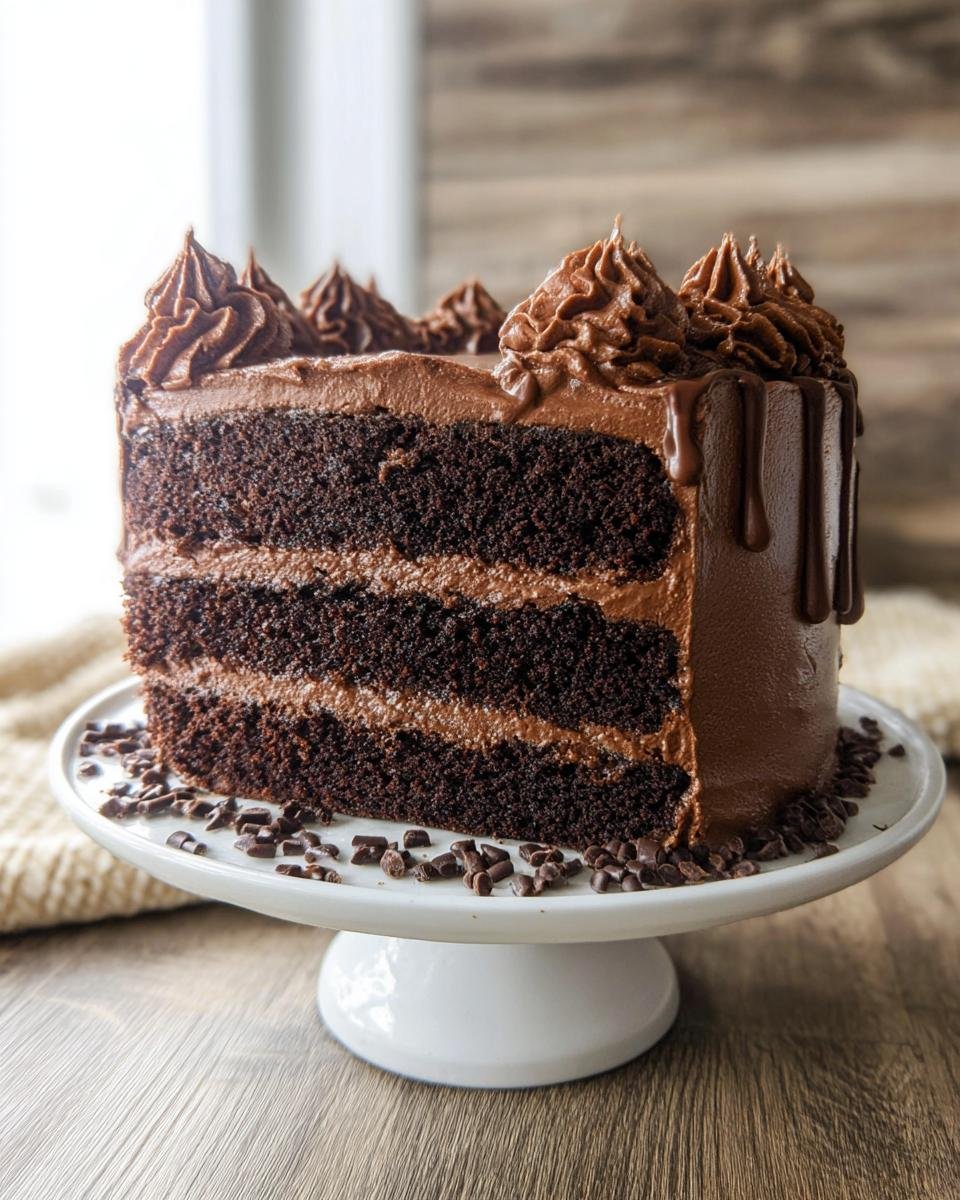
Oh, isn’t there anything better than that moment when you pull a perfectly cooled, decadent chocolate cake out of the pan? It smells like pure happiness, right? I used to get so nervous about getting the texture wrong, but that stops now! This recipe I’m sharing today is my non-negotiable base. It’s what I rely on every single time because it gives you the most reliable, deeply flavored layer cake that is just waiting for your personal touch. Trust me, nailing the fundamentals of your base layer is 90% of a successful chocolate cake design project.
I spent years chasing those dry, crumbly layers that crack when you try to frost them. Forget that! This formula sets you up for success, whether you’re aiming for a simple drizzle or an elaborate tower of layers. Master this, and you can do anything!
This whole process, from stirring the batter to having cool layers ready for frosting, takes less than an hour and a half. It’s fast, it’s reliable, and it tastes like serious chocolate heaven.
Why This Simple Chocolate Cake is Perfect for Your Next chocolate cake design (E-E-A-T)
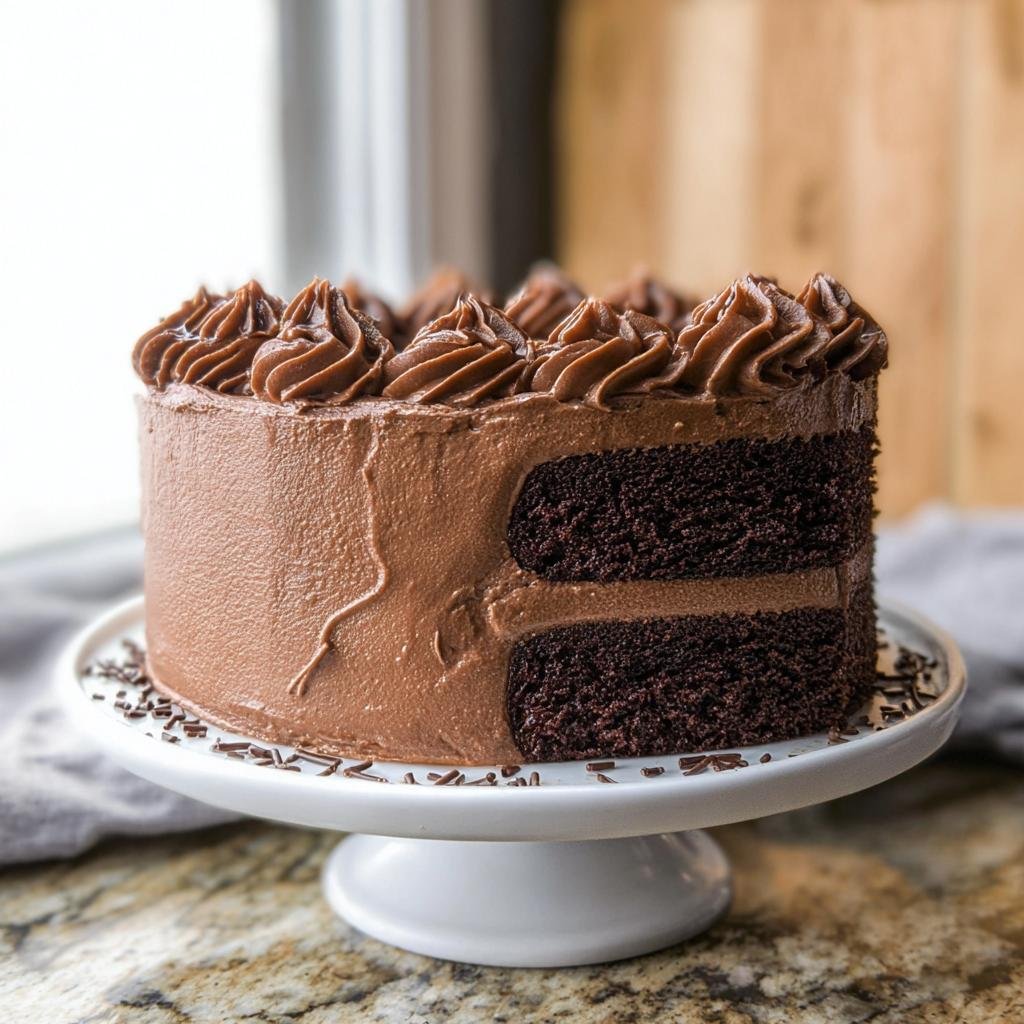
When you are planning out a big project, like a fancy birthday cake or a layered centerpiece, you absolutely cannot afford a temperamental cake base. That’s why this recipe is my go-to! It bakes up with a crumb that is sturdy enough to handle heavy frosting, but it’s still wonderfully moist on the inside. You want your cake to stand up tall and proud, not crumble into dust when you try to slice off a wonky edge.
I’ve found that many gourmet decorating ideas fail because the baker overlooked the foundation. If the flavor is weak or the texture is too airy, your beautiful chocolate cake design is going to fall flat, no matter how pretty the buttercream roses are.
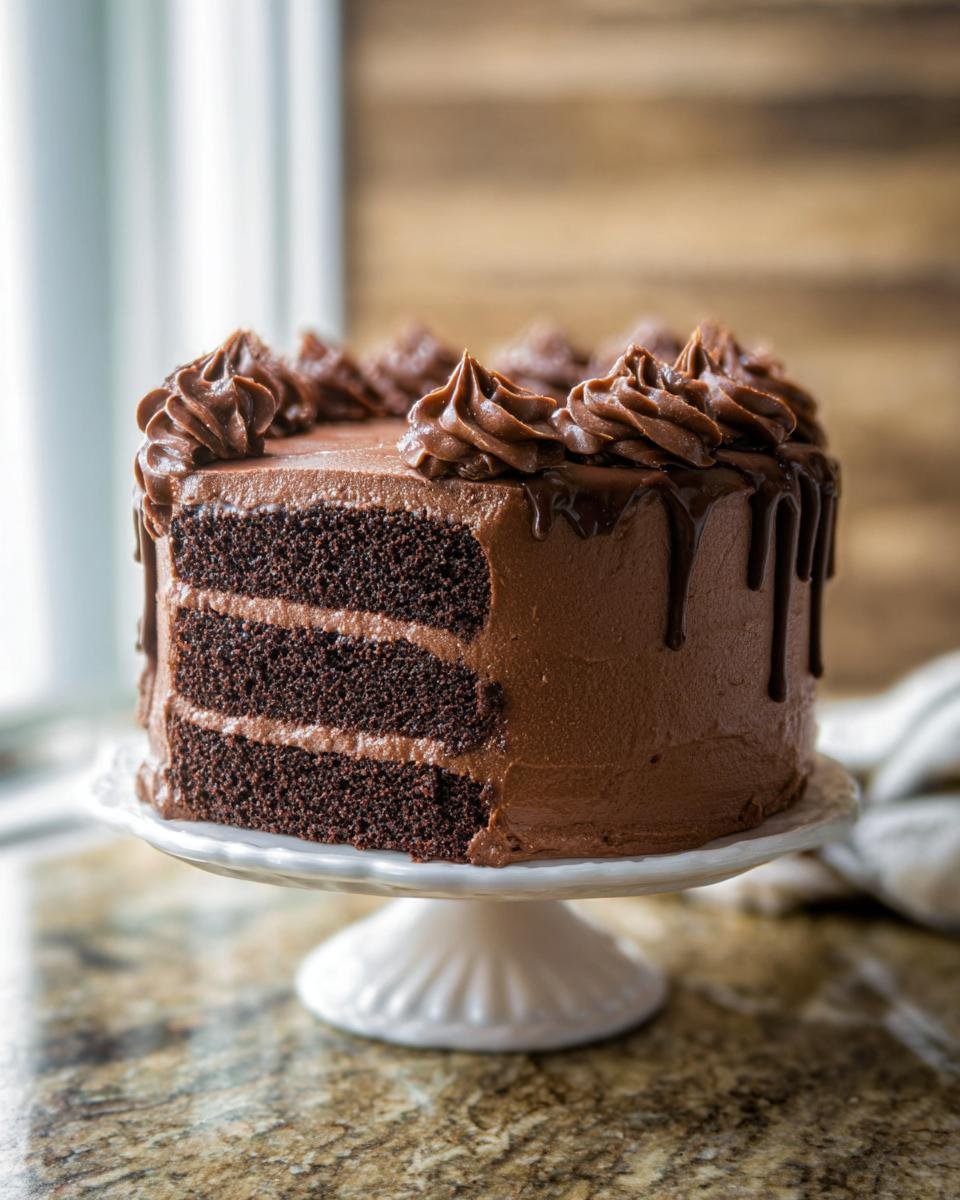
This recipe gives you deep, dark chocolate intensity and it holds up perfectly to slicing and leveling, which is essential for sharp, clean lines.
Recipe Overview and Timing
You can get this done pretty fast, which is great when you want to chill the layers later for final decorating.
- Total Time: 55 minutes
- Prep Time: 20 minutes
- Cook Time: 35 minutes
- Serves: 12 people
Gathering Ingredients for Your chocolate cake design Base
Okay, gathering your ingredients is where everything starts to feel real, right? I like to get everything out on the counter first—this is called *mise en place* for the fancy folks, but I just call it setting myself up for success so I don’t panic later!
Since this rich chocolate cake design relies on chemical reactions for its lovely lift and dark color, you have to be smart about what you use. We are dividing this into two essential groups: the cake layers themselves and the creamy frosting that holds it all together. Pay close attention to the notes, especially regarding temperature. If your buttermilk is cold, you are going to have a denser cake, and we don’t want that!
Ingredients for the Cake Layers
You’re going to need a few things that ensure that deep, dark flavor profile:
- 2 cups All-purpose flour
- 2 cups Granulated sugar
- 3/4 cup Unsweetened cocoa powder
- 2 tsp Baking soda
- 1 tsp Baking powder
- 1 tsp Salt
- 1 cup Buttermilk (Must be room temperature!)
- 1/2 cup Vegetable oil
- 2 large Eggs (Also room temperature, please!)
- 1 tsp Vanilla extract
- 1 cup Hot water or coffee (Coffee really deepens that chocolate flavor, you won’t taste coffee, I promise!)
Ingredients for the Basic Chocolate Buttercream
This is the classic, no-fuss frosting that spreads like a dream. Smoothness is key here, so make sure you have your sifter handy!
- 1 cup Unsalted butter (Softened perfectly)
- 3 cups Powdered sugar (Sifted!)
- 1/2 cup Cocoa powder (Sifted!)
- 1/4 cup Milk or heavy cream
- 1 tsp Vanilla extract
Baking the Layers: Foundation for Great chocolate cake design
Now for the fun part—turning that lovely pile of ingredients into actual cake! Remember, we want structure but not toughness. The absolute key to keeping this cake tender, even though it’s sturdy enough for any chocolate cake design you throw at it, is how we mix it. Don’t rush the preheating; get that oven right!
First things first, get your oven warmed up to 350°F (175°C). You need to prepare your two 9-inch round pans by greasing them well and dusting them with a little flour. I always sneak a little cocoa powder into the flour I use to dust the pans when I’m baking chocolate stuff—it stops those white flour smudges from showing up on the dark sides once they bake!
Mixing the Batter
I always start with the dry stuff. Whisk your flour, sugar, cocoa, baking soda, baking powder, and salt together in a big bowl until everything is totally uniform. Then it’s time for the main liquids—the room-temperature buttermilk, the oil, the eggs, and the vanilla. Use your mixer on medium speed and beat that for a full two minutes. This creaming step is important; it whips air in there!
Now, here’s the part that makes this cake so moist: the hot liquid. Very carefully, pour in that hot water or coffee while the mixer is running on low. Watch out, it can splatter a bit! Mix just until it’s smooth. I’m warning you now—once you see those streaks of flour disappear, *stop mixing*. Overbeating develops gluten, and gluten turns beautiful chocolate cake into rubbery hockey pucks. We don’t want that!
Baking and Cooling
Divide that thin batter evenly between your two prepared pans. Pop them into that hot oven for about 30 to 35 minutes. You need that wooden pick inserted near the center to come out clean. That means the structural ingredients have set up nicely.
The waiting game is crucial here. Let those cakes cool right in their pans for exactly 10 minutes. Don’t push it past 10 minutes! After 10 minutes, flip them carefully onto a wire rack to cool completely. And I cannot stress this enough: if you even *think* about frosting them while they are even slightly warm, that gorgeous buttercream is going to melt right off, ruining your whole chocolate cake design plan. Be patient!
Preparing the Buttercream for Your chocolate cake design
When you’re ready to frost, your buttercream needs to be perfectly fluffy, not grainy or runny. Since we’re building a base for your chocolate cake design, we need a smooth canvas. Grab that softened butter—remember, this needs to be truly soft, bendable butter, not melted goo—and beat it until it’s light and creamy in your mixing bowl. This takes just a minute or two with the electric mixer.
Now, slowly introduce your sifted powdered sugar and sifted cocoa powder. It’s messy at first, so start slow or wear an apron! Alternate adding those dry ingredients with splashes of your milk or heavy cream. Keep mixing until it’s all combined wonderfully smooth. Finally, whip in the vanilla extract.
If you find it’s too stiff for spreading—which happens if your butter was a bit cold—just add another teaspoon of milk until it loosens up. If, gasp, you added too much milk, save it by mixing in just a tablespoon or two more of sifted powdered sugar. Perfection!
Assembling and Crumb Coating for Professional chocolate cake design
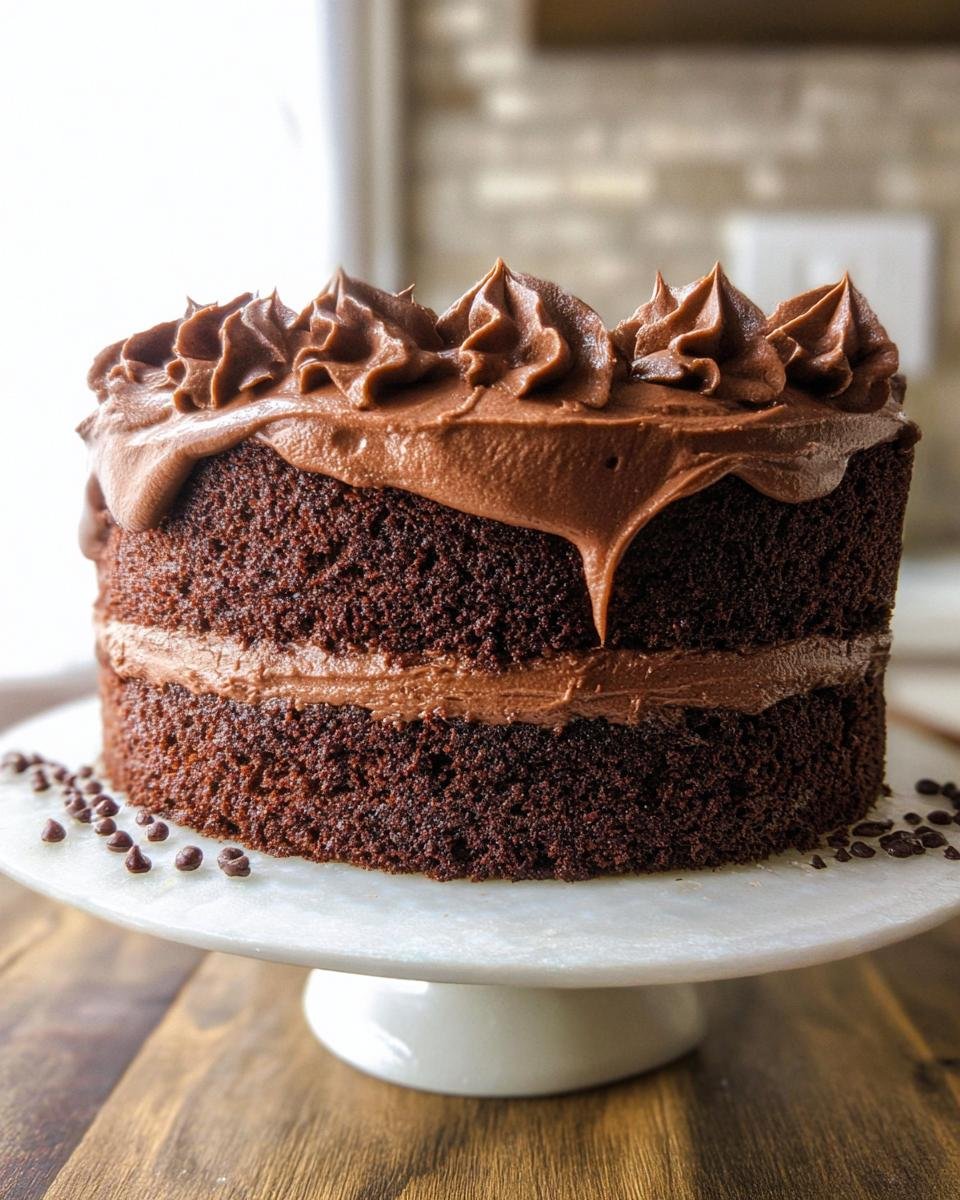
This is where all your patience waiting for those layers to cool really pays off! Take one completely cooled cake layer and set it on your serving plate. I like to use a dollop of frosting right under the cake layer first; it acts like glue so the whole tower doesn’t slide around on you while you work on your chocolate cake design.
Spread about one-third of your gorgeous chocolate buttercream evenly over that first layer. Don’t worry too much about neatness right now. Place the second cake layer right on top, gently pressing down to make sure it’s level with the first. Now we apply the crumb coat! This is my secret weapon for that professional finish.
Take a small amount of frosting—maybe a quarter of what you have left—and spread a very thin, sheer layer over the entire outside of the cake: the top and sides. This thin layer catches all those pesky crumbs that try to escape when you go for the final coat. It’s messy, I know! But here’s the crucial step: pop the whole thing into the refrigerator for about 15 minutes. Once it’s chilled and firm, you can apply your final, beautiful coat of frosting. That chill time makes a world of difference for sharp edges!
Tips for Perfecting Your chocolate cake design Execution
We’ve baked the layers and mixed the frosting, so let’s talk about the actual decorating phase. Even with the best recipe, execution is everything when you want that Pinterest-worthy chocolate cake design. My first tip is about leveling. If your cake layers domed up a bit in the oven—which is normal—you need to slice that top off flat before you start stacking!
I use a long serrated bread knife for this, or you can buy a cheap leveling tool; whatever works! Seriously though, if you want clean vertical sides, you have to start with flat layers.
Next, if you are doing any serious spreading, get yourself a small turntable. It sounds frivolous, but rotating the cake while you hold your offset spatula still lets you build up an incredibly smooth surface with half the effort. Don’t be afraid to step back every minute or so while you are smoothing the top layer.
Lastly, remember that crumb coat chill time I mentioned earlier? Don’t skip that! A firm, chilled crumb coat is what stops those tiny, annoying specks of cake from mixing into your pristine final layer of smooth chocolate frosting. It’s a little extra time that makes your whole chocolate cake design look instantly professional.
Ingredient Notes and Substitutions for chocolate cake design
When we talk about why this recipe works so well for building a solid chocolate cake design, it all comes down to chemistry! That’s why those room temperature ingredients—the eggs and the buttermilk—cannot be skipped. They emulsify properly with the fats, creating a smooth, cohesive batter that traps air nicely. If they are cold, the batter can break apart, leading to a dense, less stable layer.
Also, I wanted to mention that substitution I love: use strong, hot brewed coffee instead of hot water in the final step. Trust me on this one; it unlocks a deeper, richer chocolate flavor that just sings, and nobody will ever guess you added coffee!
Storing Your Finished chocolate cake design
You’ve worked so hard on this beautiful chocolate cake design, so let’s make sure it stays looking and tasting amazing!
Because this buttercream is dairy and butter-based, if your kitchen is warm, you should definitely store the cake covered in the refrigerator. It keeps that perfect frosting firm. If your house is cool, leaving it covered on the counter for a day is usually fine, too.
If you refrigerate it, pull it out about an hour before you plan to serve it. That little bit of time lets the cake relax and come back to its ideal room temperature texture. Cold cake is just sad cake, so give it time to warm up!
Frequently Asked Questions About This chocolate cake design Recipe
I know when you’re trying a new recipe for a special occasion, you always have a few nagging questions about how things might go wrong! Don’t worry, I’ve fielded all these concerns from friends who wanted to tackle their first big chocolate cake design using this base.
Can I use regular milk instead of buttermilk for this chocolate cake design?
You absolutely can, but you have to give it a little kick! Buttermilk has acid that reacts with the baking soda to give us that wonderful rise. If you only have regular milk, just stir one tablespoon of white vinegar or lemon juice into one cup of milk. Let it sit on the counter for about five minutes until it looks slightly curdled. That’s your substitute buttermilk, and it works beautifully!
How thick should the layers be for stacking?
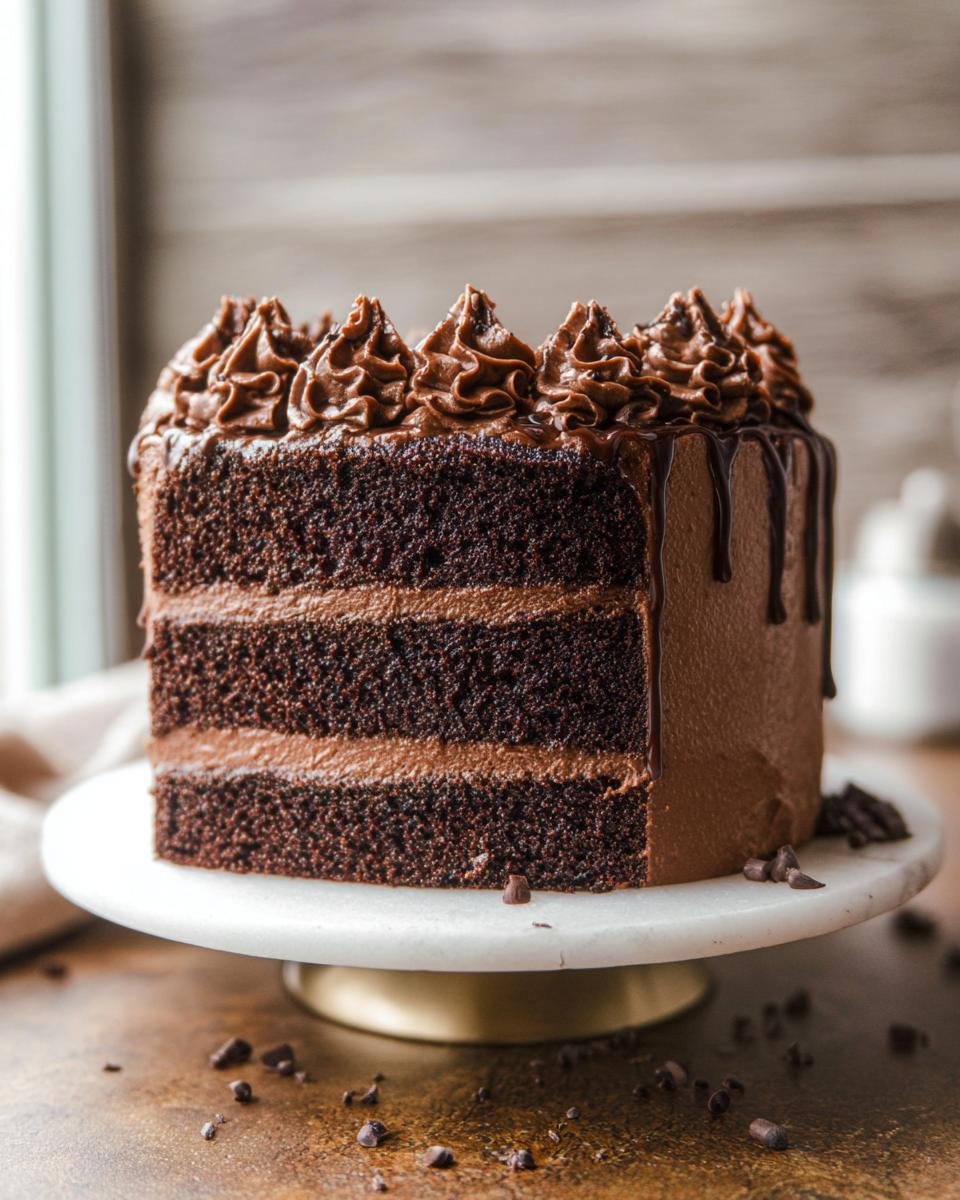
For stability in a multi-layer chocolate cake design, you want them nearly the same thickness once they’re cooled and leveled. If you bake them in two 9-inch pans, they should end up around an inch and a quarter thick after you slice off any dome. If you’re stacking three thin layers instead of two thick ones, it gives you more frosting surface area, which I love for flavor!
Can I make this recipe into cupcakes?
Yes, this is a fantastic recipe for super moist chocolate cupcakes! Just line regular muffin tins and fill them about two-thirds full. Since they are much thinner than the cake pans, they bake way faster. Keep an eye on them—they usually take between 18 and 22 minutes at 350°F. Pull them out the moment that toothpick testing comes out clean!
Nutritional Estimates for Your Cake
Now, I won’t lie to you; this isn’t exactly a diet cake. We’re using real butter, oil, and plenty of glorious sugar because that’s what makes it taste like a celebration! It’s a rich, satisfying dessert that’s meant to be enjoyed.
These numbers are what my tracking software came up with when I input all our delicious ingredients listed above, assuming 12 equal servings. But you know how it is with home baking—the brand of cocoa powder you use, whether you use milk or cream in the frosting, or even how thick you cut your slice really changes everything. So please treat these figures as a fun guideline rather than a strict rule book!
- Calories: 450
- Total Fat: 20g
- Protein: 5g
- Total Carbohydrates: 65g
- Sugar: 45g
If you decided to go heavy on the buttercream for your chocolate cake design, those numbers are definitely going to creep up! That’s okay; it’s worth every single bite!
Share Your Creations and Get More Baking Ideas
Whew! You did it! You’ve got a perfect, sturdy chocolate layer cake base ready for whatever incredible chocolate cake design you have dreamed up.
I truly love seeing what everyone does with this basic recipe. Whether you went simple, maybe just a handsome coat of the buttercream and some fresh raspberries, or you turned it into a full-blown masterpiece, I want to see it! Please take a picture of your finished cake and tag me on Instagram—it seriously makes my day when I see people enjoying something I’ve shared.
And don’t forget to come back here and leave a star rating! It helps other bakers decide if they should trust my favorite chocolate base for their own big day. If you have any questions that I missed in the FAQ, drop a comment below. I try to answer every single one because we’re all learning and baking together!
Happy decorating, and I hope your next batch of chocolate layers tastes as amazing as this one!
Simple Chocolate Cake
Ingredients
Equipment
Method
- Preheat your oven to 350°F (175°C). Grease and flour two 9-inch round cake pans. Line the bottoms with parchment paper.
- In a large bowl, whisk together the flour, sugar, cocoa powder, baking soda, baking powder, and salt.
- Add the buttermilk, oil, eggs, and vanilla extract to the dry ingredients. Beat with an electric mixer on medium speed for two minutes.
- Carefully stir in the hot water or coffee until the batter is smooth. The batter will be thin.
- Pour the batter evenly into the prepared cake pans.
- Bake for 30 to 35 minutes, or until a wooden pick inserted into the center comes out clean. Let the cakes cool in the pans for 10 minutes before inverting them onto a wire rack to cool completely.
- To make the frosting, beat the softened butter in a large bowl until creamy. Gradually add the sifted powdered sugar and cocoa powder, alternating with the milk, beating until smooth.
- Beat in the vanilla extract. If the frosting is too thick, add a little more milk; if too thin, add more powdered sugar.
- Once the cakes are completely cool, place one layer on a serving plate. Spread about one-third of the frosting over the top. Place the second layer on top and frost the top and sides of the entire cake.