

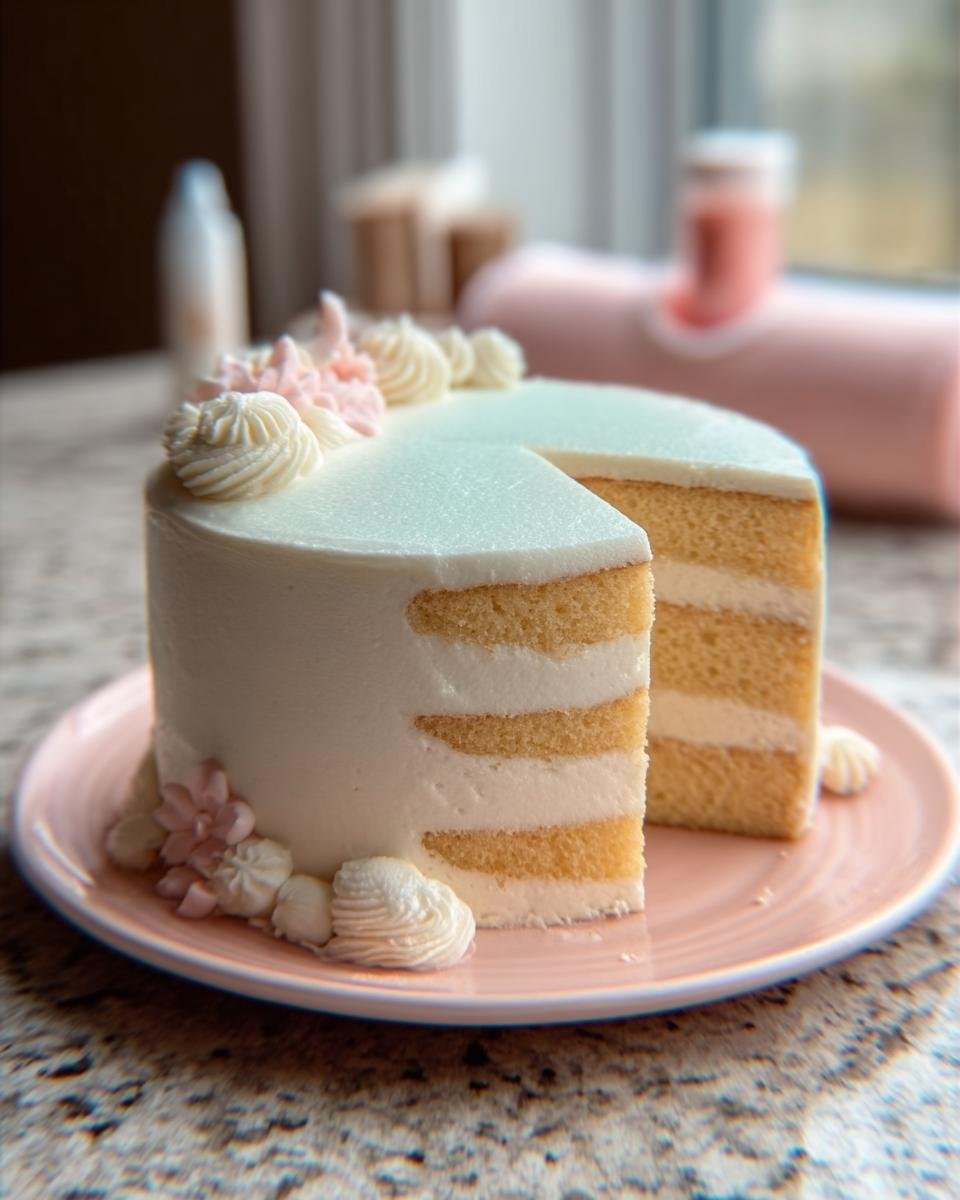
You know how it is—a birthday, an anniversary, or sometimes just a Tuesday that deserves something special. The cake is always the star, right? Finding the perfect base that can handle whatever wild decoration idea floats through your head is everything. Forget complicated flavors for now; we need reliability! This simple vanilla layer cake is my absolute must-have foundation. Seriously, I’ve used this recipe for everything from my nephew’s first birthday smash cake to elegant tiered setups. It’s sturdy enough for gorgeous piping and crumb coating, yet wonderfully moist and light. Trust me, mastering this vanilla base is the first step toward creating stunning New Cake Designs to Inspire Your Celebration.
Why This Simple Vanilla Layer Cake is the Basis for New Cake Designs to Inspire Your Celebration
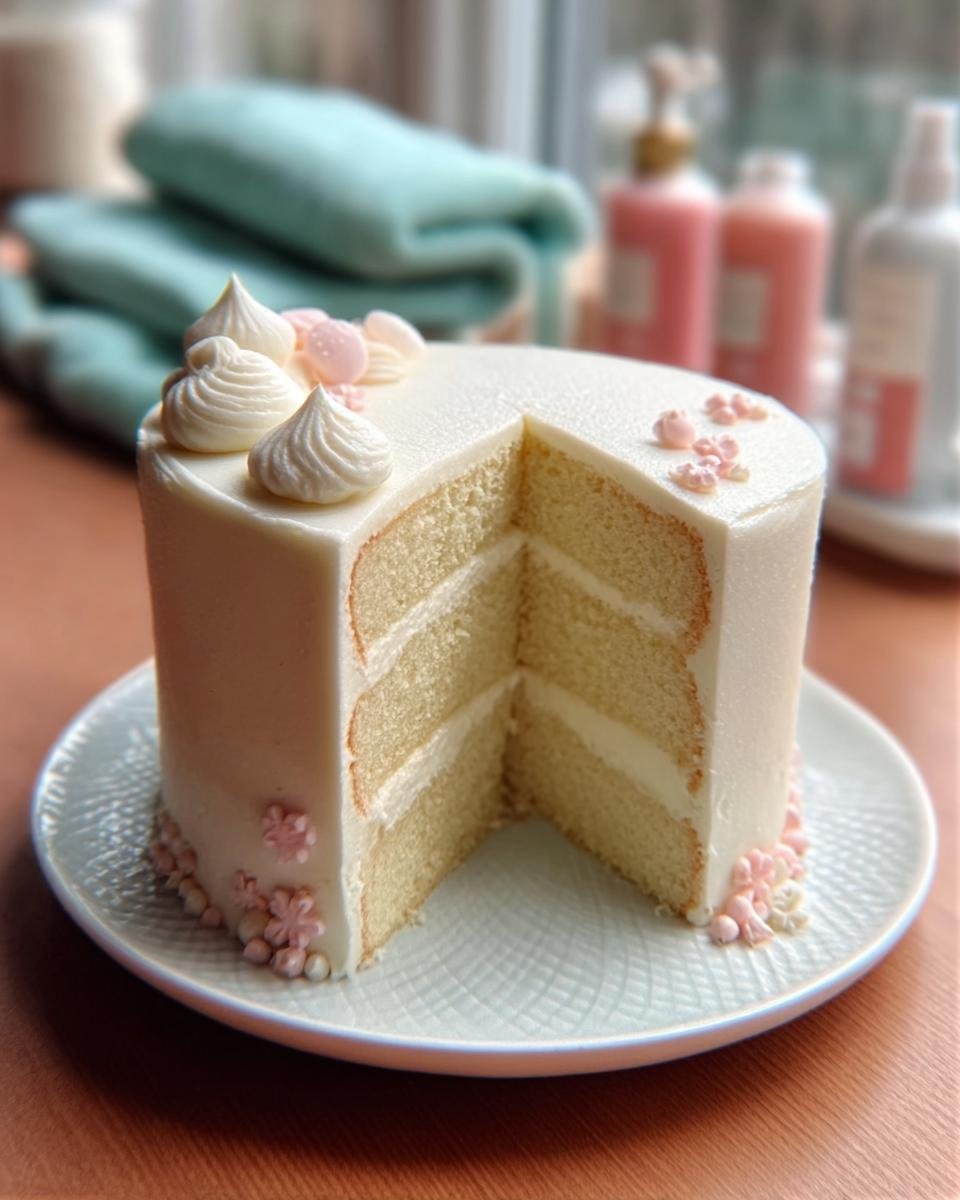
I know the latest trends look intimidating—all those textured buttercreams and gravity-defying toppers! But honestly, none of that matters if your cake layers collapse halfway through decorating. That’s why I rely on this vanilla recipe. It’s got the perfect medium density. It doesn’t compress into a brick when you chill it, and it doesn’t crumble apart when you try to spread frosting.
You can turn this exact recipe into a rustic naked cake, or you can slather it thick with Italian meringue and cover it in edible flowers for a showstopper. I even use this same batter when I go for those super sleek, modern designs I see popping up everywhere. It’s the ultimate blank canvas. If you’re looking to try those advanced techniques, you can find tons of great inspiration over at these cake ideas—just know that this recipe underneath whatever you decide to do will hold up beautifully.
Essential Equipment for Your New Cake Designs to Inspire Your Celebration
You don’t need a million fancy tools for the baking stage, thankfully. What you do need are reliable anchors for your project. And speaking of reliability, the single most important thing, even before turning the mixer on, is getting those pans ready!
- Two 8-inch round cake pans
- An Electric mixer (handheld is fine, but stand mixers are a dream!)
- Mixing bowls
My top tip? Don’t just grease and flour. For cake layers that bake perfectly flat and release without drama—which is crucial for stacking—I use a paper liner on the bottom of the pan after greasing. It’s cheap insurance against sticking, especially when you’re working on a big event cake!
Ingredients for the Perfect Foundation: New Cake Designs to Inspire Your Celebration
Okay, now that we have our equipment set up, we need to talk about what goes into making this vanilla cake the absolute MVP of your dessert table. Remember, when you’re planning New Cake Designs to Inspire Your Celebration, the foundation has to be perfect. A dry, flavorless cake will sabotage the prettiest buttercream finish you try to put on it. I learned early on that you absolutely cannot skimp on ingredient quality here. Room temperature ingredients make a world of difference in how things combine.
When I prep these items, I always pull the butter and eggs out about an hour before I start mixing. This helps everything emulsify beautifully, avoiding those greasy pockets in your batter. Follow my notes closely, especially about sifting—it makes the final texture so delicate and light!
For the Cake Layers
- 2 1/2 cups All-purpose flour, Sifted
- 1 1/2 cups Granulated sugar
- 1 tbsp Baking powder
- 1/2 tsp Salt
- 1 cup Unsalted butter, Softened
- 4 large Eggs
- 1 tbsp Vanilla extract
- 1 cup Milk
For the Vanilla Buttercream Frosting
This frosting is classic and whips up beautifully light to complement those sturdy layers. You can color this, flavor it, or leave it pure white for stunning contrast against colorful cake decorations.
- 1 cup Unsalted butter, Softened
- 4 cups Powdered sugar, Sifted
- 1/4 cup Milk or heavy cream
- 1 tsp Vanilla extract
Step-by-Step Instructions for Your New Cake Designs to Inspire Your Celebration
Alright, deep breaths! This is where the magic really happens, and trust me, it’s totally manageable. Even when you’re planning those ambitious New Cake Designs to Inspire Your Celebration, you need to nail the basic bake first. We’re looking for perfectly level, moist layers that are ready to play dress-up!
Preparing and Baking the Cake Layers
First things first: Get that oven blazing at 350\u00b0F (175\u00b0C). Prep those two 8-inch pans—remember my tip about the parchment on the bottom? Do that now!
In the big bowl, whisk your dry things—flour, sugar, baking powder, salt. Then, bring in the softened butter and beat it low and slow until it looks like something wonderfully sandy. Next, we add wet stuff slowly. Whisk the eggs, vanilla, and milk in a separate bowl, then drizzle that mixture into the flour and butter mix. Keep the mixer speed medium, and *stop* as soon as it comes together. If you overmix, you’ll develop gluten, and suddenly your layer cake feels more like a tough bagel. Not good for pretty designs!
Split the batter evenly and slide them in for 30 to 35 minutes. Start checking around the 30-minute mark. The toothpick test is your main guy here—if it slides in and comes out clean, they’re done! Let them chill out in the pans for exactly 10 minutes before you flip them onto the cooling rack to get completely cold. Don’t rush this part!

Creating the Fluffy Vanilla Buttercream
While those layers cool down (patiently, I know!), let’s whip up our trusty frosting. It needs to be spreadable, sturdy, and taste like pure vanilla heaven. Start by beating that softened butter until it’s light and fluffy on its own. This is necessary groundwork!
Now, add the sifted powdered sugar slowly, mixing on low so you don’t create a sugar cloud catastrophe in your kitchen! Once it’s mostly combined, crank that mixer up to high, add your vanilla and milk (or cream!), and whip it until it’s airy and pale. If it seems too thick to spread nicely, splash in a tiny bit more milk. Too thin? Add a sprinkle more powdered sugar. I learned that adjusting the ratio drop by drop is the secret to perfect spatula consistency. You could check out this cookie recipe for tips on soft butter—it’s the same principle!
Assembling and Crumb Coating
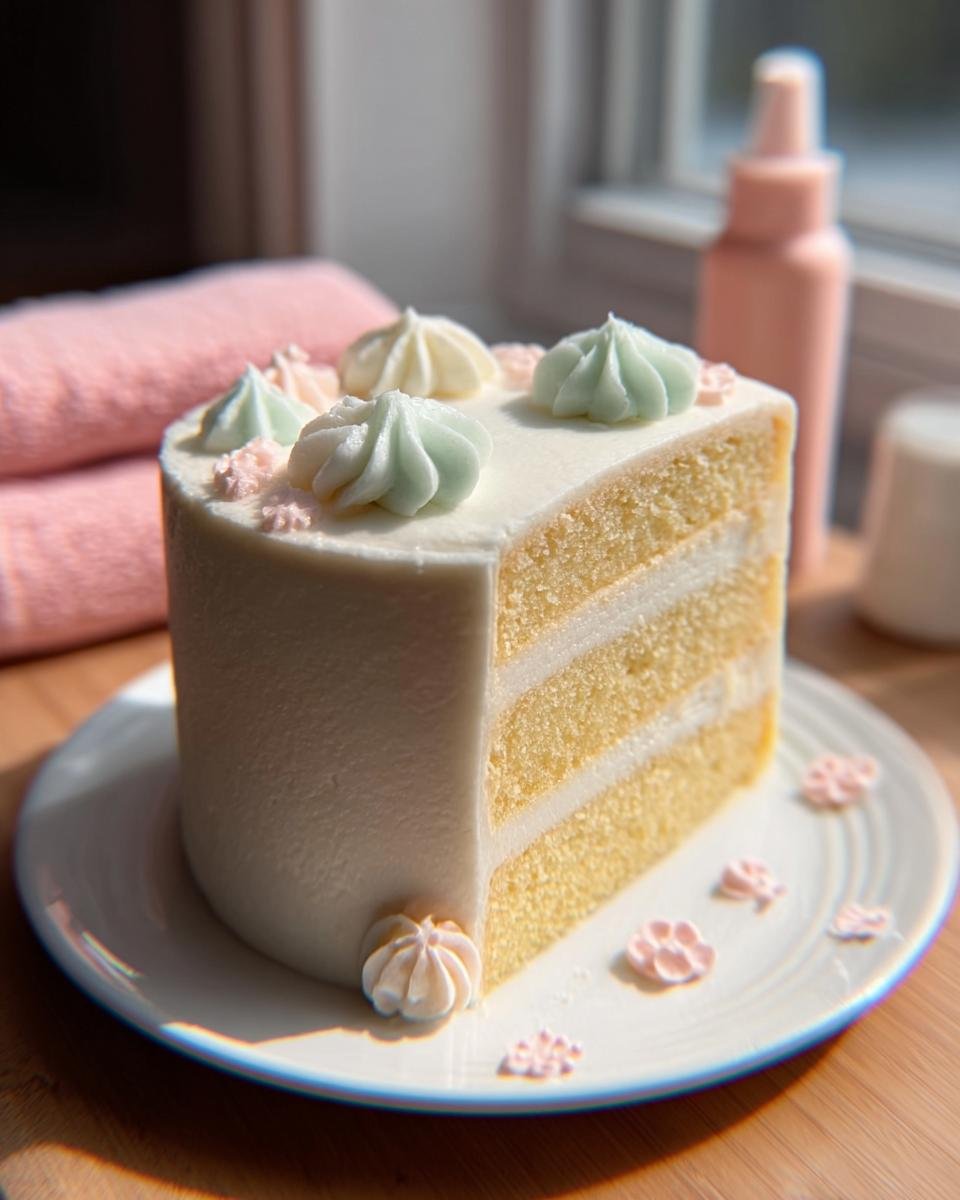
Once those cakes are stone cold—and I mean *totally* cold—it’s time to stack for those beautiful New Cake Designs to Inspire Your Celebration. Pop the first layer down, spread about a third of your frosting evenly over the top. Place the second layer squarely on top.
Here’s the pro tip for that famous sharp edge look: the crumb coat! Take a small amount of frosting—maybe half a cup—and spread the thinnest possible layer over the entire cake—top and sides. This traps all the loose crumbs trying to escape. Pop the lightly frosted cake into the fridge for about 15 minutes until that thin coat hardens up slightly. After that quick chill, you can apply your beautiful final, thick layer of frosting without getting pesky vanilla cake crumbs fighting their way into your perfect design!
Tips for Success When Creating New Cake Designs to Inspire Your Celebration
If you want your beautiful vanilla layers to look amazing under all that decoration, temperature is your best friend. Seriously, don’t skip this advice if you’re aiming for those stunning New Cake Designs to Inspire Your Celebration.
- Always, always use room temperature butter and eggs for the batter. Cold ingredients just don’t cream together right, and you end up with a denser cake than you wanted.
- When cooling, don’t leave the layers in the hot pan too long—ten minutes is perfect. But you absolutely must let them cool completely on the rack before you even *think* about frosting. Warm cake equals melting frosting disaster!
- When mixing the batter, remember my golden rule: mix until *just* combined after adding the wet ingredients. A few tiny streaks of flour lingering are totally fine; they’ll disappear once you get it into the oven.
- If you’re aiming for those perfectly level tops for stacking, chill the baked, cooled layers for about 20 minutes before slicing off the domed tops. They slice much cleaner when they are slightly firm.
Ingredient Notes and Substitutions for Your Cake
Let’s talk specifics, because nailing this vanilla cake isn’t just about the measurements; it’s about the *condition* of those ingredients. I can’t stress enough how crucial it is to use softened butter. I mean properly softened—you should be able to press your finger into it and leave a dent, but it shouldn’t look greasy or shiny. Butter that’s too cold won’t cream properly with the sugar, and that’s how you miss out on the aeration that keeps this cake tender.
And please, please sift your dry stuff! Sifting flour and powdered sugar breaks up any lumps and actually aerates the ingredients. It makes such a visible difference when you end up with that smooth, light texture in the end result.
Now, for the milk—I listed regular milk, but if you want a little extra tang that really elevates the vanilla flavor, feel free to substitute that cup of milk with an equal amount of buttermilk. It adds a slight acidic reaction, which helps tenderize the crumb just a hair more. If you use heavy cream instead of milk for the frosting, you’ll get a much richer, sturdier buttercream that holds up well if your kitchen gets warm!
Serving Suggestions for Your New Cake Designs to Inspire Your Celebration
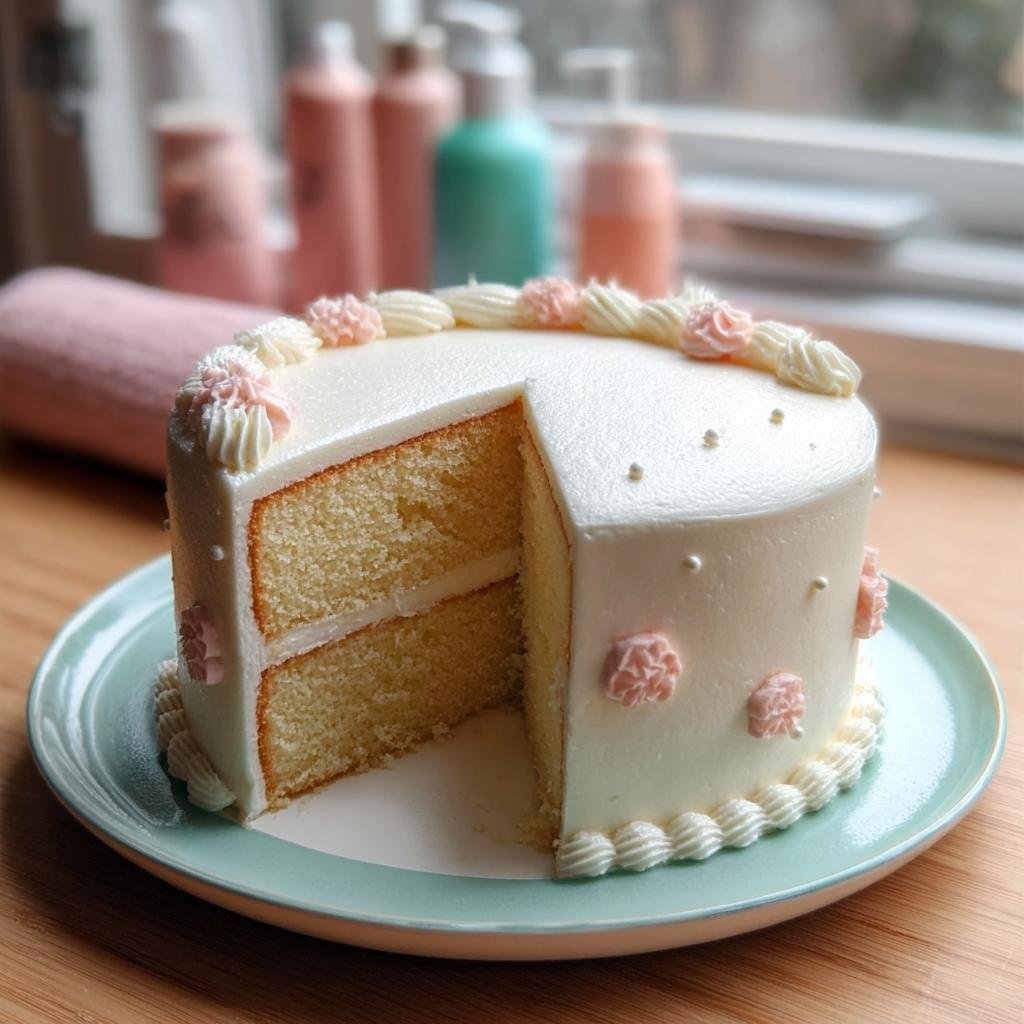
Once you’ve built that sturdy, gorgeous base for your New Cake Designs to Inspire Your Celebration, what do you serve it with? Pure vanilla and buttercream are divine on their own, but a little something extra never hurt anyone! I almost always pair this cake with something bright, like mounds of fresh sliced strawberries or raspberries right on the serving platter. They just look so pretty against that stark white frosting.
For a truly elegant feel, you can even make a quick berry compote to drizzle lightly over individual slices. If you’re looking for a fantastic fruit pairing that goes perfectly with vanilla, you simply have to check out this strawberry shortcake recipe for inspiration! And for coffee lovers? A strong, freshly brewed cup balances the sweetness of the buttercream perfectly.
Storage and Reheating Instructions
Storing this beautiful vanilla cake is easy, but how you store it decides how well it holds up for later! If you don’t eat the whole thing in one afternoon (which is tough, I know), you have options.
For just a day or two, you can absolutely keep this frosted cake tucked away at cool room temperature. Just make sure it’s covered loosely so the buttercream doesn’t form a weird crust. If you need it to last longer than that, cover it tightly and put it in the fridge. Buttercream holds up great cold!
Now, the important part: serving it cold is a crime! If you bring it from the fridge, pull it out at least an hour before you plan to slice it. Letting it come back to room temperature softens that butter in the frosting again, making it creamy and luscious just the way it should be. It really changes the whole texture!
Frequently Asked Questions About New Cake Designs to Inspire Your Celebration
It’s natural to have a few little questions when you’re tackling something new, especially when you want the results to be perfect for those beautiful New Cake Designs to Inspire Your Celebration. I’ve gathered up the things I get asked most often when people try out this base recipe for the first time.
Can I use this recipe for cupcakes?
Oh yes, absolutely! This vanilla batter is fantastic in cupcake liners, too. You’ll just need to remember that baking is faster. Fill your liners about two-thirds full and start checking them around 18 to 20 minutes. They’ll bake up light and tall, perfect for piping little dollops of that buttercream on top!
How far in advance can I bake the layers?
This is a great strategy for busy event days! You can bake and cool the layers completely, maybe even a day ahead. Once they are totally cool, wrap each layer tightly in plastic wrap—like, really tightly—and keep them wrapped at room temperature for up to 24 hours. If you need longer, the fridge is great! Just wrap them well to keep the air out. When you’re ready to decorate, let them sit on the counter for about 30 minutes until they aren’t fridge-cold, still slightly firm, which makes them much easier to handle for stacking and decorating.
What is the best way to get flat cake tops?
This is key for those tall, modern cake stacks! While the cake is cooling, the top often domes up because the outside bakes faster than the center. After the layers are completely cool, take a long, serrated bread knife—that’s the one you use for bread—and gently saw off the dome following the line of the cake as a guide. Don’t press down; just let the serrations do the work. It’s a tiny bit scary the first time, but it guarantees you beautiful, stable layers for your next big cake project!
Next Steps for Your Baking Project
Whew! You’ve made the perfect base for whatever stunning vision you have planned. I truly hope this simple vanilla layer cake serves you well for all your upcoming beautiful creations. Whether you end up piping intricate flowers or keeping it totally simple, I want to see it!
Go ahead and give this recipe a star rating if it worked for you! And if you tried out any of those techniques we talked about, please snap a picture and share it below in the comments. If you’re looking for something lighter after all that cake, maybe check out some quick lunch ideas for tomorrow. Happy baking!
Simple Vanilla Layer Cake
Ingredients
Equipment
Method
- Preheat your oven to 350°F (175°C). Grease and flour two 8-inch round cake pans. Line the bottoms with parchment paper.
- In a large bowl, whisk together the flour, sugar, baking powder, and salt.
- Add the softened butter to the dry ingredients. Beat with an electric mixer on low speed until the mixture resembles coarse crumbs.
- In a separate bowl, whisk the eggs, vanilla extract, and milk together.
- Gradually add the wet ingredients to the dry ingredients, mixing on medium speed until just combined. Do not overmix.
- Divide the batter evenly between the prepared cake pans. Bake for 30 to 35 minutes, or until a toothpick inserted into the center comes out clean.
- Let the cakes cool in the pans for 10 minutes before inverting them onto a wire rack to cool completely.
- To make the frosting, beat the softened butter in a bowl until creamy. Gradually add the powdered sugar, mixing on low speed until incorporated.
- Add the milk and vanilla extract. Beat on high speed until the frosting is light and fluffy. Add more powdered sugar for a thicker frosting or more milk for a thinner consistency.
- Once the cakes are completely cool, place one layer on a serving plate. Spread about one-third of the frosting evenly over the top. Place the second layer on top and frost the top and sides of the entire cake.