

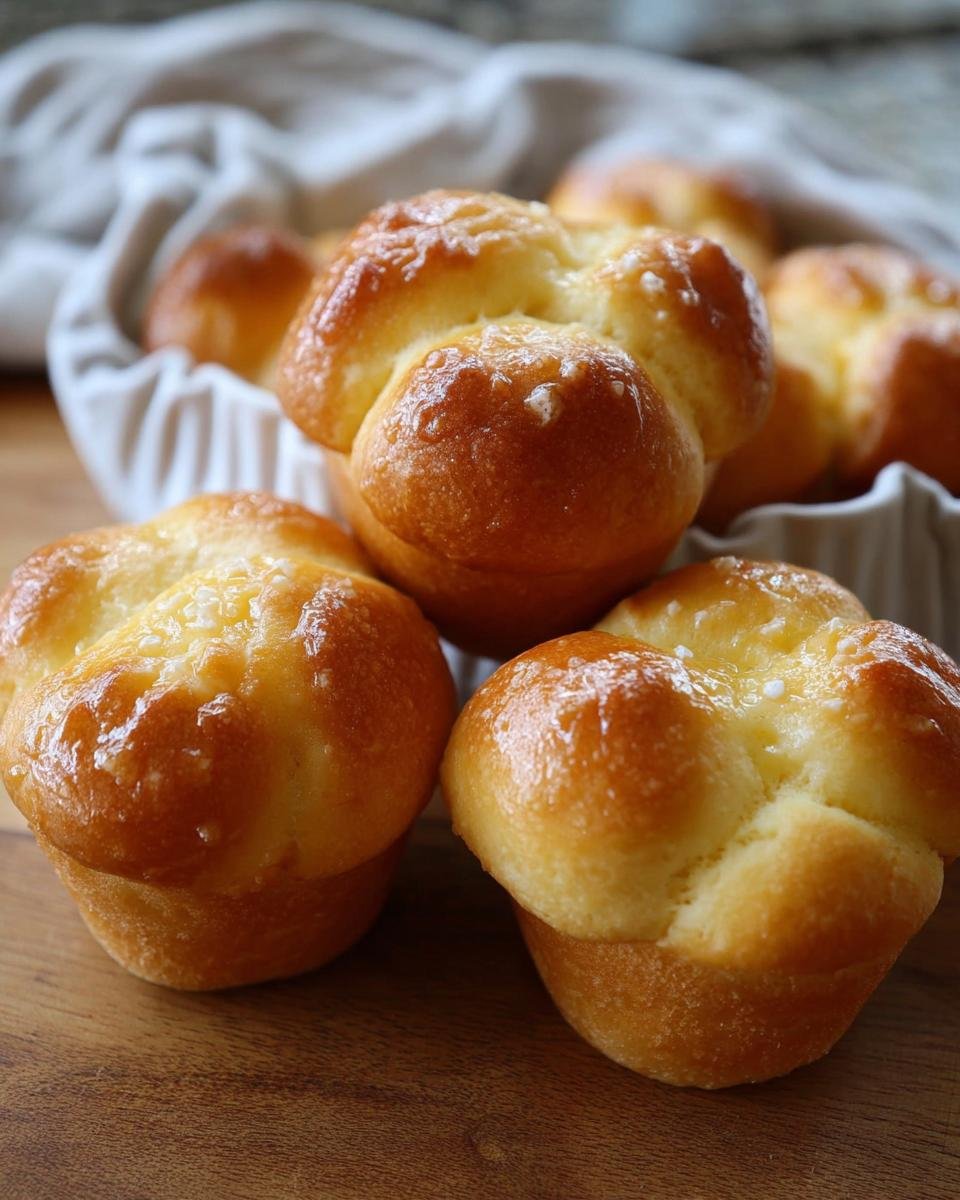
Oh, friends, there is nothing quite like pulling apart the softest, warmest bread right out of the oven. It’s pure comfort, right? I’m so thrilled to share this recipe because these Buttermilk Cloverleaf Rolls are ridiculously easy, even though they taste like they came from a fancy bakery! The first time I tested these, I remember being surprised by how nostalgic the aroma felt—like walking into a cozy kitchen on a holiday morning. I kept breaking off small pieces to “taste test,” but really it was just the joy of seeing how something so simple could feel so special. This recipe gives you exactly 12 perfect, buttery rolls, and while I love using my stand mixer because it develops the gluten beautifully, the end result is always worth the little bit of time invested. If you want to know more about my philosophy behind approachable baking, you can check out my baking journey here. Trust me, these will become your new favorite rolls recipe!
Why You Will Make These Buttermilk Cloverleaf Rolls Again and Again
It’s hard to pick just one reason why these rolls become a weekly staple, but here’s the honest breakdown of why readers keep coming back to this recipe. They really are that good!
- These are amazing Rolls Recipes easy to master, which is perfect for weeknights.
- They are truly no knead from scratch magic when you let that dough hook do the work!
- The texture is cloud-like, impossibly soft, and wonderfully buttery.
- You can totally prep them ahead of time, making the make ahead feature a lifesaver for holidays.
You’ll want to bookmark this one! I talk a lot about bringing those comforting, slightly lighter classics back into the kitchen over on my comfort food page.
Essential Equipment for Perfect Buttermilk Cloverleaf Rolls
Getting ready to bake is half the battle, and having the right tools makes all the difference, especially when dealing with yeast dough. Don’t worry if you don’t have everything, but these two items really elevate these rolls from good to absolutely spectacular!
For these soft, pillowy rolls, you absolutely need:
- A stand mixer with the dough hook attachment. Seriously, this saves your arms! While you can mix by hand, the machine really gets the dough smooth while you focus on getting your other dinner items ready.
- A standard 12-cup muffin tin. You need those little defined cups to get that classic cloverleaf shape, so don’t try to skip this with a regular baking sheet!
Make sure your muffin tin is well-buttered before you even think about dividing that beautiful dough. A good, solid tin helps with even baking, too.
Gathering Ingredients for Buttermilk Cloverleaf Rolls
Okay, let’s talk about what makes these rolls rise up so beautifully and taste so perfectly buttery. You need just a few pantry staples, but you have to be precise about a couple of them, especially that milk temperature! I always lay everything out before I even plug in the mixer; it just makes the whole process flow better, and you avoid that mad dash for the salt shaker later on.
Yeast Activation Ingredients
This is where the magic starts! If your yeast doesn’t wake up happy, your rolls won’t rise, plain and simple. You need to treat it gently. Grab:
- One package of active dry yeast (about 7 grams).
- Just one teaspoon of sugar—this is the yeast’s first snack! We take that from the total of 2 tablespoons you see later.
- Half a cup of whole milk. And this is key: make sure it’s warmed up perfectly, between 105 to 110 degrees. If it’s too hot, you kill the yeast! If it’s too cool, it sleeps in.
Buttermilk Cloverleaf Rolls Dough Components
For the actual dough structure, we are relying on good flour and plenty of fat for that soft texture. I prefer using high-quality, room-temperature butter when I can, but the recipe calls for melted here for ease.
Here’s what you need for the main dough batch:
- Six tablespoons of unsalted butter, melted. Remember, 4 tablespoons go right into the dough, and we save the rest for brushing later! If you’re feeling extra fancy and want that deep flavor, I highly recommend trying out some French salted butter for the final brush; you can see why I love it on this page.
- Two cups of all-purpose flour.
- One teaspoon of kosher salt, plus a little extra for sprinkling on top.
- One large egg—don’t forget this! It adds richness.
- The remaining one teaspoon of granulated sugar to finish up our total amount.
Step-by-Step Instructions for Buttermilk Cloverleaf Rolls
It’s time to bring these ingredients together! If you are looking for truly reliable Rolls Recipes easy no knead from scratch that give bakery results, this is where you reap the rewards of getting the timing right. Follow these steps, and you can’t go wrong!
Activating the Yeast and Mixing the Base
First things first, we need that yeast happy! You just stir the yeast and that tiny bit of sugar into your warmed whole milk. Set that little cup aside for about five minutes—you’re waiting for it to get foamy on top. That foam means life is active and ready to go! While that’s happening, go ahead and melt four tablespoons of your butter. We need that melted butter ready to incorporate right after the dry stuff is mixed in.
Kneading and First Rise for Buttermilk Cloverleaf Rolls
Now grab your stand mixer! Put the remaining sugar, the flour, and salt into the bowl. Turn the mixer on low and slowly pour in the activated yeast mixture and the egg. Let it just combine first. Then, with the mixer still running, stream in that melted butter. Now, increase the speed a little and let the dough hook work its magic for about 5 to 10 minutes. You’re looking for dough that is super smooth and feels shiny and elastic. Once it looks right, cover the bowl and let it sit in a warm spot until it’s completely doubled. Depending on your kitchen, this takes about 1 to 2 hours. Don’t rush this first rise!
Shaping and Second Proofing
Once your dough has puffed up nicely, turn the oven on to 375 degrees—we aren’t baking yet, but we want it ready! Liberally grease that 12-cup muffin tin with butter. Gently dump the dough onto your counter; try not to punch out all the air we worked so hard to build up! Now, the cloverleaf part: divide the dough into 12 equal chunks. Keep the ones you aren’t working with covered so they don’t dry out. Take one chunk and divide *that* into three small, equal pieces. Roll each small piece into a tight ball and drop all three into one muffin cup. Repeat until all 12 cups have three little dough balls nestled inside. Cover the tray lightly and let them chill out for their second rise for about 45 minutes to an hour. They should look nice and puffy again!
If you want to see some techniques for speeding up baking in general, I shared a few ways I manage my time in the kitchen over here.
Baking and Finishing Touches
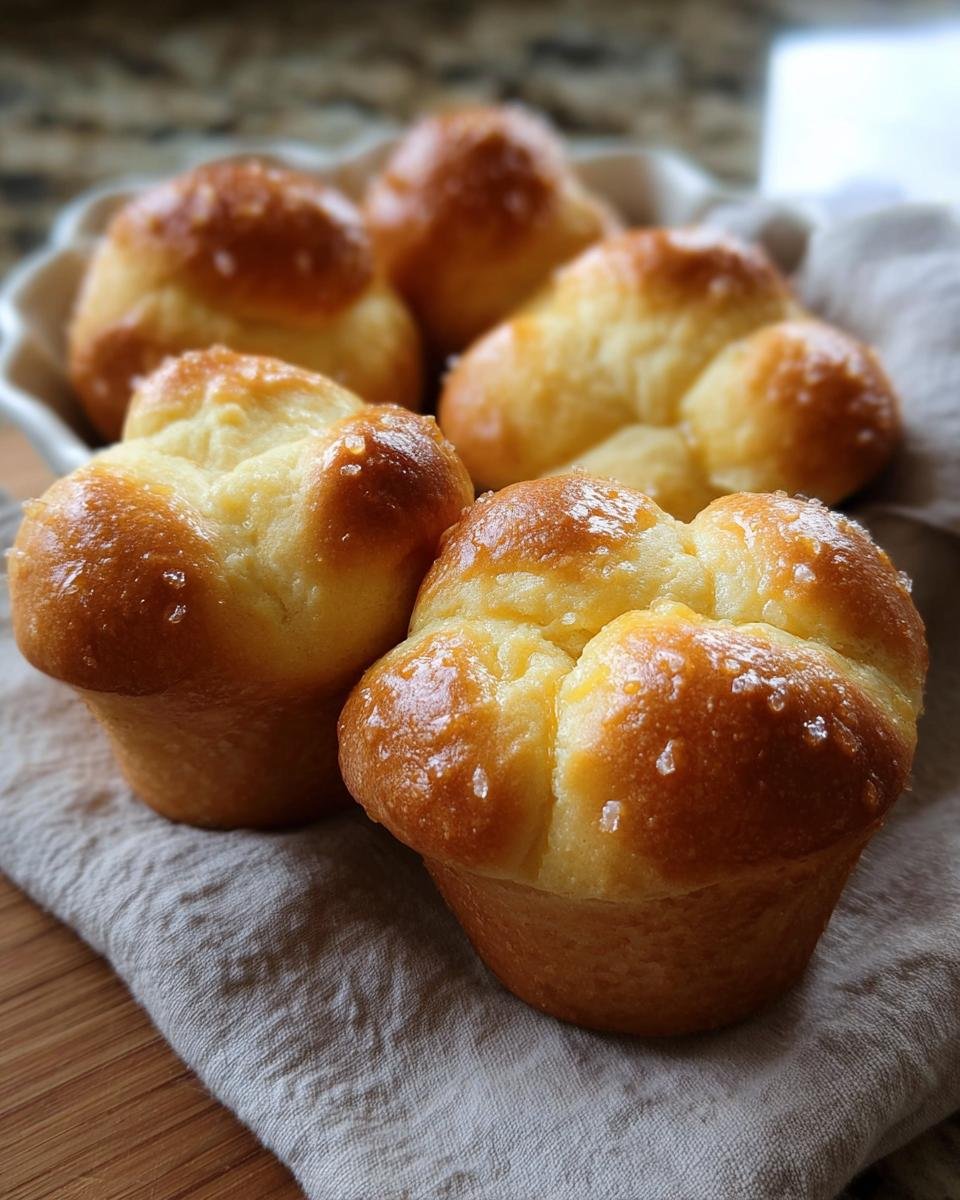
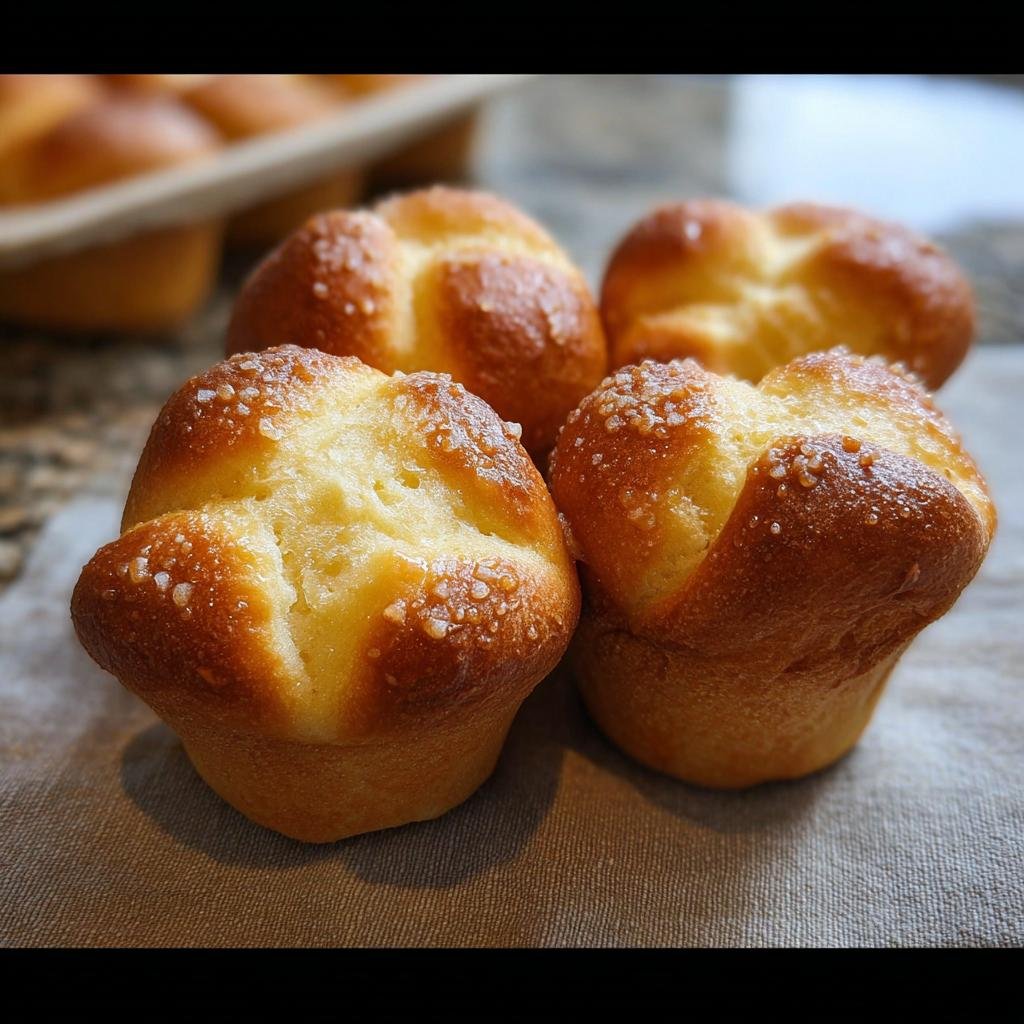
Time to bake! Pop those risen rolls into the 375-degree oven for just 10 to 12 minutes. Keep a close eye on them; they go from golden to over-browned fast! As soon as they look puffed and beautifully golden brown, pull them out. Now, take that remaining two tablespoons of butter you melted earlier and brush it generously all over the hot rolls—this is what makes them incredibly buttery and shiny. A quick sprinkle of kosher salt right on top gives the perfect savory contrast. Pull them out of the tin and serve them warm. Ahhh, heaven!

Tips for Making Buttermilk Cloverleaf Rolls Perfectly
Baking bread can feel intimidating, especially when you want those classic, fluffy results, but these tips should give you the confidence boost you need for truly amazing results. Don’t stress if your dough feels a little sticky when you first add the melted butter; that’s often a sign of great hydration! Just keep kneading, and it will come together.
Focus on the feel of the dough during that first rise. My goal is always for it to feel like a soft, pillowy cloud that springs back slowly when gently poked. If it feels hard or tight, your kitchen might be too cool, so find a warmer spot for it to double! That initial kneading step is vital for developing the structure that keeps these rolls light and buttery, not dense.
Also, remember to always brush those rolls with extra melted butter right when they come out of the oven. That step locks in the moisture and gives you that irresistible, golden, buttery sheen that makes people ask for the recipe. For more dinner ideas where these rolls shine, check out my favorites over at this section.
Make Ahead and Storage for Buttermilk Cloverleaf Rolls
The best part about these amazing rolls is that they are totally fantastic for planning ahead! No one wants to start from scratch on a busy holiday morning, right? You have two great options for making these make ahead rolls work for you.
For the freshest taste, I suggest doing everything right up until the second rise. After you shape those little three-ball cloverleafs into the muffin tin, cover the tin tightly with plastic wrap and move it right into the refrigerator. They can chill there for up to 24 hours! Just make sure you take them out about 45 minutes before you want to bake them so they warm up slightly before going into the hot oven.
If you’ve already baked them, they are still wonderful the next day, but you’ll want to refresh them. Wrap the cooled rolls up tightly in foil and reheat them at 300 degrees Fahrenheit until they are warm through, maybe 10 minutes. They heat up beautifully and that melted butter scent comes right back! For freezer storage, wrap baked rolls individually and freeze them for up to three months. You can reheat those straight from frozen in the oven, just add a few extra minutes. I love finding ways to prep ahead, just like I do with my yummy morning oats!
Serving Suggestions for Buttermilk Cloverleaf Rolls
Honestly, these rolls are so perfectly buttery, they steal the show on any dinner table, but they are particularly divine next to saucy dishes!
Because they are such great Rolls Recipes easy to handle, I always reserve them for meals where a perfect piece of bread is needed for dipping up every last bit of sauce. They are amazing with a hearty beef stew or a creamy chicken dish. If you are planning for a main course, try serving these alongside my favorite Chicken Normandy—the richness of the rolls complements that sauce perfectly!

They are fantastic warm, fresh out of the oven, and don’t even need any extra jam on them!
Frequently Asked Questions About Buttermilk Cloverleaf Rolls
I always get the same few questions when I share this recipe because everyone wants to know how to get that cloud-like texture! Since these are one of my go-to Rolls Recipes easy, I’ve figured out the answers to all the common hiccups. Let’s clear those up so you have total confidence when you tackle these!
Can I make these Buttermilk Cloverleaf Rolls without a stand mixer?
Oh my gosh, yes! Absolutely! While the stand mixer saves your shoulders, you can totally do this by hand. You’ll just need a big bowl and some muscle for the kneading. After you combine all the wet and dry ingredients, you need to knead that dough on a lightly floured surface for a good 12 to 15 minutes. You’ll know you’re done when it feels just as smooth and elastic as the machine-mixed version. It’s the key to making these no knead from scratch rolls without a machine!
What can I substitute for whole milk in this recipe?
If you don’t have whole milk handy, don’t panic! You can use 2% milk without any major issues, though the final rolls might be just *slightly* less rich. Skim milk works in a pinch, but I would recommend adding an extra tablespoon of melted butter to the dough to compensate for the lost fat content. Seriously, skip the water substitute if you can; the fat in the milk really helps develop that tender crumb we are aiming for.
How do I ensure my rolls are extra soft and buttery?
This is my favorite step, friend, and it’s non-negotiable if you want that melt-in-your-mouth softness! You have to brush those rolls with melted butter the second they come out of the oven. I mean, piping hot! The heat pulls the butter right down into the crust. I like to brush them once right when they come out, and then brush them again about five minutes later after they’ve cooled just a tiny bit. That double coating guarantees wonderfully soft and deeply buttery results every single time. If you enjoyed mastering these rolls, you might find my tips for quick lunches useful over at this page.
Nutritional Estimates for Your Buttermilk Cloverleaf Rolls
Now, let’s talk nutrition. I always try to give you a heads-up on what you are putting into your body, but when it comes to homemade breads, exact numbers can really bounce around depending on the brand of flour or the exact amount of butter you brush on top!
Because every kitchen uses slightly different ingredients, I just can’t guarantee a perfect match to lab results. Please treat any numbers you see online for this recipe as a helpful guide, not exact science. The nutritional information shown here is just an estimate based on the main ingredients used. If you need precise tracking, you might want to plug the exact brands you use into your favorite tracking app.
We really focus on the love and comfort factor here, but I always try to be transparent about data accuracy. You can always read more about how I handle data and transparency on my privacy policy page if you’re curious!
Buttermilk Cloverleaf Rolls
Ingredients
Equipment
Method
- Stir the yeast and 1 teaspoon of the sugar into the milk. Set aside until foamy, about 5 minutes. Melt 4 tablespoons of the butter.
- In the bowl of a stand mixer with the dough hook attached, combine the remaining sugar, flour, and salt. With the mixer on low, add the yeast mixture and the egg. Knead until the dry ingredients are incorporated, about 5 to 10 minutes. Carefully add the melted butter and continue to knead the dough until smooth, increasing the speed to medium, another 5 to 10 minutes. The dough will be shiny and elastic. Cover the bowl with plastic and set aside to rise in a warm place until doubled, about 1 to 2 hours.
- Butter a standard 12-cup muffin tin. Tip the dough out onto a work surface. Divide the dough into 12 equal pieces. Work with one piece at a time and keep the other pieces covered. Divide each piece into 3 equal pieces, roll each piece into a tight ball, and place into one cup. Repeat with the remaining dough. Cover the tray lightly with plastic wrap and set aside to double again, about 45 minutes to 1 hour.
- Heat the oven to 375 degrees. Melt the remaining 2 tablespoons butter. Remove the plastic wrap and brush the rolls with butter. Bake until puffed and golden, about 10 to 12 minutes. Remove from the oven, brush with more butter, and sprinkle with salt. Serve warm.